
About the Todoist API
Todoist is a task management tool that makes it super easy to create lists of tasks, track your projects, and manage your to-dos all in one place. The API allows you to automate the creation of tasks and projects as well as getting notified when tasks are completed, among others.
Quickstart guide to the Todoist API
The easiest and fastest way to start using the Todoist API is with a free Workload account. By signing up for Workload, you can have access to the entire Todoist API library including all webhooks (triggers) and actions including deletes. Start your free account by signing up here .
Step 1: Sign up and create a new workflow
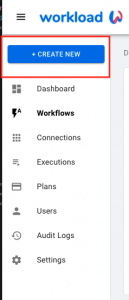
Once you’ve logged into your free account (3 clicks), click on the “Create New” button in the left sidebar navigation menu:
Step 2: Add the Todoist API
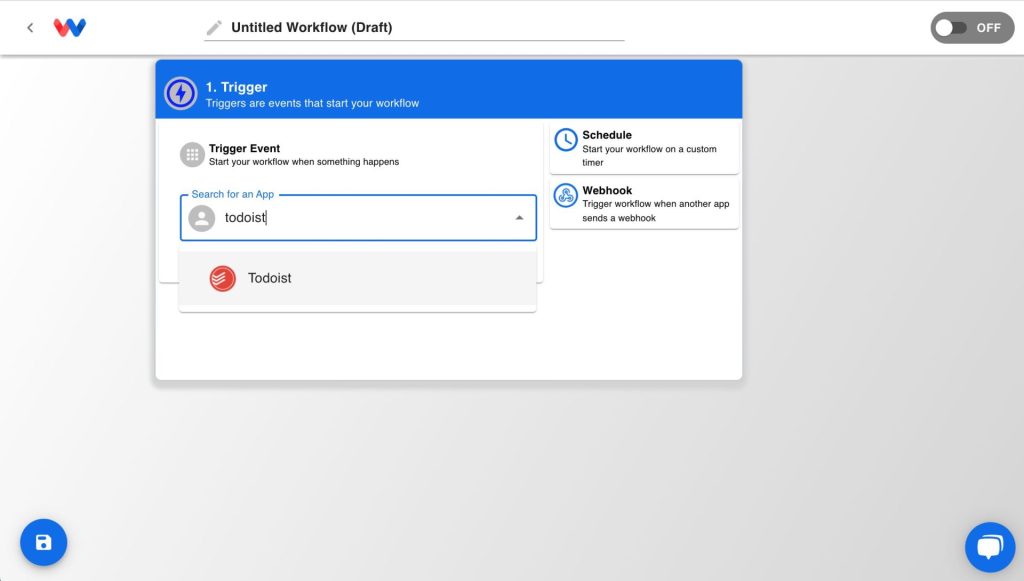
Click on the trigger app to open the trigger selection menu. From the “Search for an App” pane, type “Todoist” as the trigger app.
Step 4: Authorize your Todoist account
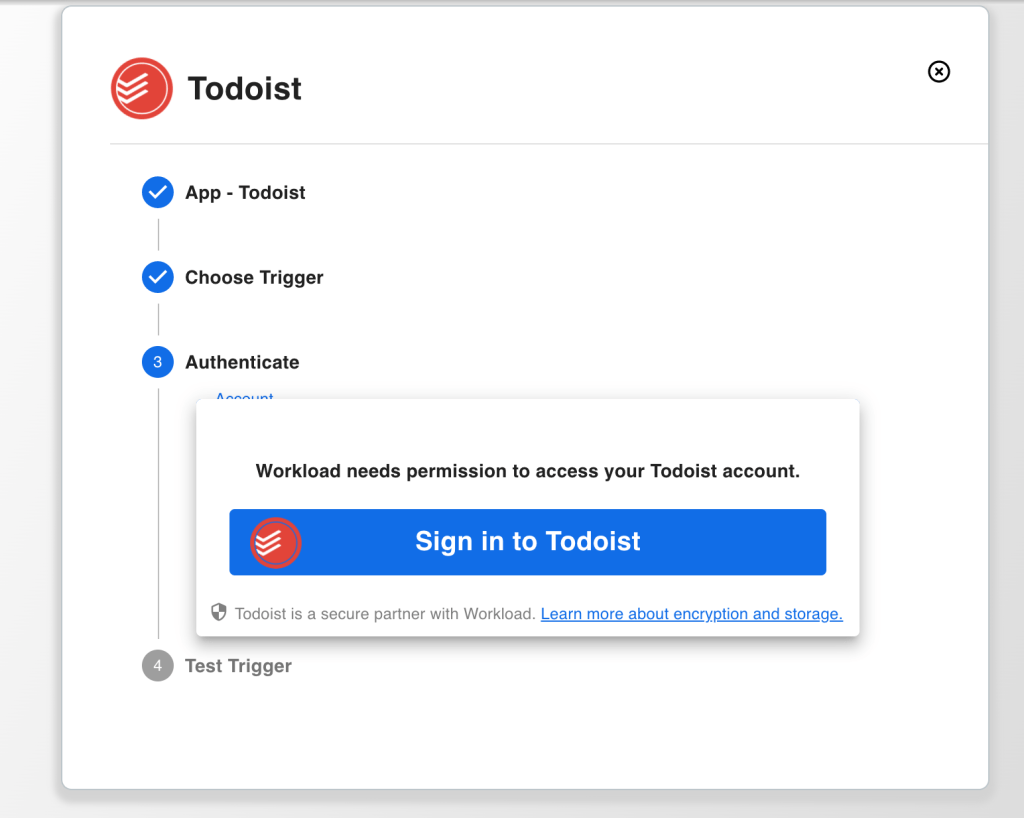
After selecting Todoist app and pressing the “Next” button, add the proper authorization. This allows Workload to make API calls on your account’s behalf. This is a necessary step to use the Todoist API and to build automated workflows and integrations using Todoist.
Click on “Add New”
Step 5: Choose the trigger
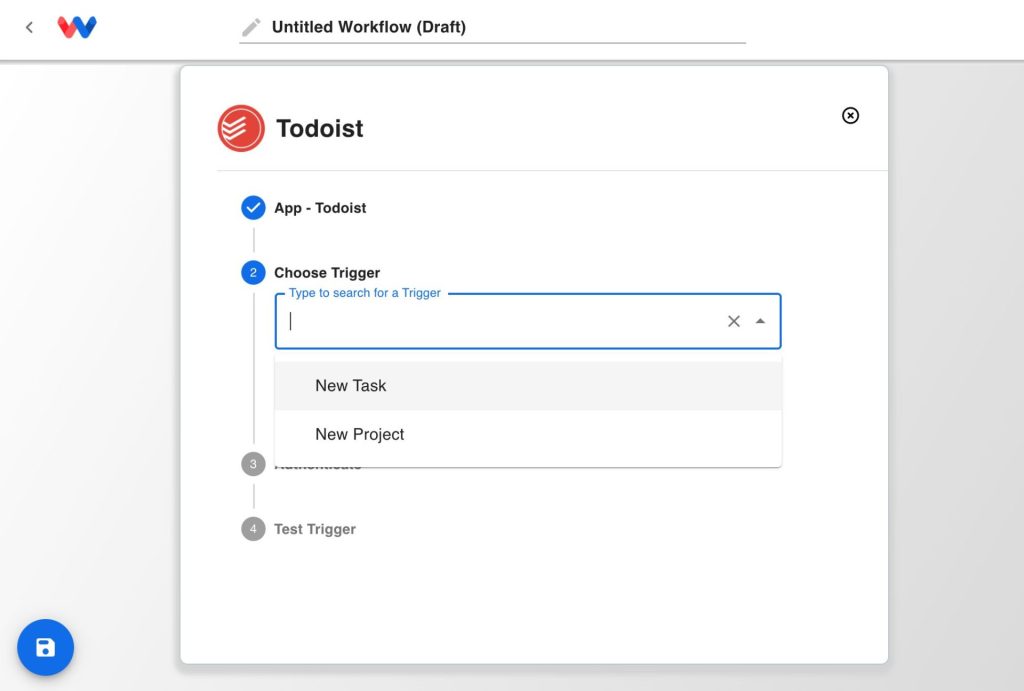
A trigger is an action that causes a workflow to execute. It is some kind of change inside of the Todoist application. It is the starting point of the task you want to automate.
Step 6: Test the trigger
This is the fun part! After selecting your trigger, go to your Todoist app and “do the thing” that would execute a change in your account. If you select “New Task Created” as your trigger, you should go to Todoist and create a new “Task”. The changes will now reflect inside of Workload. This data will now become available to use in future steps of your workflow.
Note: The workflow will temporarily turn to “ON” while listening for changes to your Todoist account.
Save and close the trigger step by clicking the “Save & Close” button.
Step 7: Add an Action
Add an “Action” to your workflow. Actions occur after the trigger happens. You can add an Action step that will automatically create a Task in Todoist using dynamic data from the original Task that started the workflow.
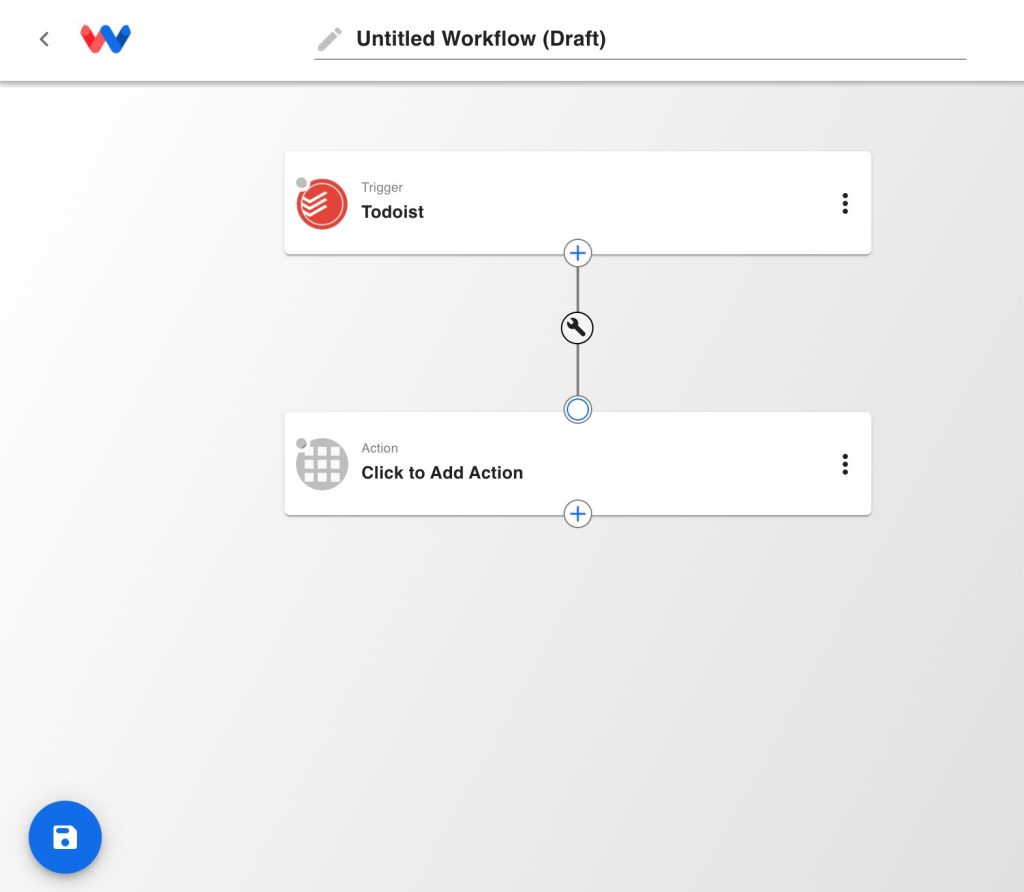
Create an action by clicking on the “Click to Add Action” action step.
Supported Todoist API Triggers

Task Created
Triggers when a new task is created

Project Created
Triggers when a new project is created
Supported Todoist API Actions

Add a New Project
Creates a new project

Get all Projects
Retrieve a list of all your projects

Create a New Task
Creates a new task

Get Active Tasks
Retrieve a list of all active tasks
