Introduction #
The ability to share your workspace is essential for collaboration, whether with your teammates or the Workload support team. This guide will walk you through the process of sharing a workspace in a simple and easy-to-follow manner.
Managing your workspace efficiently ensures smooth integrations and teamwork. Below, we’ll explore how to grant access to others so they can assist with your automation and workflow needs.
For a more visual step-by-step tutorial, you can also find a video of this post on our Workload channel.
Log Into Your Workload Account #
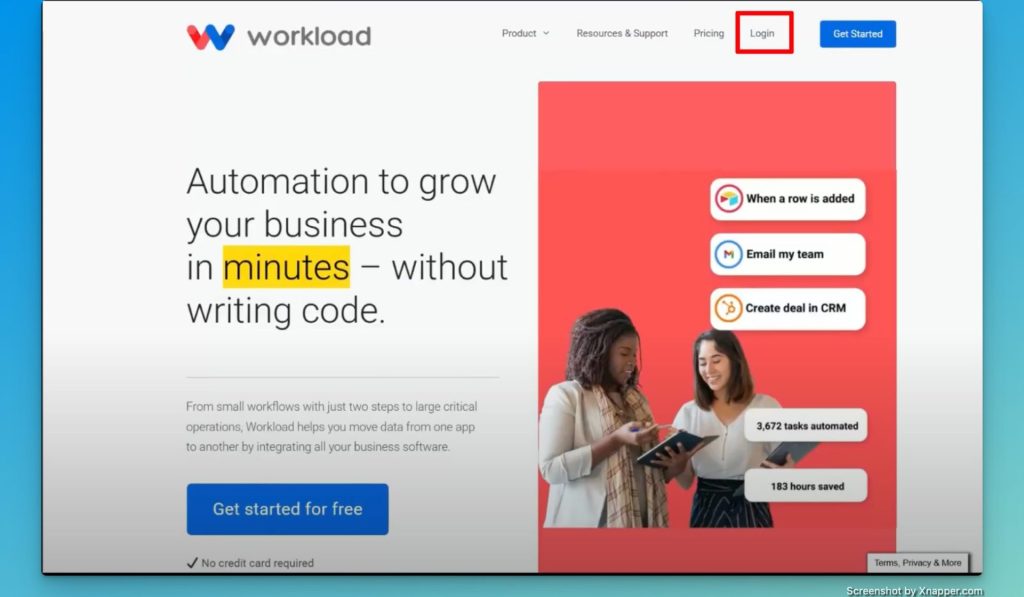
- Open your web browser and go to www.workload.co.
- Click the “Login” button.
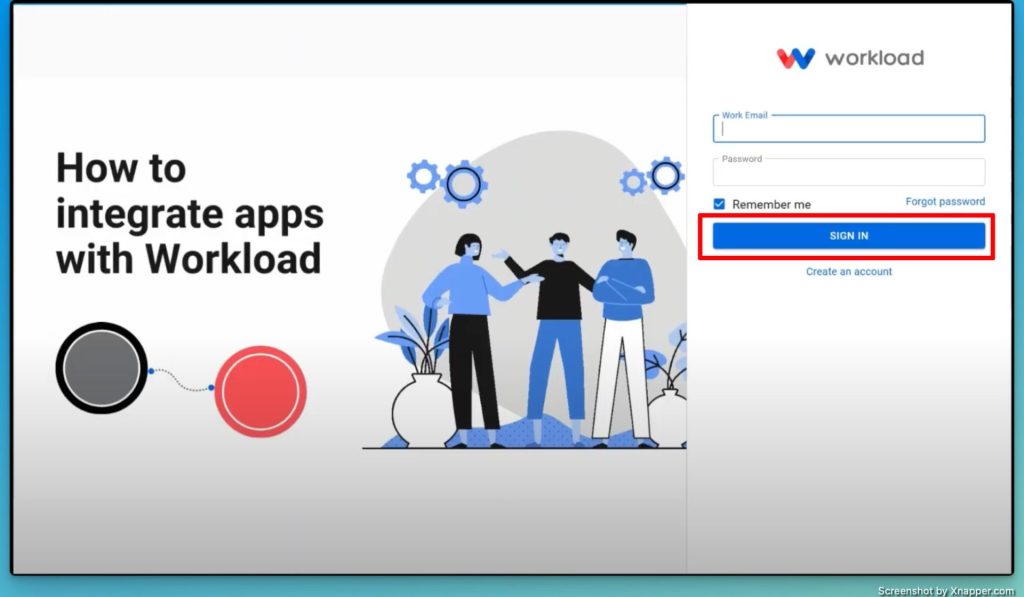
- If you have previously logged in and selected “Remember Me,” your login details will already be saved.
- Enter your credentials and click “Sign In“.
- Once logged in, you will land on the Workload dashboard, where you can access all your integrations and settings.
Navigating to Your Workspaces #
- Locate the Account Login / Current Workspace at the top-right corner of the dashboard.
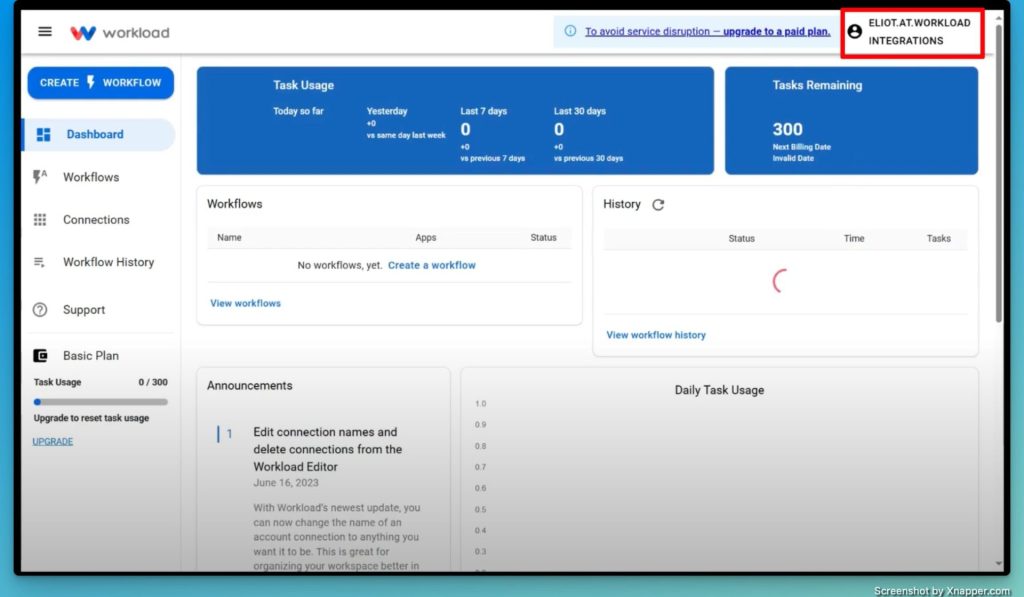
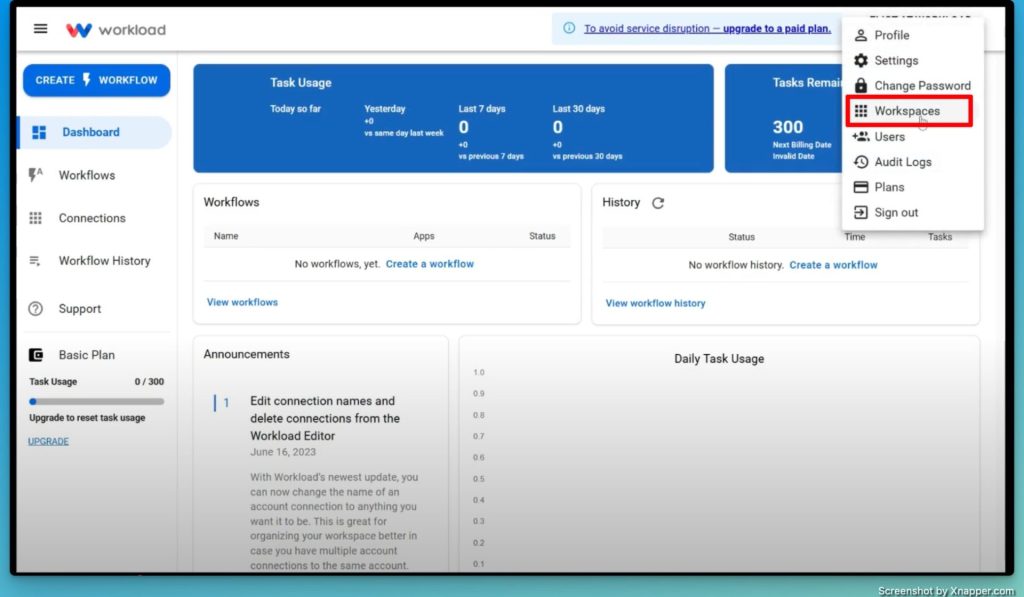
- Click this section to open a dropdown menu.
- Select “Workspaces” from the menu.
- A list of all your workspaces will appear.
- In order to share a workspace, you must be logged into that workspace.

- The currently active workspace does not have a blue selection button; to switch to a different workspace, click on the blue arrow to navigate to the desired workspace.
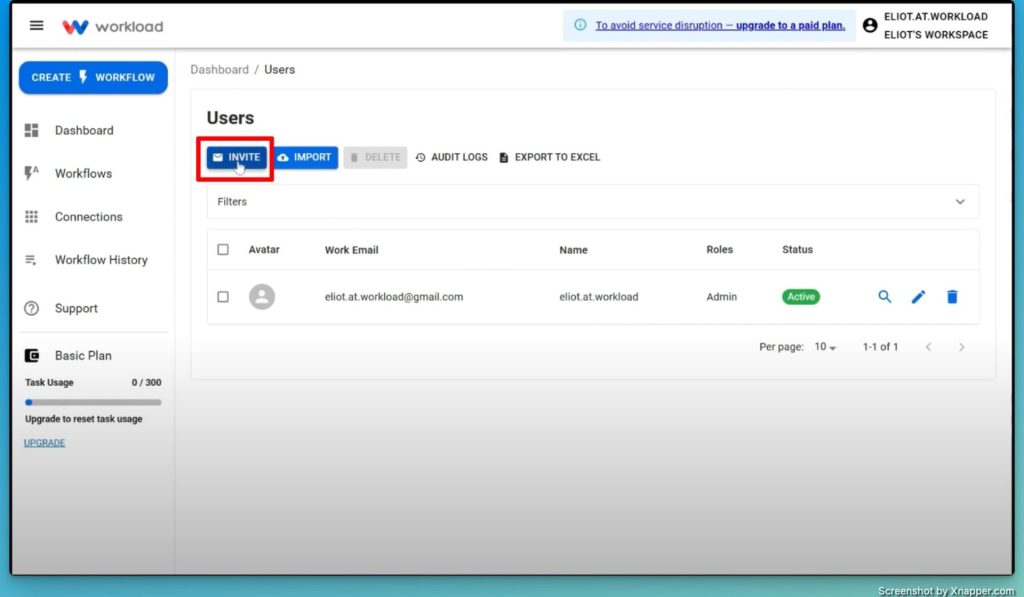
Managing Users and Permissions #
- Once you are logged into the workspace you want to share, click the Account Login/Current Workspace button at the top-right corner of dashboard
- Select “Users” from the dropdown menu.

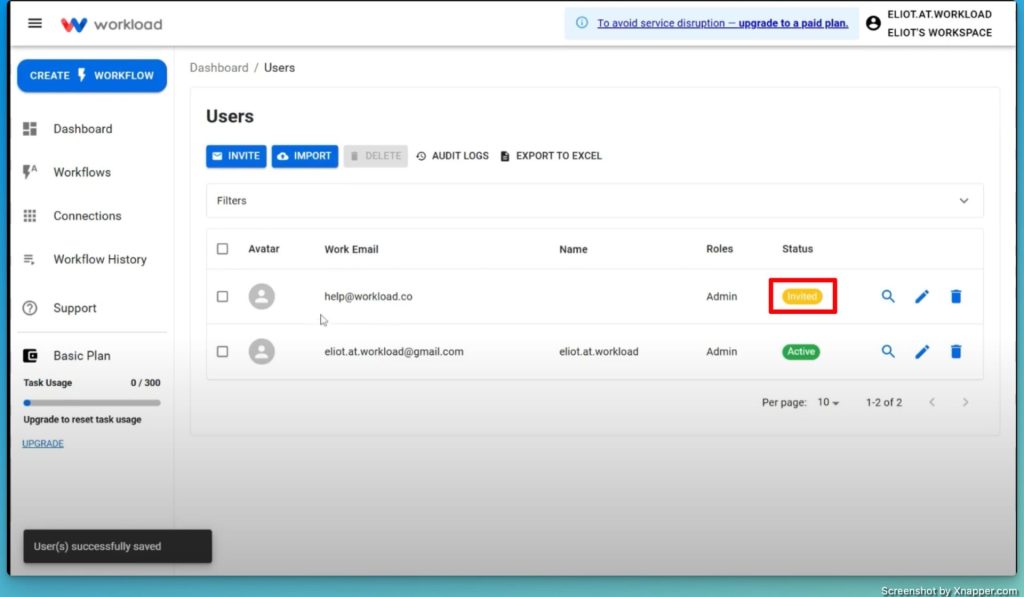
- You will now see a list of users who have access to this workspace.
Inviting a New User #
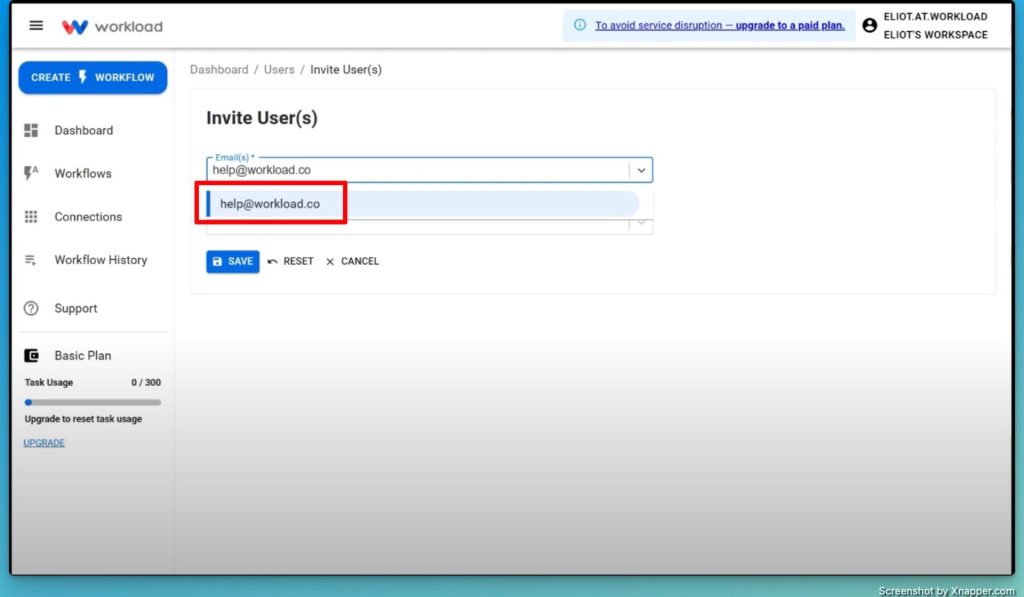
- Click the “Invite” button.
- Enter the email address of the person you want to invite.
- A blue dropdown menu will appear—click on the correct email address.
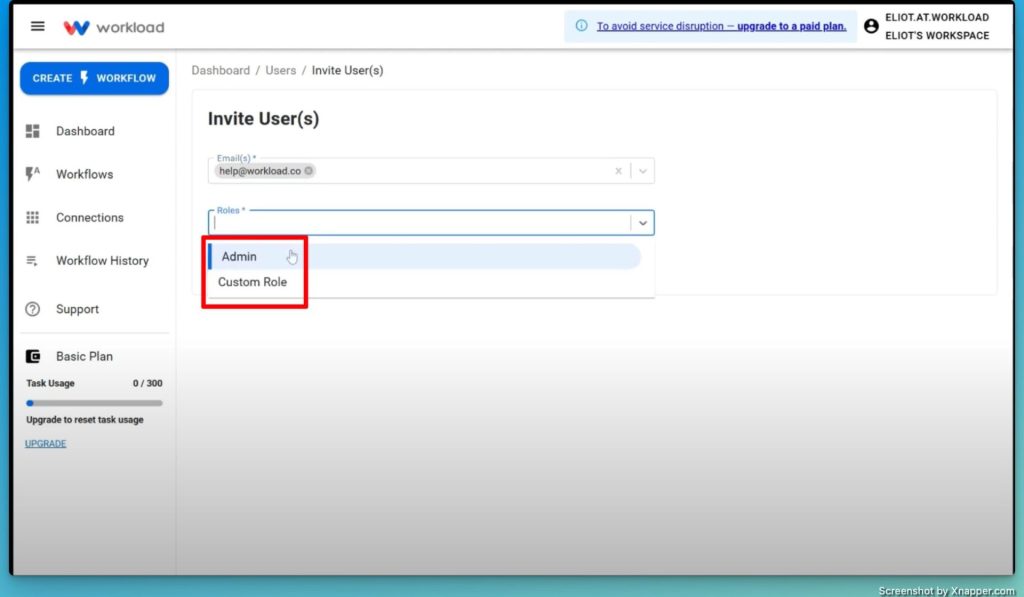
- Assign a role (e.g., “Admin”).
- Click “Save” to send the invitation.
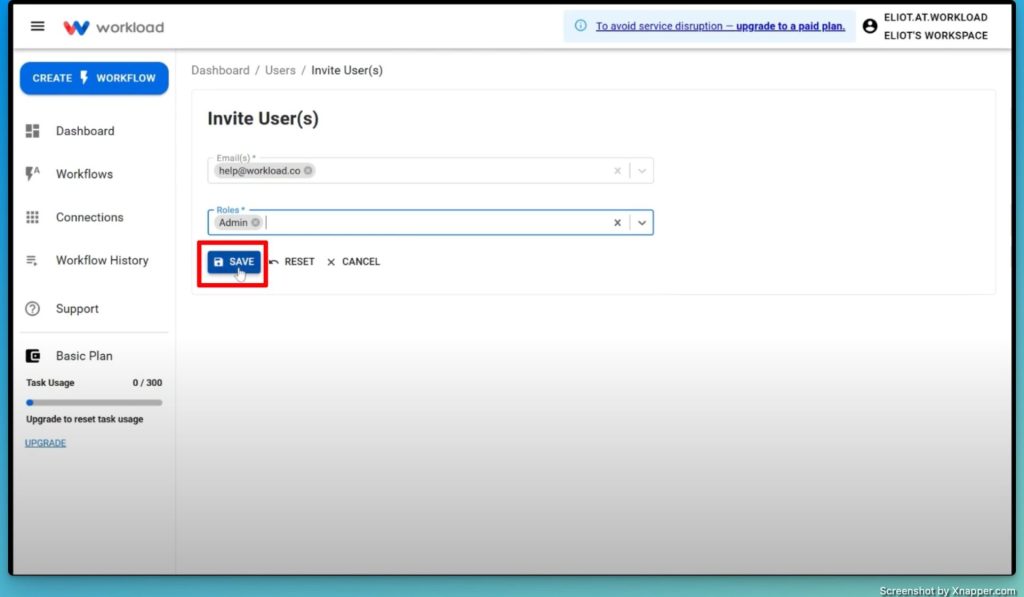
At this stage, the new user will be listed under users with an “Invited” status indicator in yellow.
Finalizing the Invitation #
- The invited user must check their email and accept the invitation.
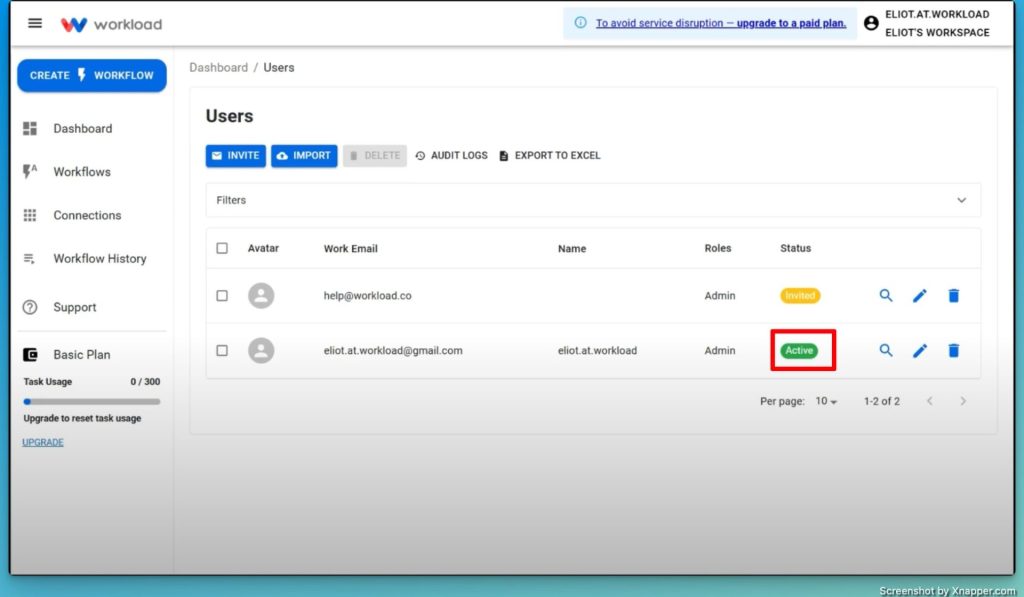
- Once they accept, their status will change from yellow (“Invited“) to green (“Active“).
- If you’re sharing the workspace with teammates, remind them to accept the invite.
- If you’ve invited Workload support, they will confirm the access once they receive the request.
Conclusion #
And that’s it! You’ve successfully shared your Workload workspace, enabling your team or support staff to collaborate and assist with your automation needs.
For more helpful guides, subscribe to our Workload YouTube Channel for the latest tutorials on maximizing Workload’s capabilities.
Happy automating!


