Manual scheduling is repetitive and time-consuming. Imagine a system that takes care of these routine details for you. Workload makes it easy to sync Microsoft Outlook with Google Calendar, so your events update automatically and stay organized.
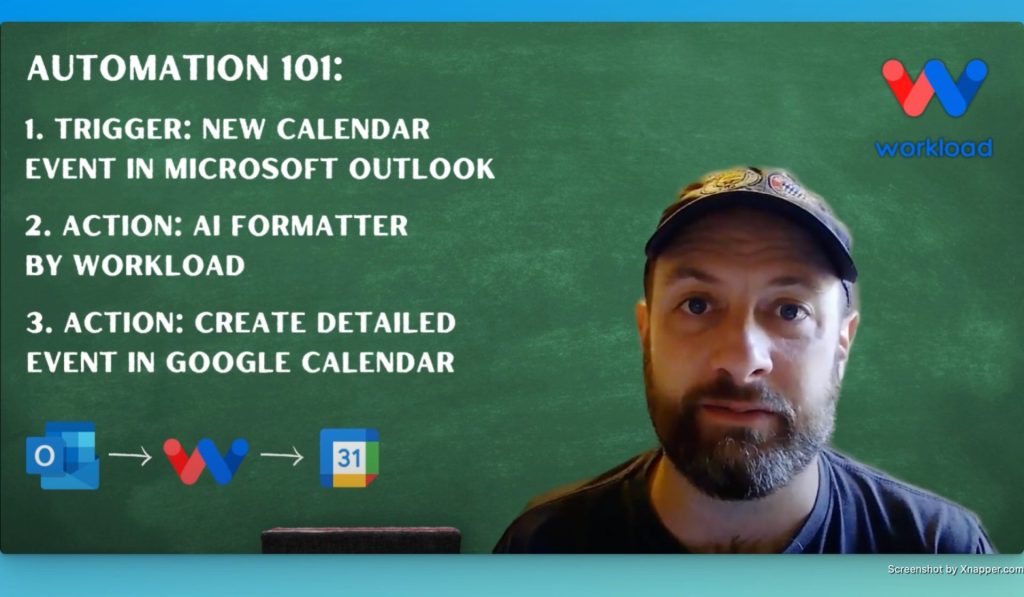
The workflow starts when you create an event in Outlook. It then uses an AI Formatter to adjust the time zone, and finally, it syncs the event with Google Calendar. In this blog post, we explain exactly how to create a workflow that helps business owners cut down on time-consuming tasks, so they can focus on growing their business.
Need more help? Check out our step-by-step video. You can also visit Workload University or our Workload Help page for more tips.
Overview: Sync Calendar Events between Outlook and Google Calendar #
In this integration, you will:
- Trigger on a New Outlook Event: Automatically detect new events created in your Microsoft Outlook calendar.
- Format the Date and Time: Use the AI Formatter by Workload tool to convert event times to the correct time zone.
- Create an Event in Google Calendar: Add the formatted event to your Google Calendar.
Before you begin, please check that you have:
- An active Microsoft Outlook account with calendar access.
- A Google Calendar account to sync events.
- A Workload account to build and automate your workflow.
Step by Step: How to Sync Calendar Events #
Step 1: Set Up the Trigger in Workload #
- Open Workload: Launch Workload and create a new workflow.
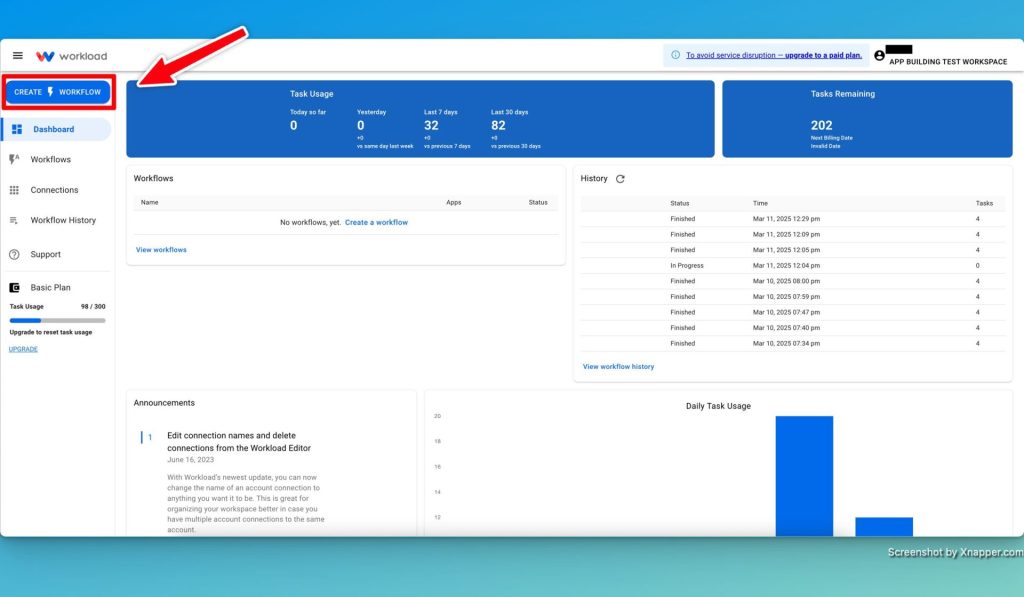
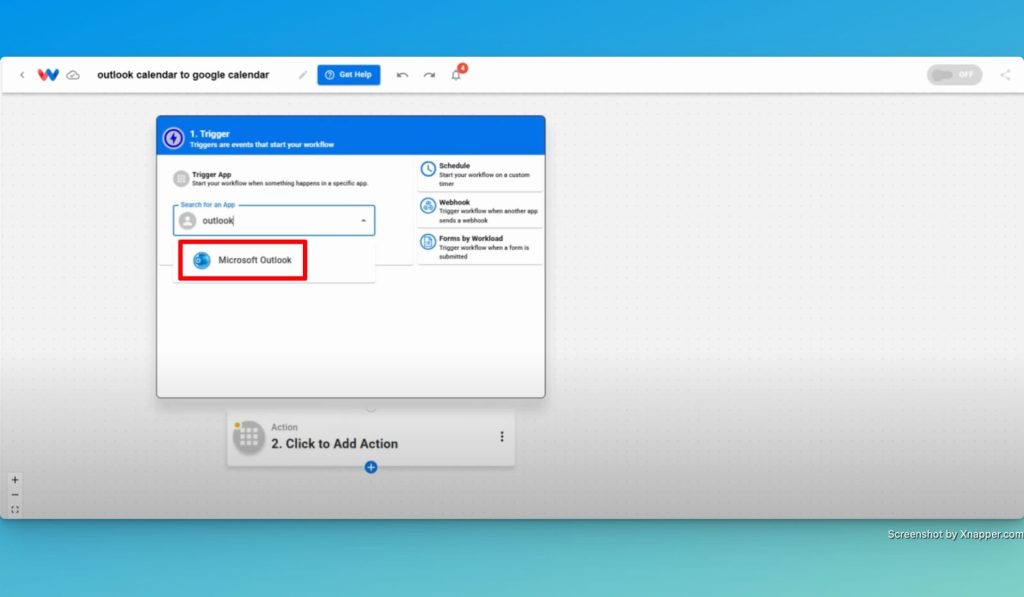
- Select Outlook: Choose Outlook as your trigger app.
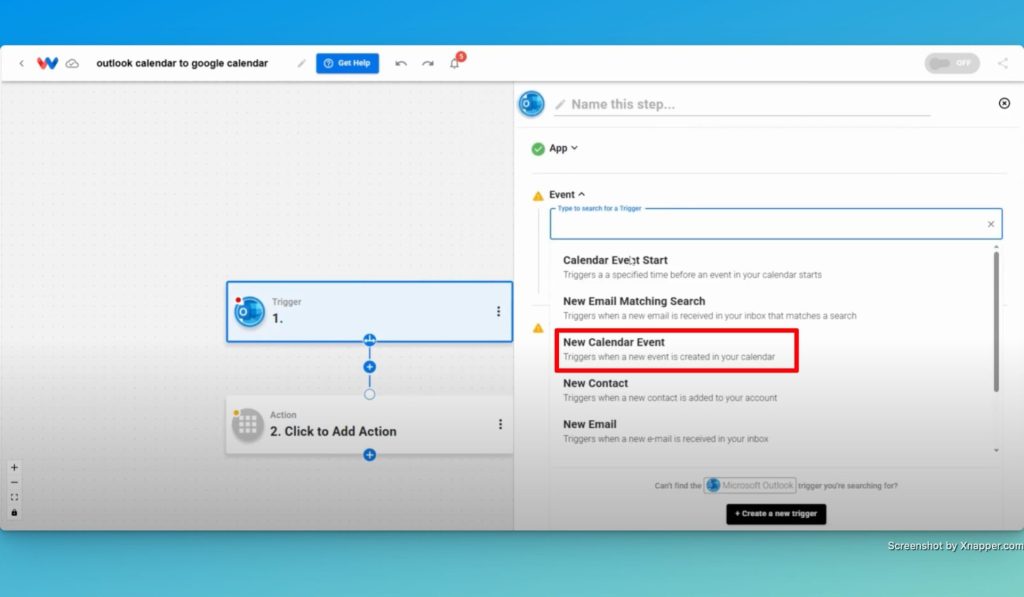
- Pick the Trigger Event: Select “New Calendar Event.”
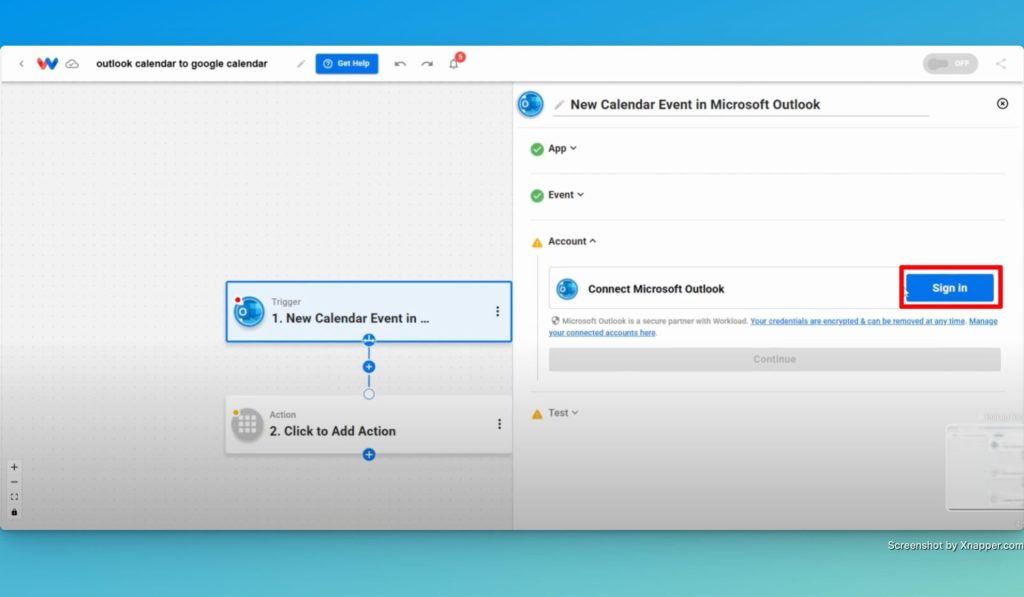
- Connect Your Account: Sign in to your Microsoft account or select an existing connection.
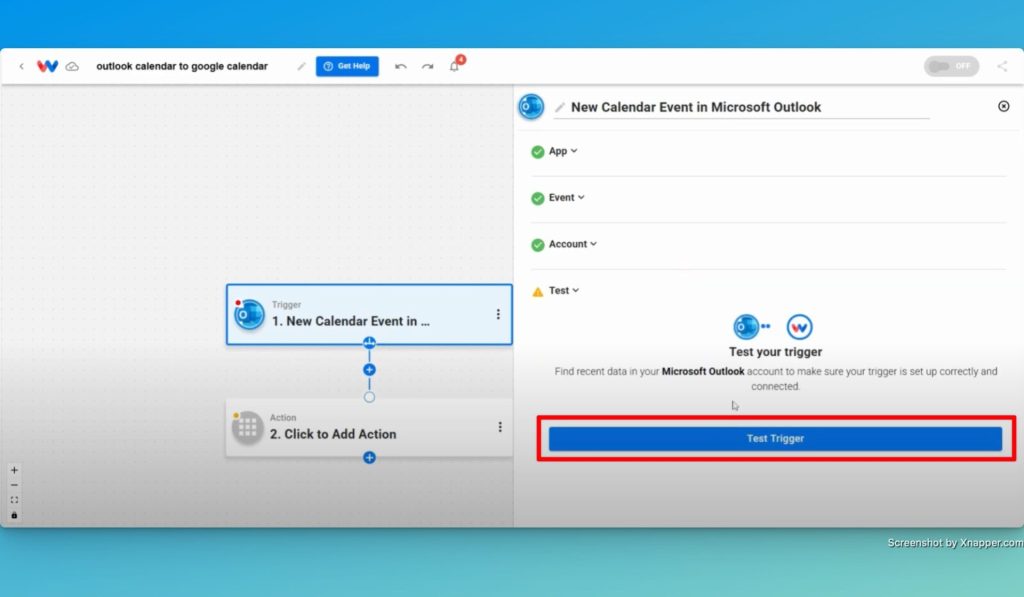
- Test the Trigger: Run a test to make sure new events are detected.
Step 2: Format the Date and Time #
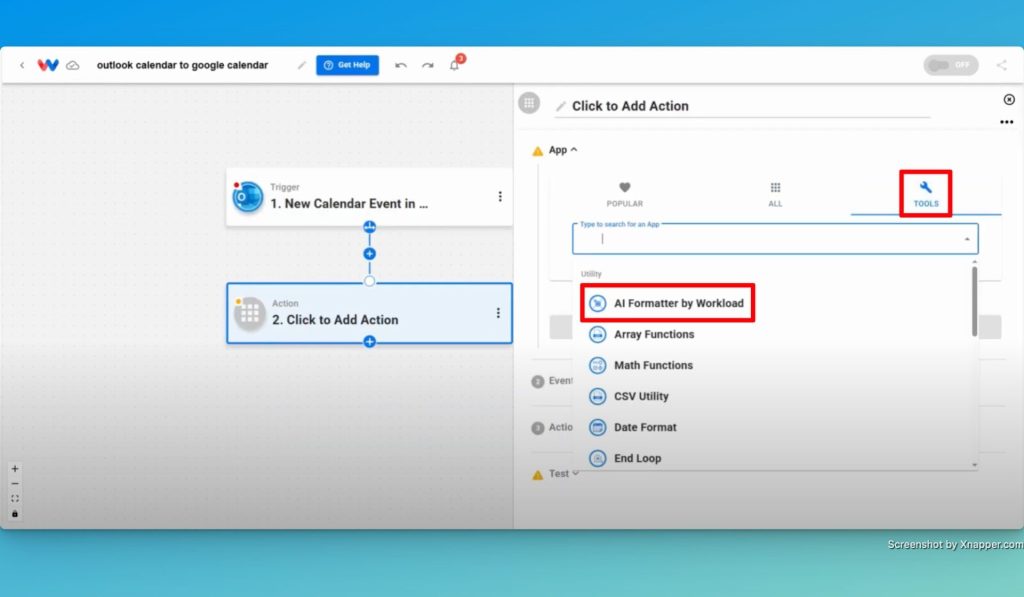
- Add AI Formatter: Click on Step 2, choose the Tools menu, and then choose AI Formatter by Workload.
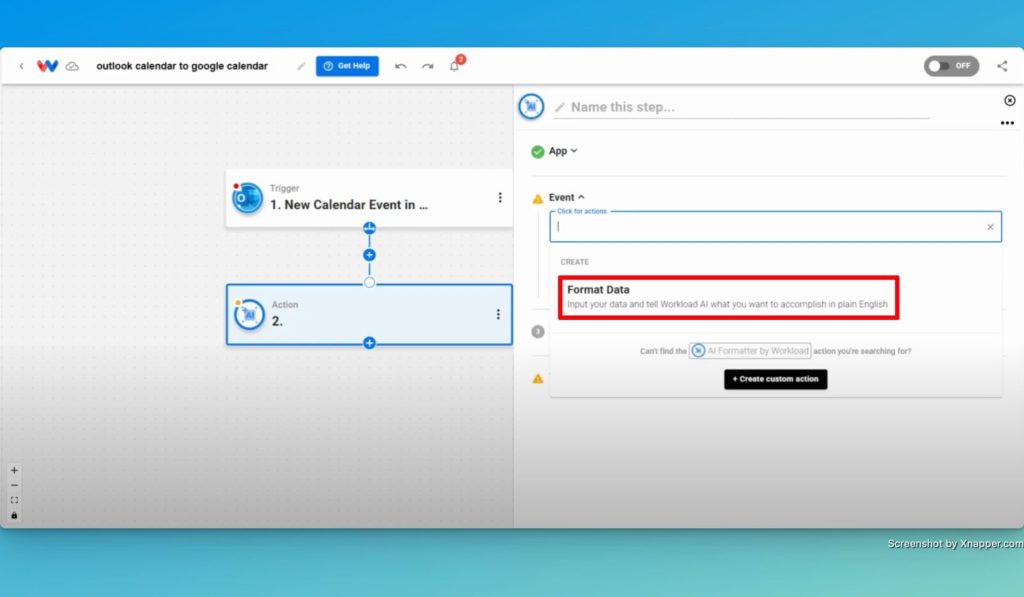
- Choose Event: Pick the event “Format Data” from the menu.
- Prompt the Formatter: Use the event’s start and end times as Input Data, then type in a prompt to format the data. (Example Prompt: Can you keep these times in the same format but convert them into pacific time and show a flat response that is not contained within an array).
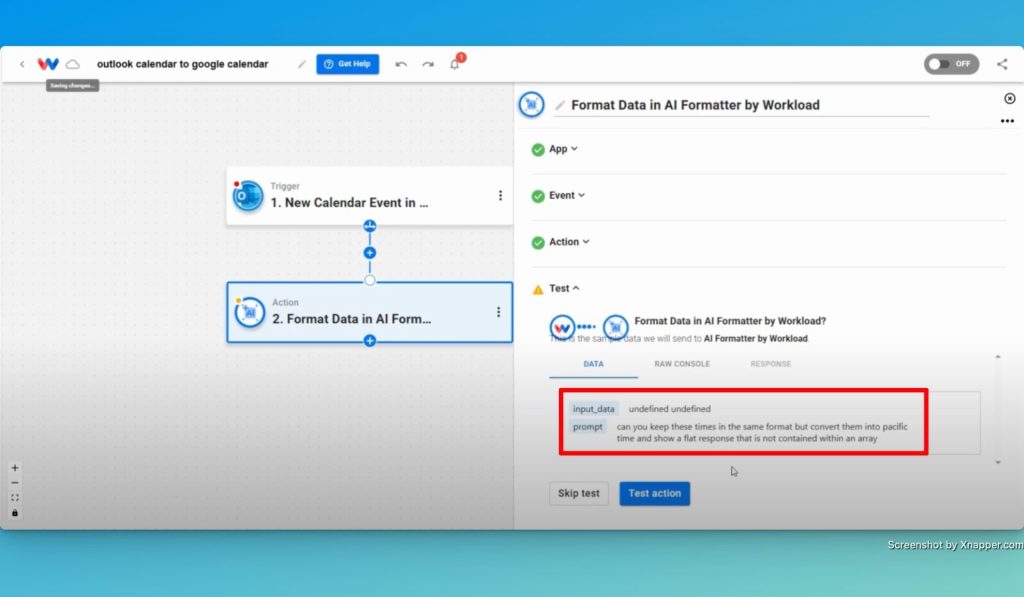
- Test the Formatter: Run a test to confirm the times display correctly.
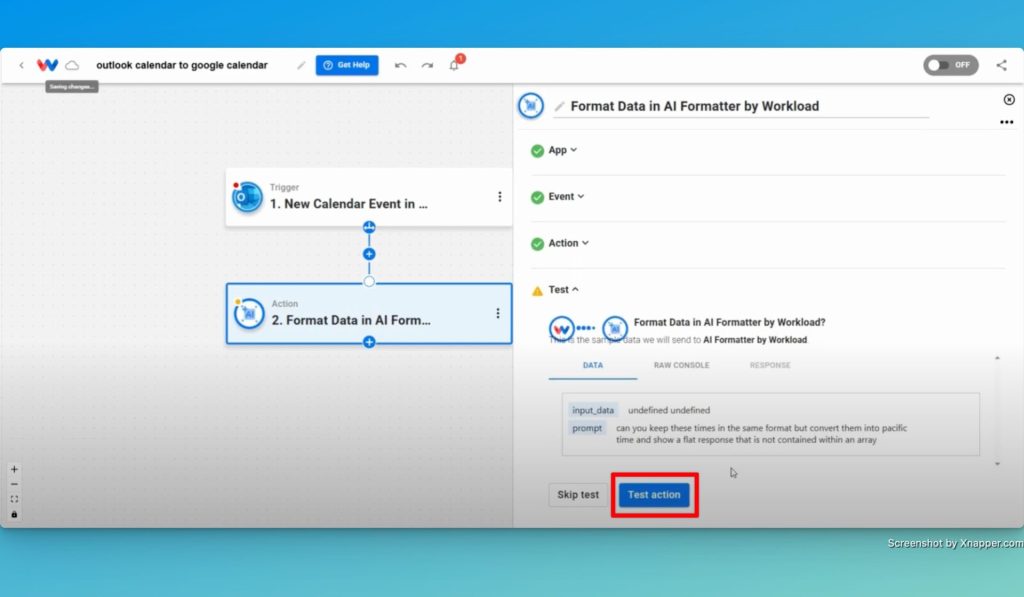
Step 3: Create a Google Calendar Event #
- Add Google Calendar: Insert a new step and select Google Calendar.
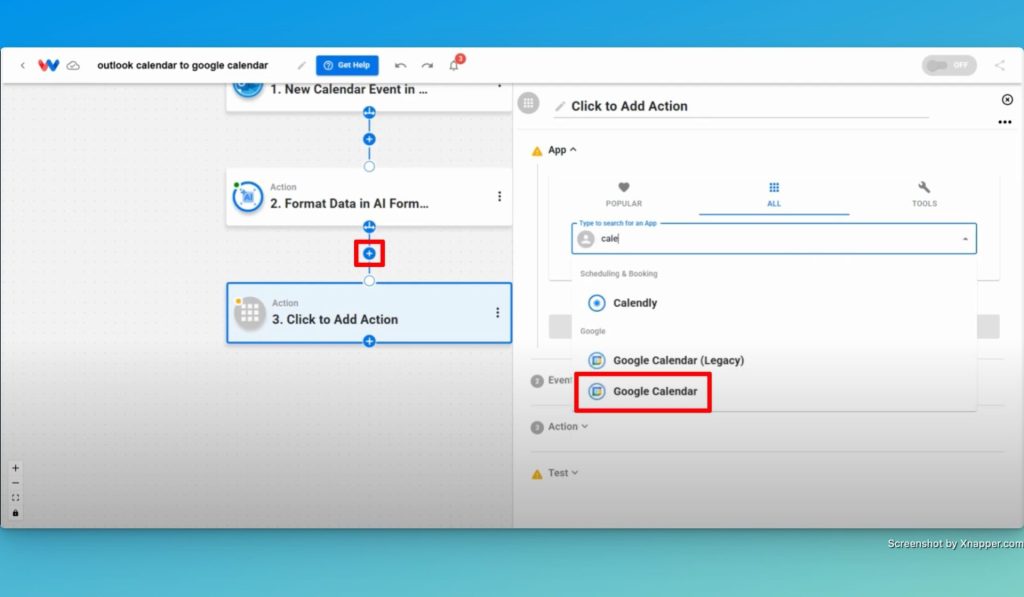
- Choose the Action: Select “Create Detailed Event”.
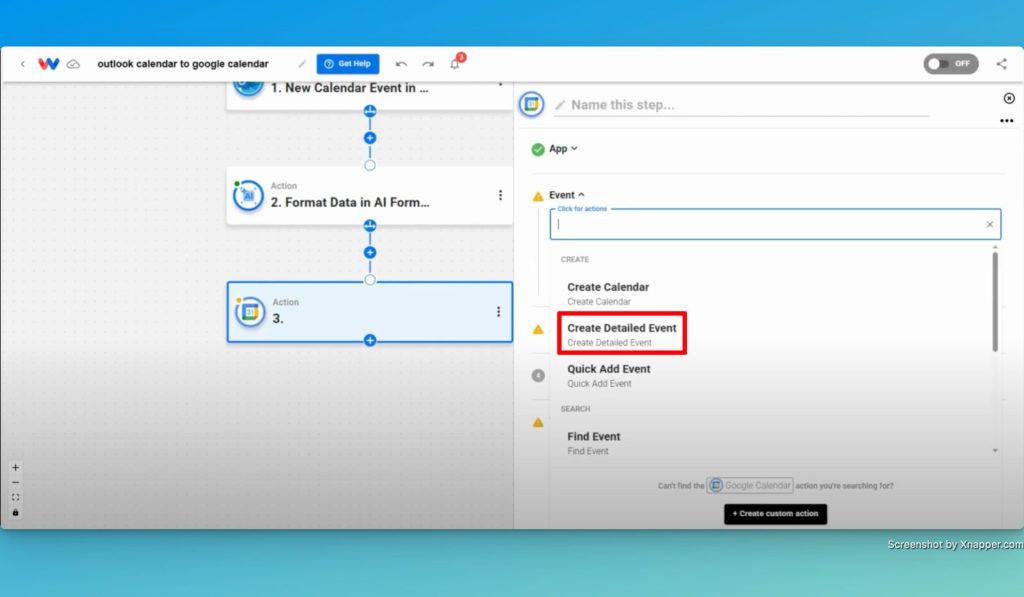
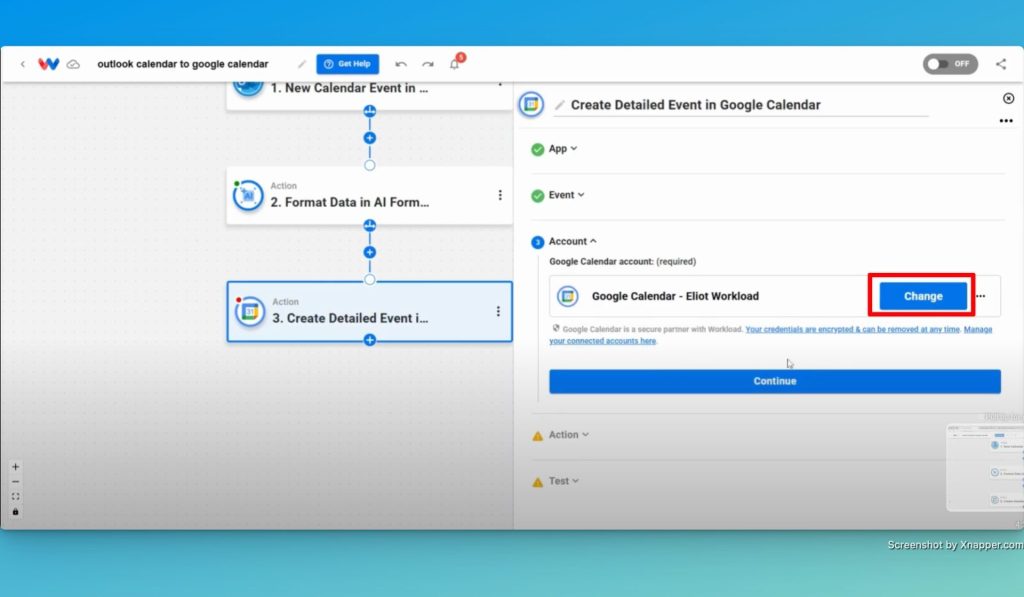
- Connect Your Account: Sign in to Google Calendar.
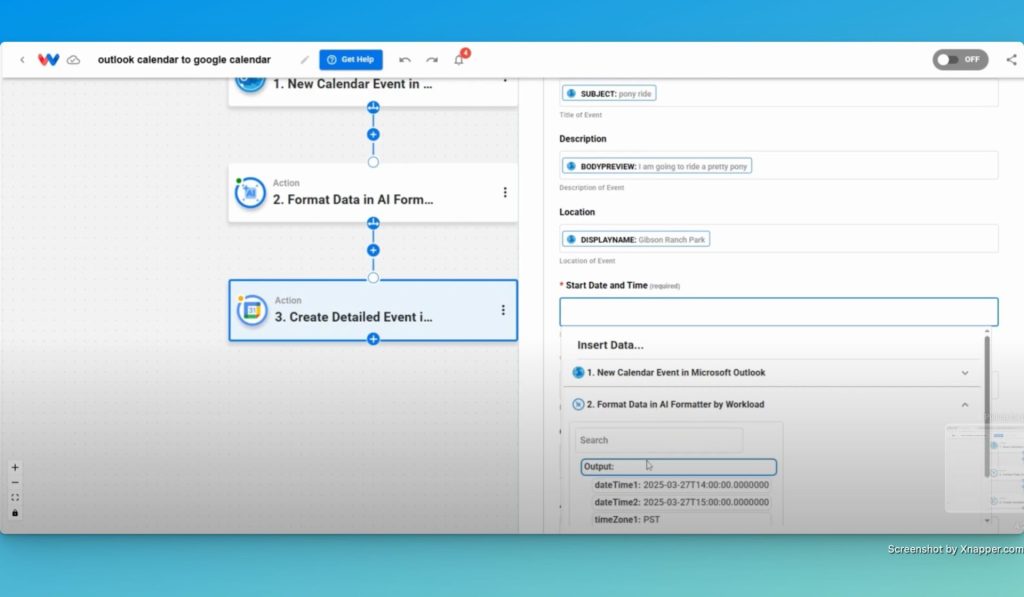
- Map Event Details: Add the title, description, location, and formatted times and a color code.
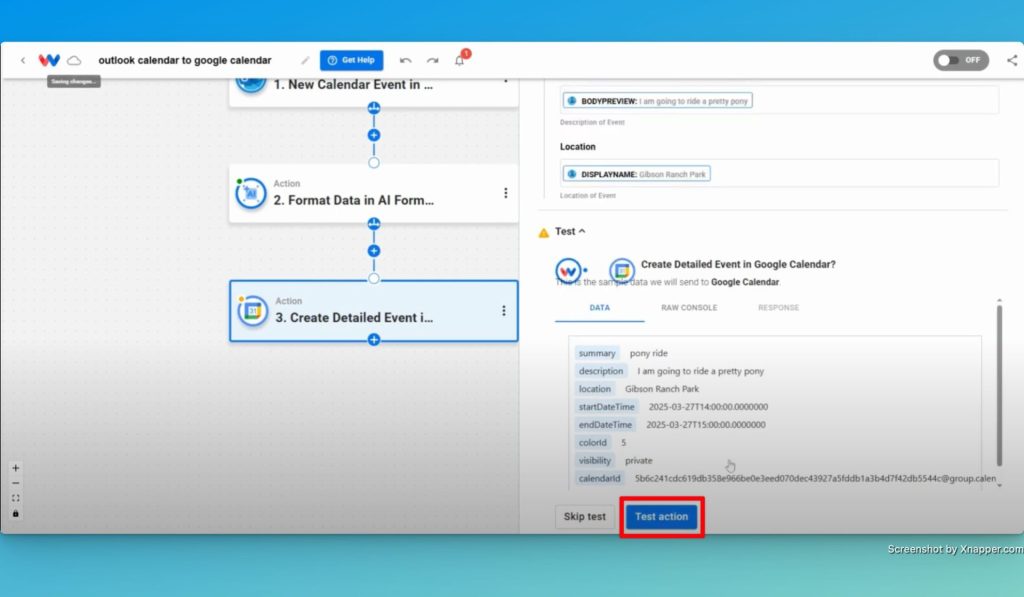
- Run a Test: Click “Test Action” to create a test event in Google Calendar.
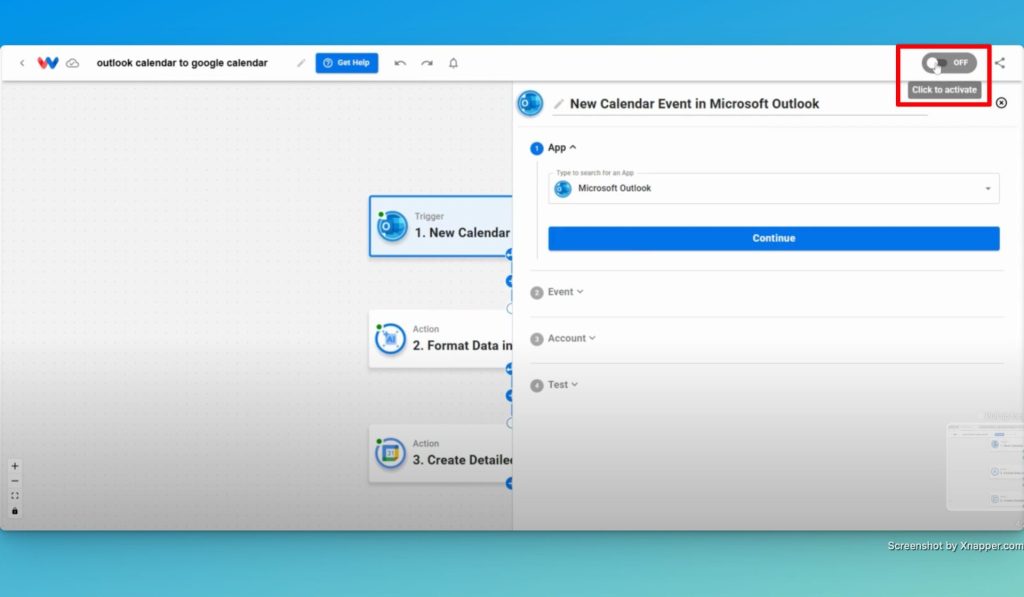
Step 4: Verify and Activate the Workflow #
- Verify Steps: Check that each of the steps have a green indicator. If a node indicator is red, click back into the step and go back through the process.
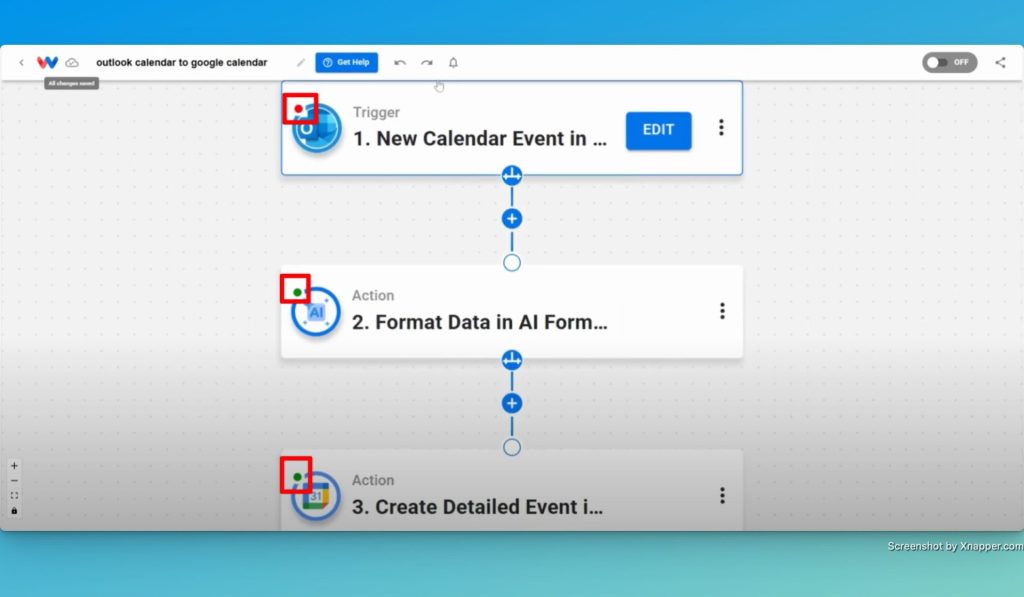
- Activate the Workflow: Turn on the automation when everything looks good.
#
Wrapping Up: Sync Calendar Events #
Syncing Outlook with Google Calendar makes scheduling easy. Events update automatically across both platforms, so you don’t have to enter them manually. This saves time and helps prevent scheduling conflicts. With accurate time zones and event details, you can avoid double bookings and keep your calendar running smoothly.
With this automation, you stay organized without constantly updating multiple calendars. Instead of managing schedules, you can focus on what matters—growing your business.
Want a simpler way to manage your calendar? Try Workload today for effortless scheduling. For more automation tips, subscribe to our YouTube channel.
Automate and simplify your business!


