How to copy from one workspace to another
Bryan Golkhajeh
December 8, 2022
In this tutorial, you’ll learn how to use the Copy To feature in order to copy one or several workflows from a single workspace into another workspace. This feature is helpful if you built a workflow and want to quickly share it with another team or client that you have access to in Workload.
Step 1: Create a workspace
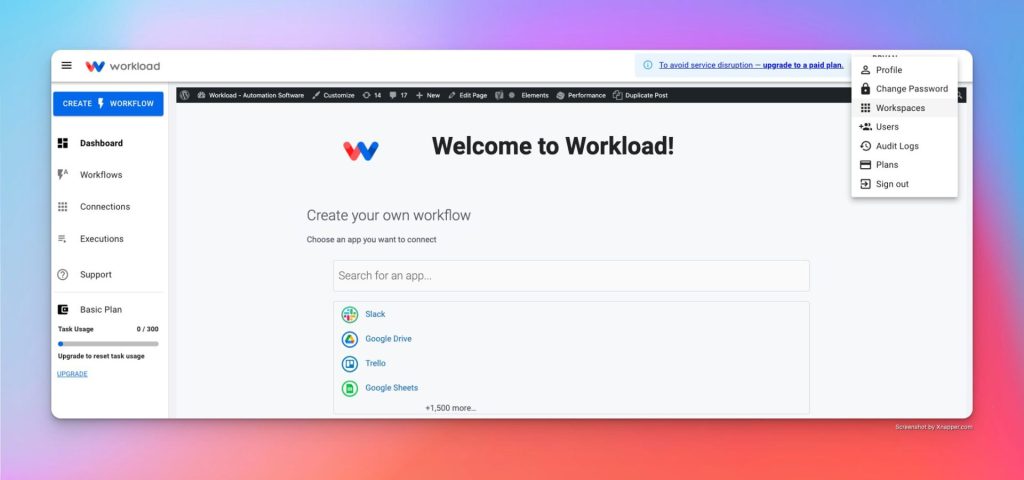
If you haven’t already created a new workspace, click in the upper right user menu and select “Workspaces” from the dropdown.
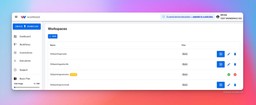
Next, click on the “+ New” button at the top to create a new workspace in your account (free).

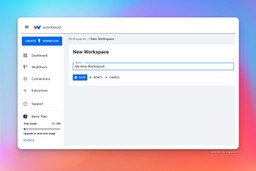
Give your new workspace a name and click “Save”. You will be redirected into the newly created workspace.

Step 2: Return to the original workspace
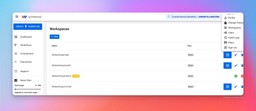
Return to the workspace that contains the workflows you wish to copy. This can be done by clicking back into the upper right profile menu and selecting “Workspaces”. After that, click the “Log In” icon button next to the workspace that contains the workflows to copy.


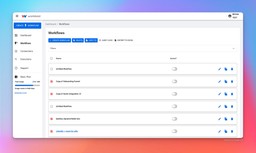
Step 3: Select the workflows to copy
Now that you are in the original Workspace, navigate to the “Workflows” tab in the left column menu. Select the workflows you want to copy. If you want to copy all of them, click the empty box at the top of the workflow list to “Select all.”


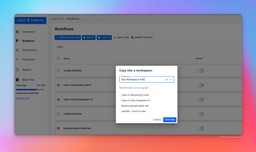
Step 4: Copy to the destination workspace
Once your workflows are selected, click the blue “Copy To” button located across the top above the Filters dropdown. After that, choose the workspace you want these workflows copied to. Click “Continue” to confirm your choice and copy the workflows. If any of the copied workflows are active, they will copy over to the new workspace as paused/deactivated. The original workflow will remain active.

Step 5: Make necessary edits to the new workflows
The copy feature doesn’t copy over triggers and webhooks or authentication/account information. This means you will have to navigate back to the new workflows in the other workspace. Once you are back in the new workspace, you will need click into each workflow and perform the following necessary steps:
- For each trigger: Choose or connect a new account that matches the account of the new workspace then continue to test the trigger to get new data.
- For each action: Choose or connect a new account
Tags
Ready to automate your workflows?
Start building powerful automations with Workload today.
Get Started Free