The Workload integration enables you to connect and integrate Webex with hundreds of popular business applications to build automated workflows for your team or company.
Enable the Workload – Webex integration (video) #
Setup the integration (triggers): #
Step 1: Connecting the webhook #
1. In the Workload dashboard, click on “Create New” to build a new workflow in the editor.
2. Hover over the trigger step and click on “Edit”. Select “Webex” from the list of apps. Click “NEXT”.
3. Select any of the Webex specific events to trigger your workflow. In this example we will use, “New Meeting”. This will trigger your workflow any time a new meeting is created on your account. Click the “Next” button.
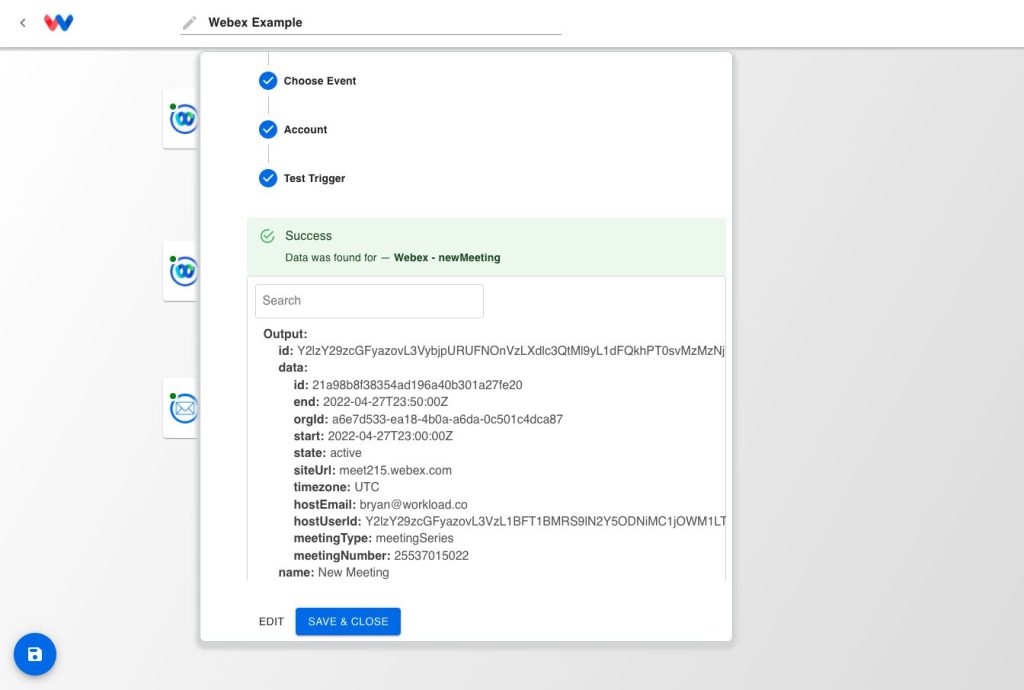
4. You should see a “Success” message, stating the trigger was created successfully. Now it’s time to “Load Data”.
5. Workload will now listen for events matching “new meetings” in Webex. Go ahead and create a meeting inside your Webex dashboard to test this connection is working.

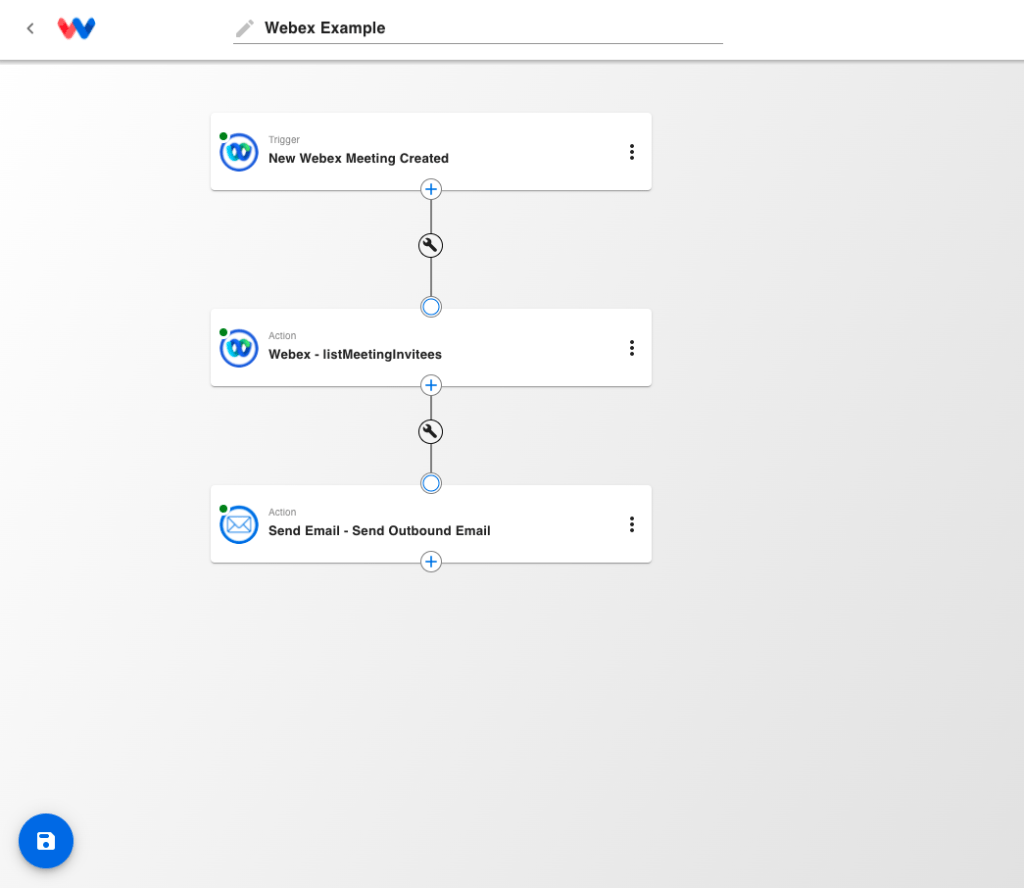
You can now go on to add an action by dragging the handle of the trigger node onto the empty canvas and following the rest of this document for setting up actions.
Setup the integration (actions): #
Note: Access role must be Super Admin in order to set up the integration.
Step 1: Connecting the Integration #
1. In the Workload dashboard, click on “Create New” to build a new workflow in the editor.
2. Click “Create Trigger” and set up a trigger to run your workflow. Click and drag the handle onto the canvas to create an “Action”. Click on the “Action” node to edit.
3. Select “Webex” and choose an action. Click next to go to the “Authenticate” step.
4. Click on “ADD NEW” and follow the pop up modal instructions.
Step 2: Complete the workflow #
1. Once you press “Accept”, you’ve granted Workload access to your Webex account. Ensure you have selected the newly created credential before moving on to the next step. Click “NEXT”.
2. Fill in Action Details with any relevant information if necessary. Click “NEXT”.
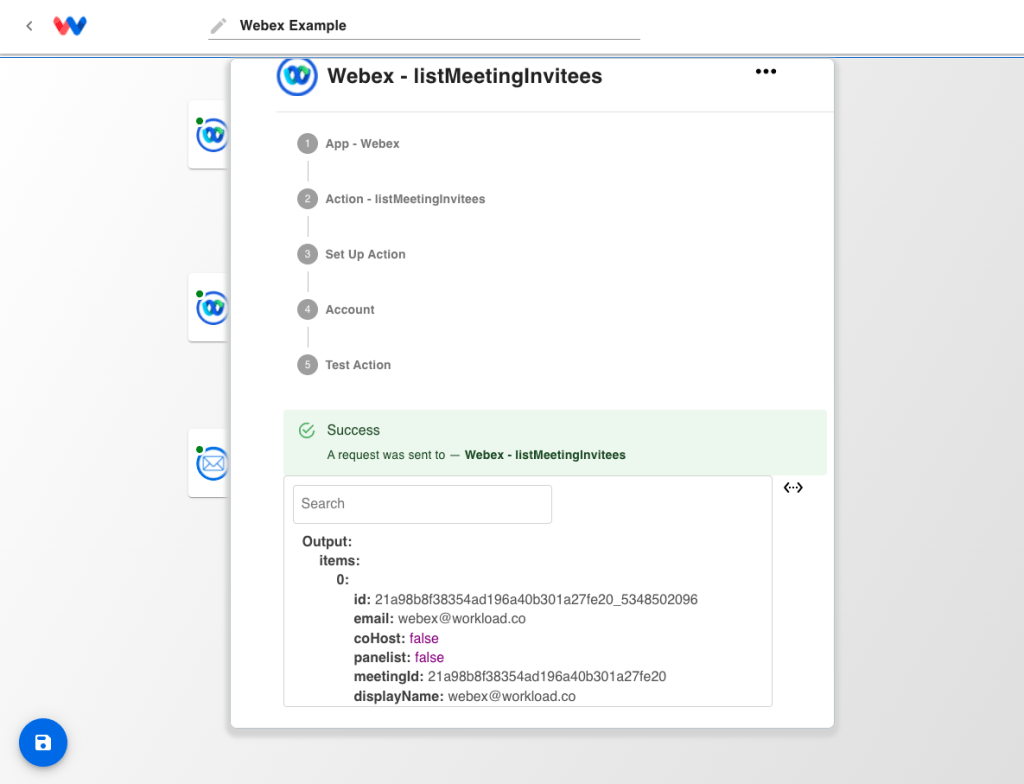
3. Click on “TEST ACTION”
4. Review the data that was just pulled from your Webex account to ensure there aren’t any errors.

5. Give the workflow a name in the title bar above.

6. Activate the workflow by clicking on the slider in the upper right corner. It will turn green and say “ON” if it is active.


7. Press the blue “save” button in the lower left corner.

8. To exit the editor, click on the “back” chevron next to the Workload logo in the upper left corner. You will return to the dashboard where you’ll see your new workflow plus any other workflows you’ve created.
How to use the integration: #
You can now move data in and out of Webex in a flexible way. Common use cases are to pull reports from various sources in Webex into a Google Sheet once every few days for reporting purposes, or send messages in Slack when a team member is invited to an interview panel. The combinations are limitless.

How to disable the integration: #
1. Navigate to the “Connections” tab in the main sidebar menu.
2. Check the box for “Webex”
3. Click on “Remove” to disable the integration and revoke Workload’s token


