Juggling multiple tools can get old quickly. If you’re manually copying information from Google Sheets into Slack, there’s a better way. With a Google Sheets to Slack Messaging workflow powered by Workload, you can automate that process in just a few clicks without needing to code. Once the workflow is live, every new row added to your spreadsheet will send a customized message to your Slack channel—instantly.
This workflow is perfect for internal alerts, task tracking, event planning, or notifying teams without the extra typing.
Need some help? Join our resident workflow expert, Eliot, as he walks you through the process in our video tutorial. To explore additional topics check out Workload University or our Help Center.
Overview: Google Sheets to Slack Messaging Workflow #
This simple, no-code workflow does three key things:
- Monitors New Rows: Watches a specific Google Sheets spreadsheet for any new entries.
- Sends Real-Time Slack Messages: Instantly posts that new data to a selected Slack channel.
- Customizes Your Output: You control which fields get sent, how it looks, and which team sees it.
What You’ll Need: #
- A Google Sheets account with a spreadsheet for tracking data
- A Slack workspace and channel where updates should go
- A Workload account to build and run your workflow
Step-by-Step: How to Build a Google Sheets to Slack Messaging Workflow #
Step 1: Set Up the Trigger (Google Sheets) #
- Open Workload: Log in to your Workload dashboard and click “Create Workflow.”
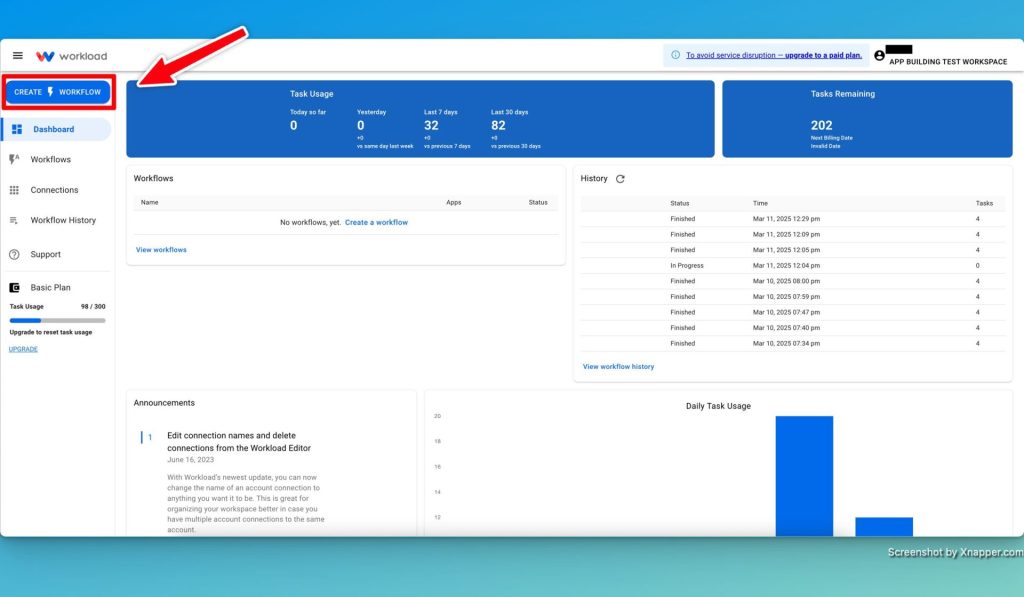
- Name Your Workflow: Give it a name like “Sheets to Slack Messaging”.

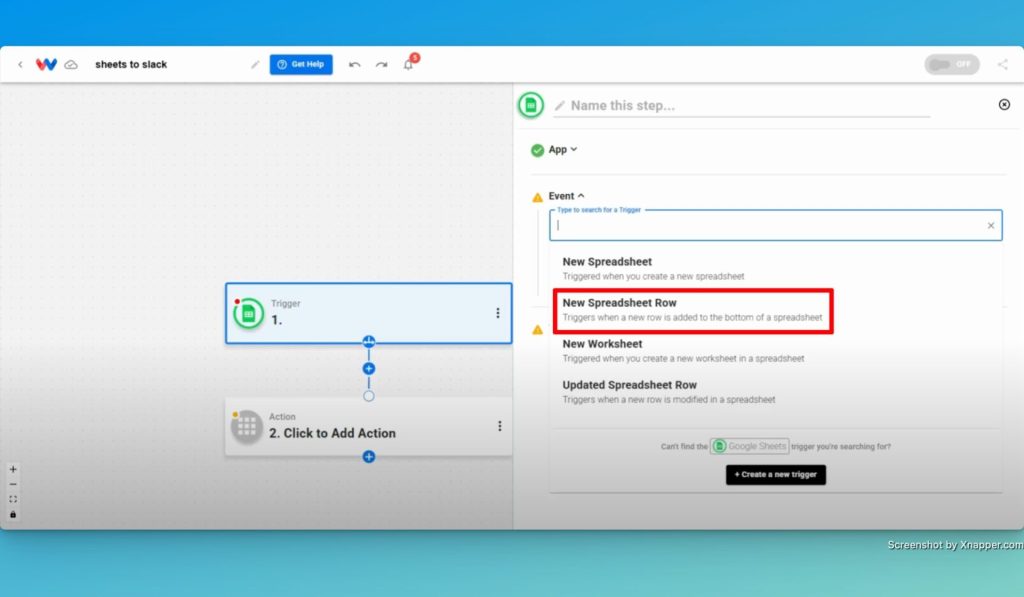
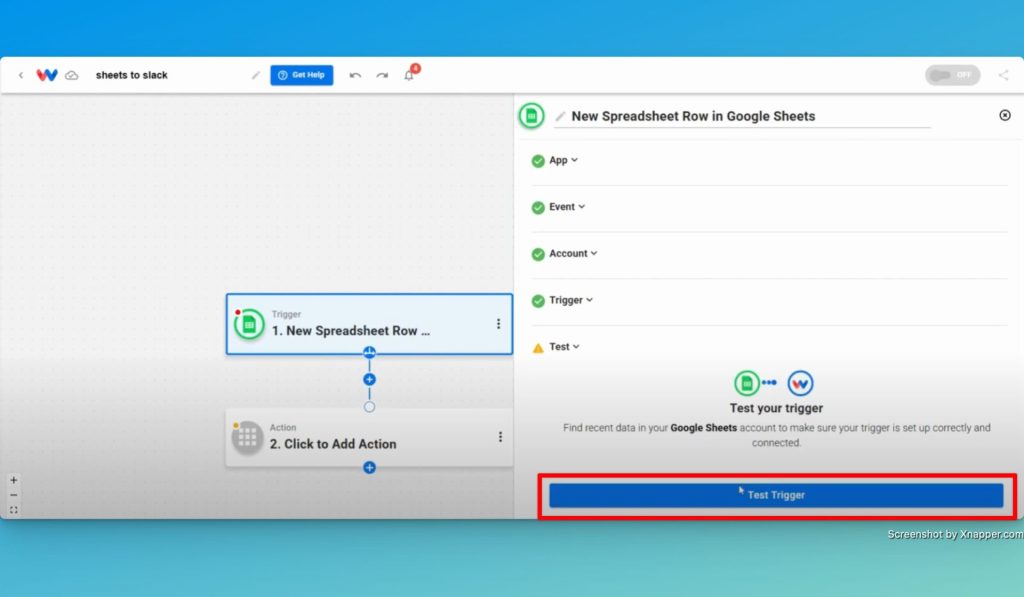
- Choose a Trigger App & Event: Select Google Sheets as your trigger app. Next, choose “New Spreadsheet Row” from the event list.
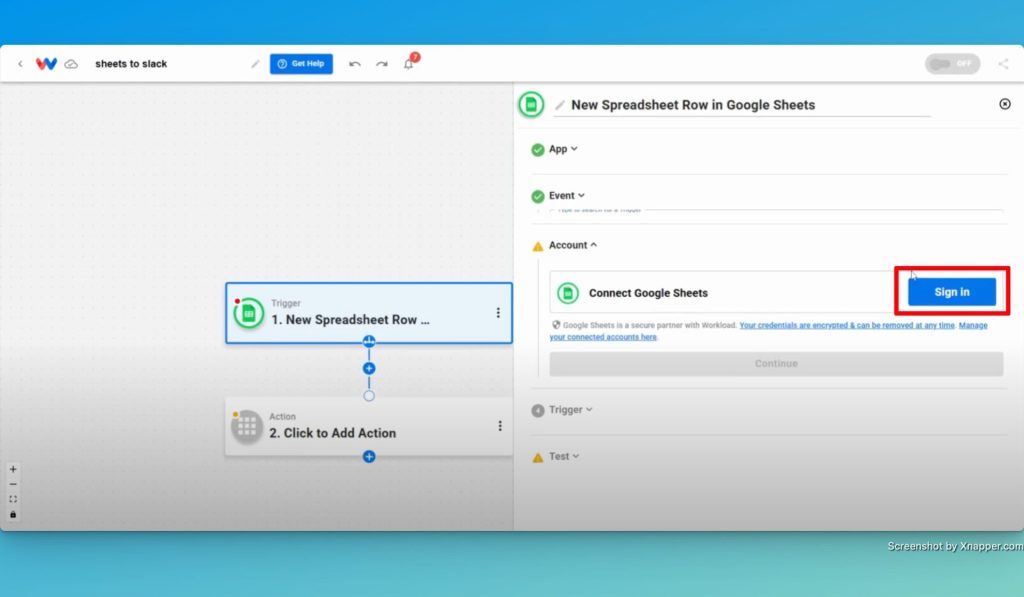
- Connect Your Google Account: Sign in with your Google credentials to authorize access.
- Select the Spreadsheet and Worksheet: Pick the spreadsheet and worksheet you want to monitor.
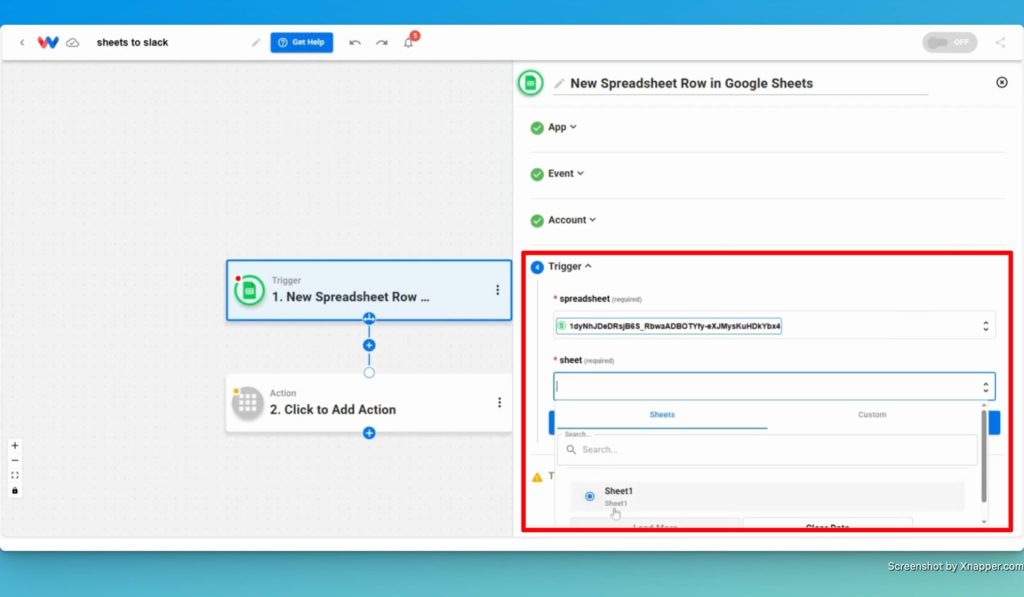
- Test the Trigger: Run a test to pull in sample data from your spreadsheet.
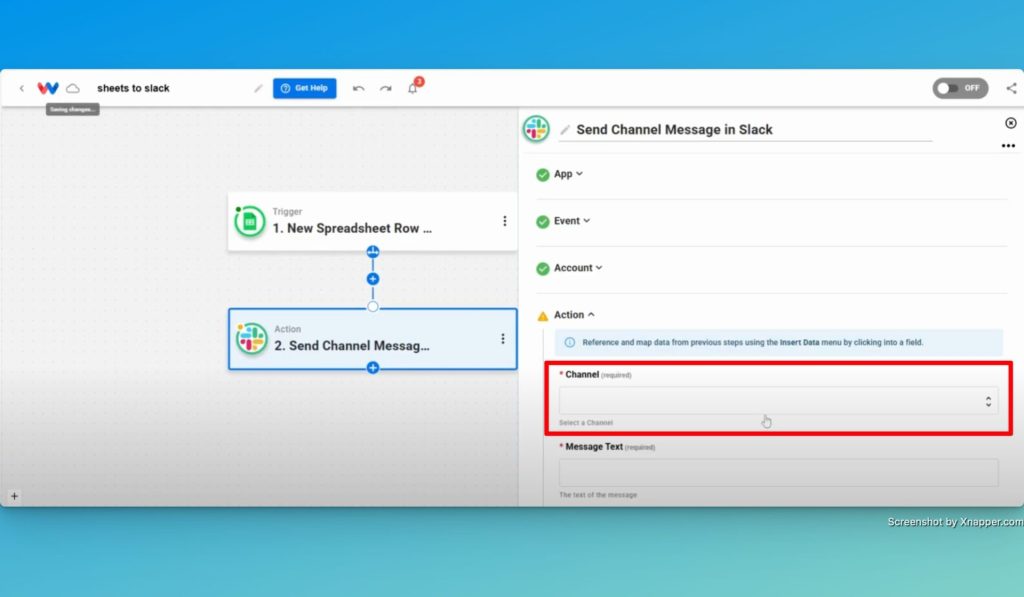
Step 2: Set Up the Action (Slack) #
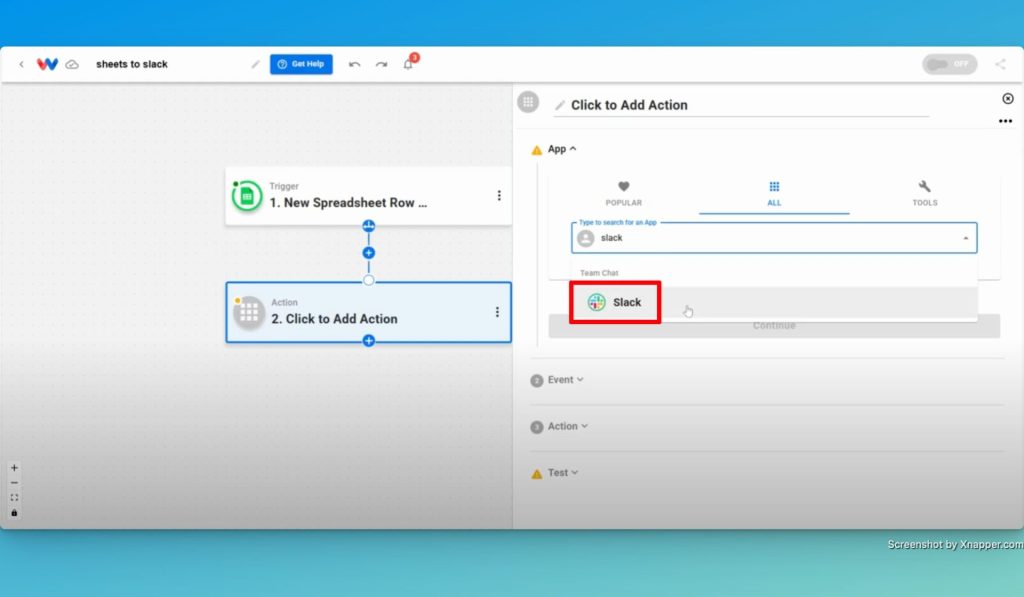
- Choose the Action App: Select Slack as your action app.
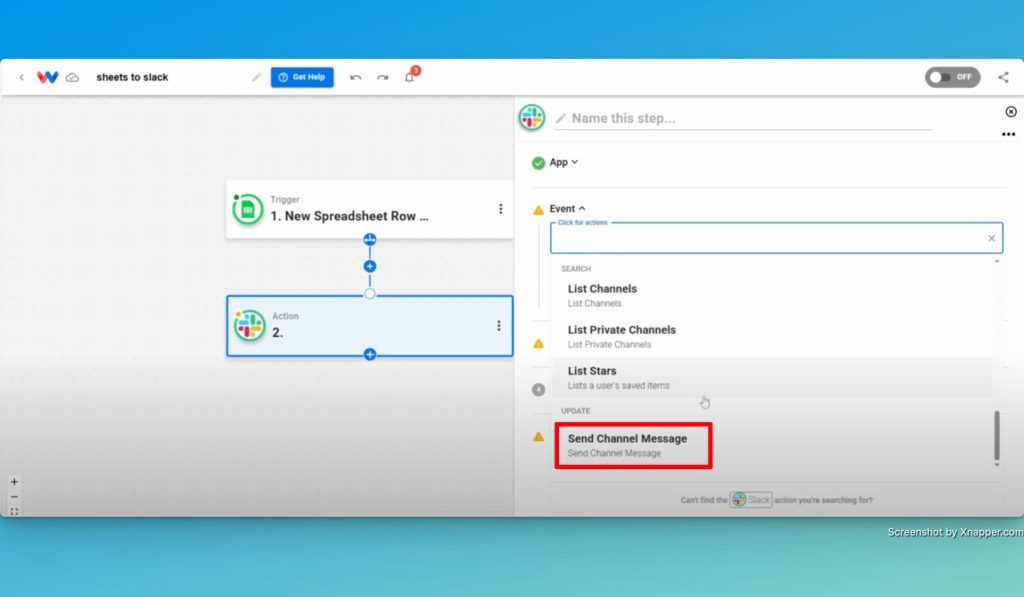
- Select the Action Event: Choose “Send Channel Message” as your event.
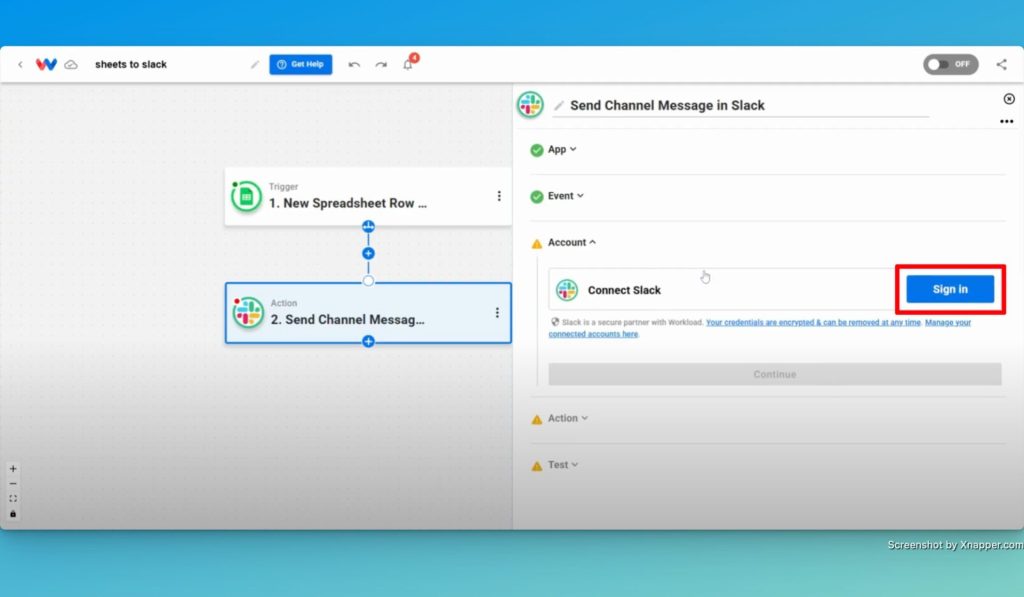
- Connect Your Slack Account: Click “Sign in” securely connect your Slack account.
- Select Your Slack Channel: Choose the destination channel where the message should be sent.
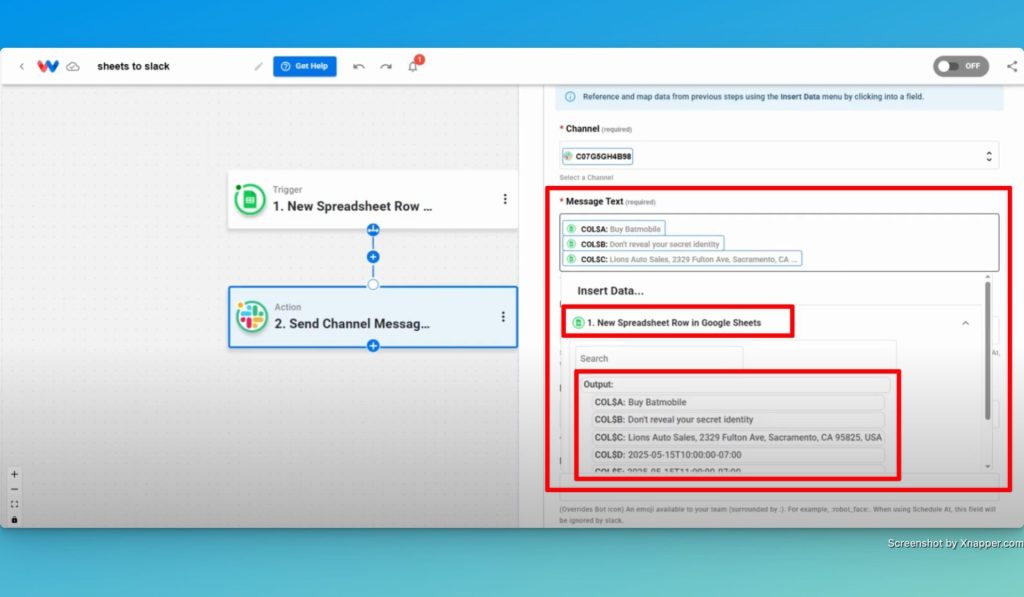
- Customize the Message Text: Use spreadsheet fields to create a meaningful message (e.g., task title, time, notes).
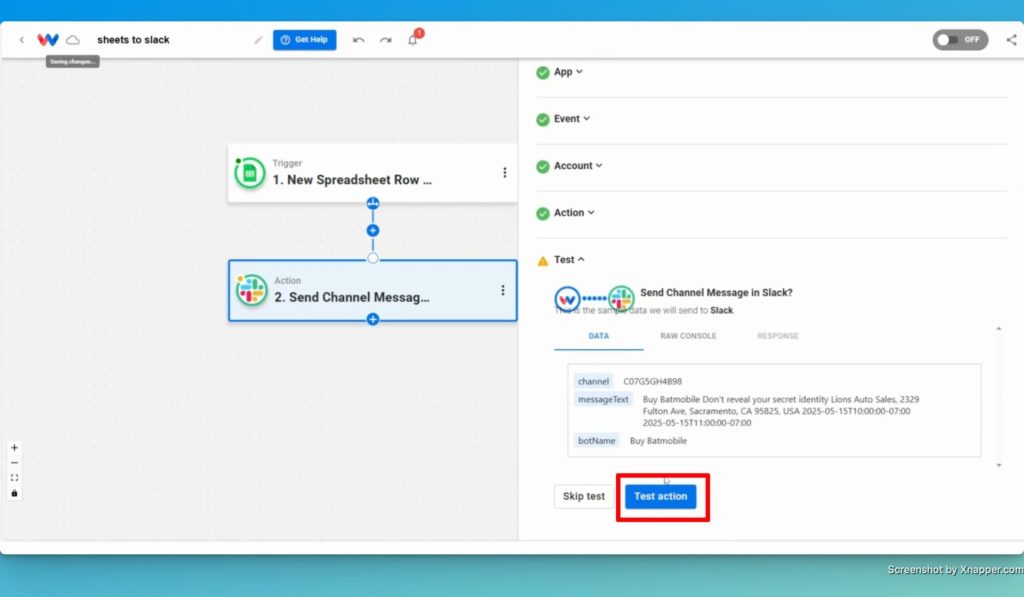
- Test the Action: Run a test to make sure the message appears in Slack as expected.
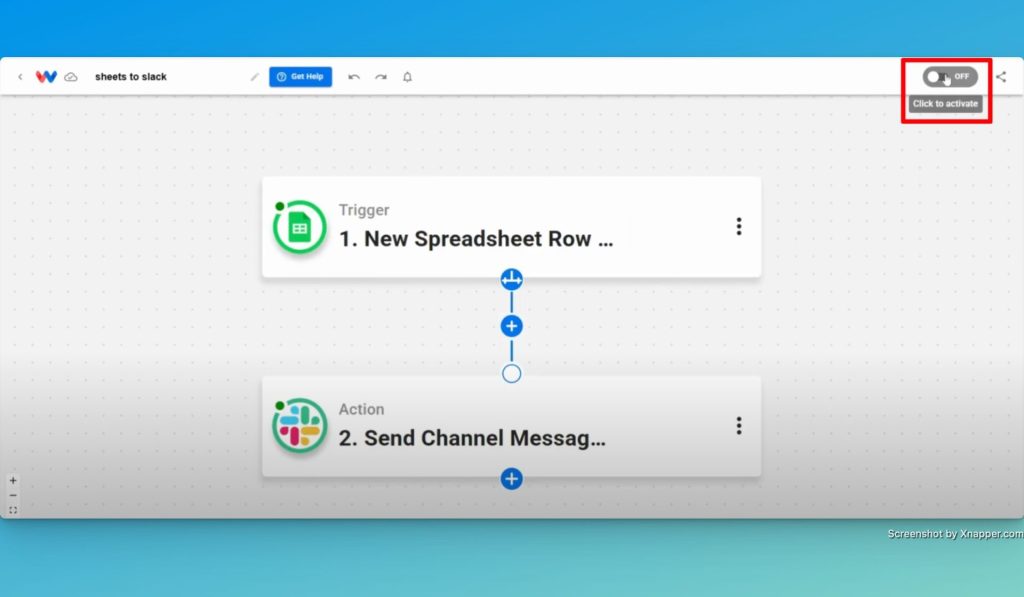
Step 3: Activate Your Google Sheets to Slack Messaging Workflow #
- Review Your Steps: Make sure each step shows a green circle, indicating successful setup.
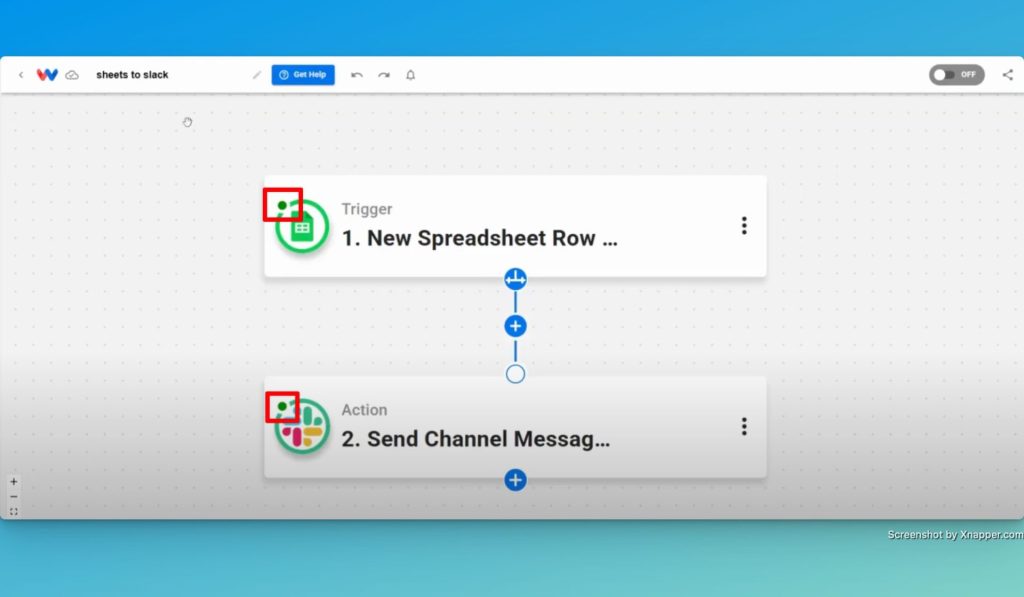
- Turn On the Workflow: Toggle the activation switch at the top right of your workflow editor.
- Final Test: Add a new row to your Google Sheets spreadsheet and check your Slack channel for the message.
Wrapping Up #
All finished! You’ve just built a fully customizable workflow using Workload. Now, every time someone adds a new row in Google Sheets, a Slack message will be sent instantly with all the info you need—no extra typing required. Want to automate even more tasks? Use Workload templates to build your own workflows or for additional help, visit Workload University or our Help Center. With Workload, automation doesn’t need to be complicated—it just needs to work.
Automate work—simplify your day!


