For this quick start guide, we will guide you through the process of setting up your first, basic workflow using Google Sheets and Google Gmail. When a new row is added to a spreadsheet in Google Sheets, send email in Google Gmail. By the end of this short tutorial, you’ll be automating your work in no time!
Set up your trigger step #
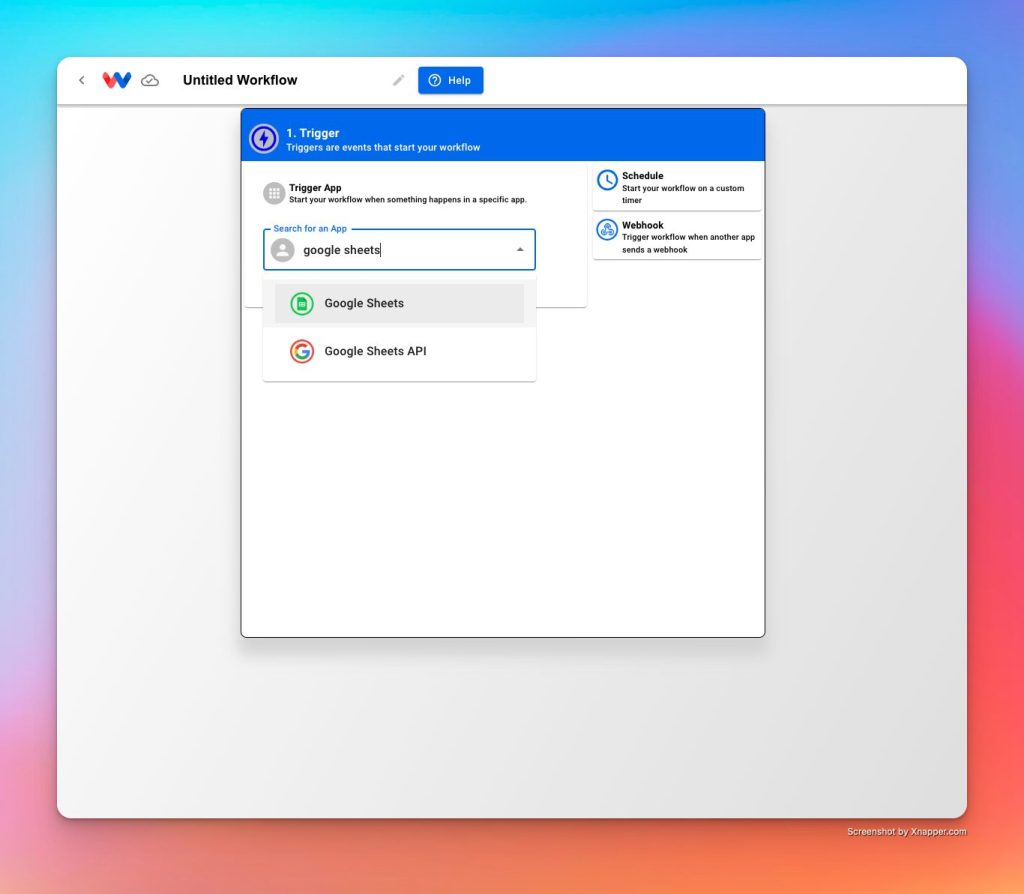
Triggers are the very first part of setting up a workflow. It is the event that happens in a 3rd party app that kicks off the entire workflow process. Think in terms of “When (event) happens in (app), do (action) in (app).
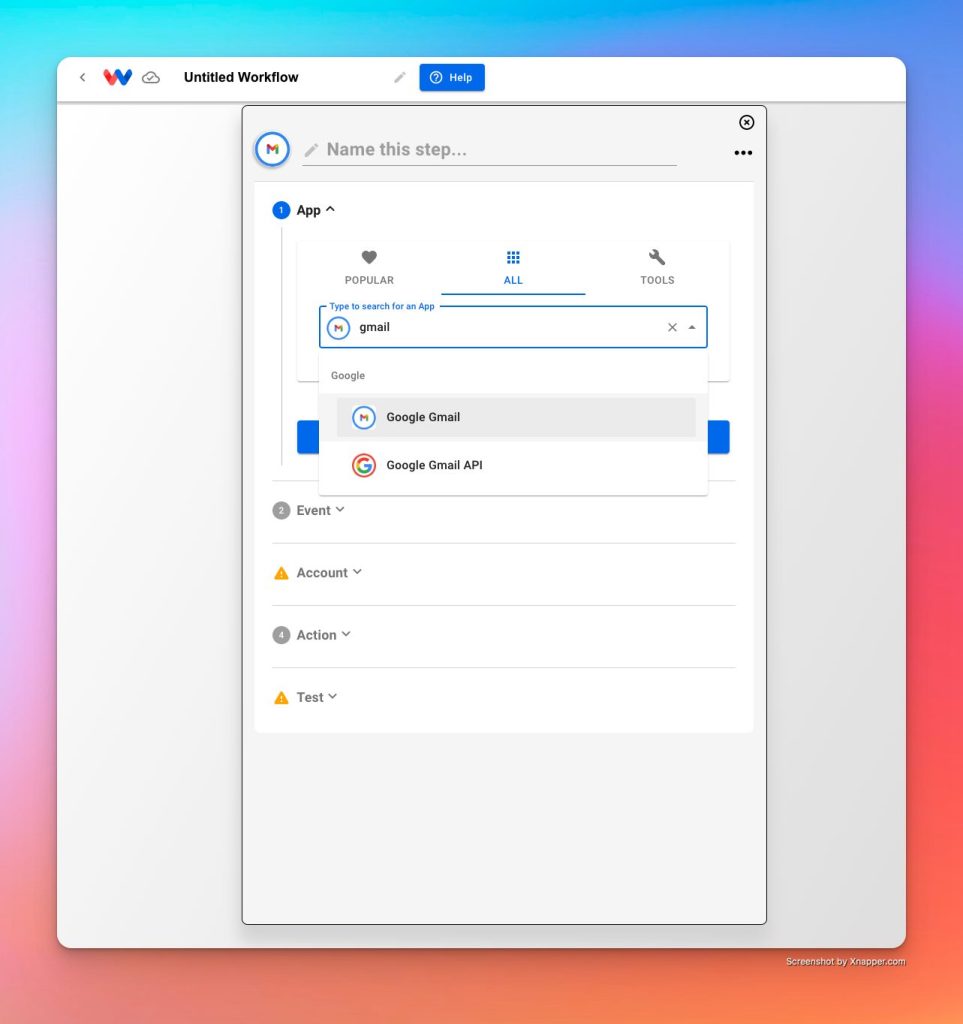
Choose an app from the list available integrations
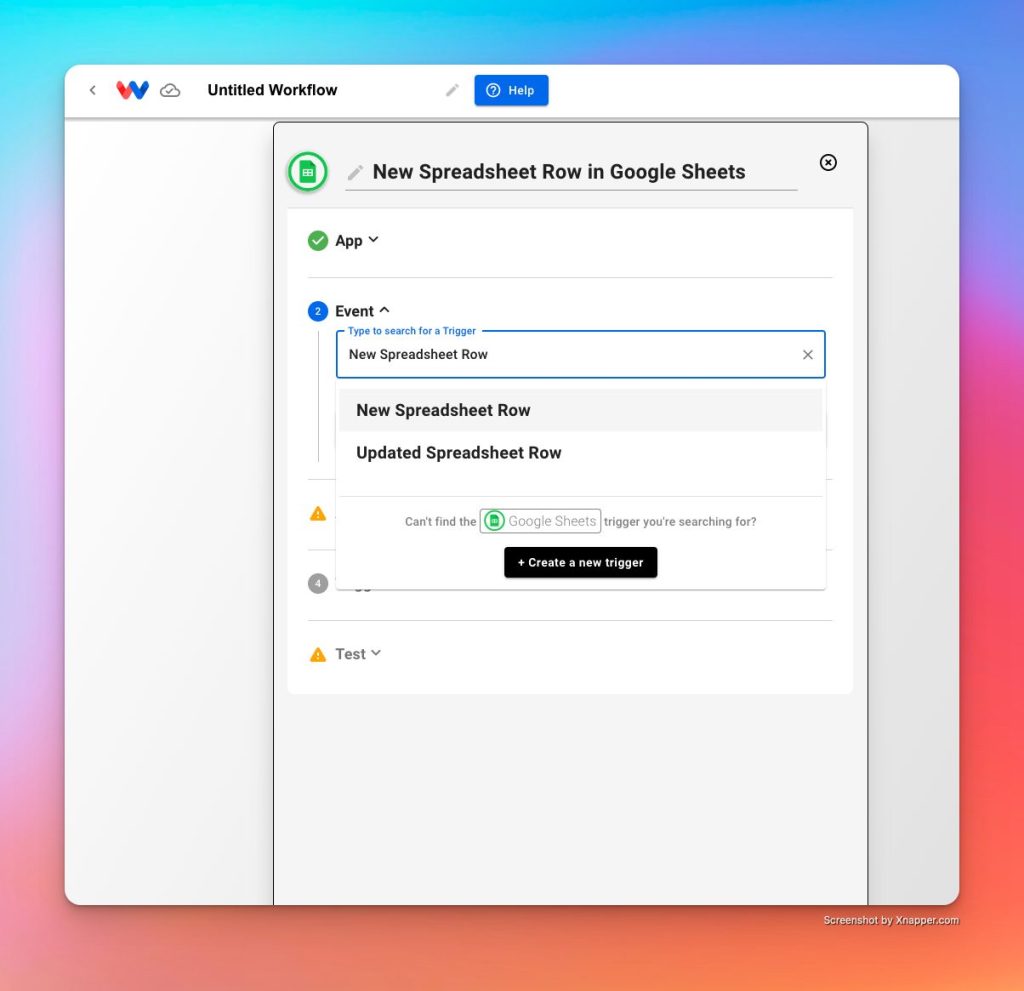
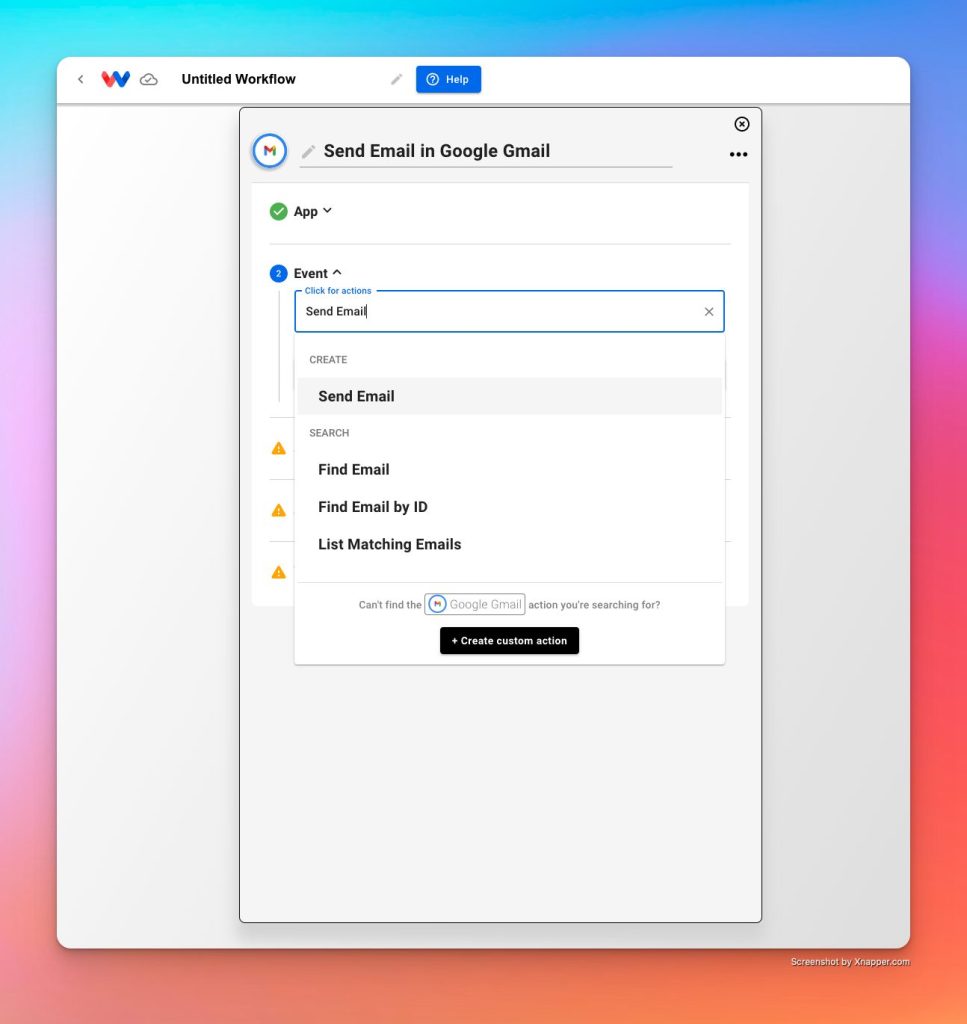
Select the event you want to to trigger the workflow (i.e. When New Spreadsheet Row happens in Google Sheets)
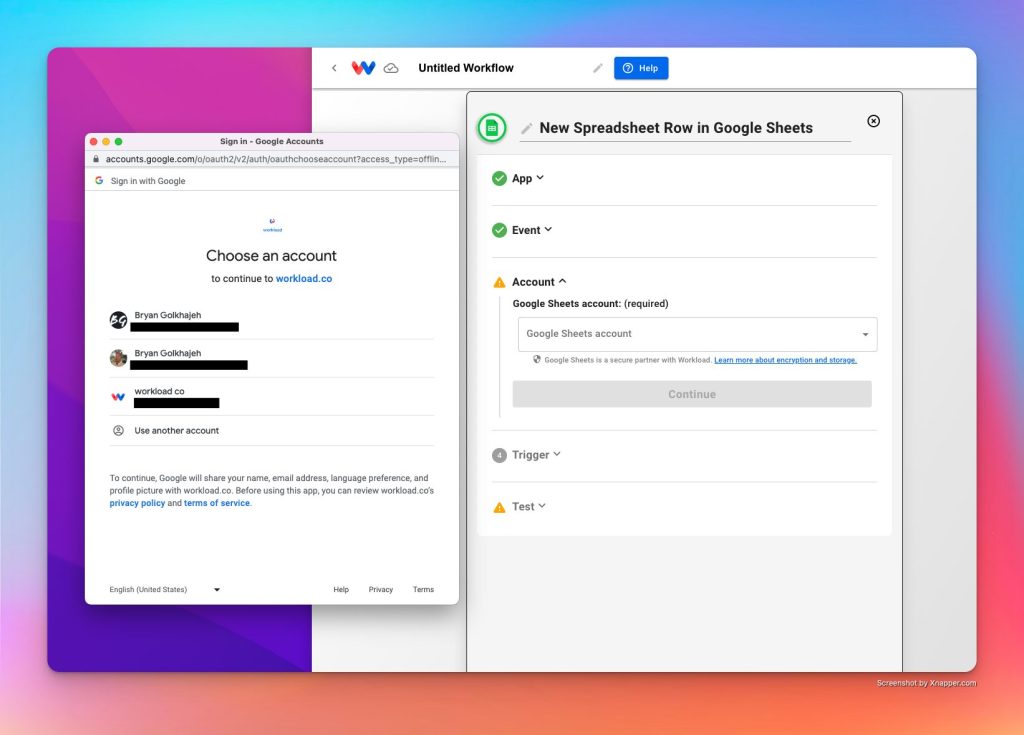
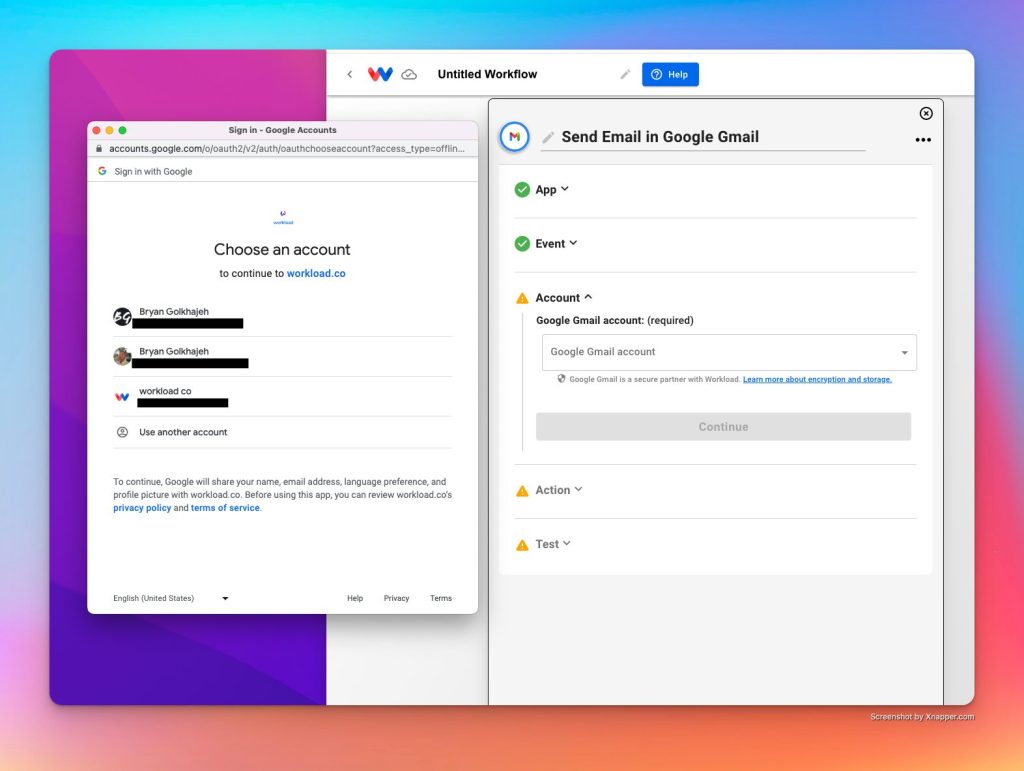
Authorize Workload
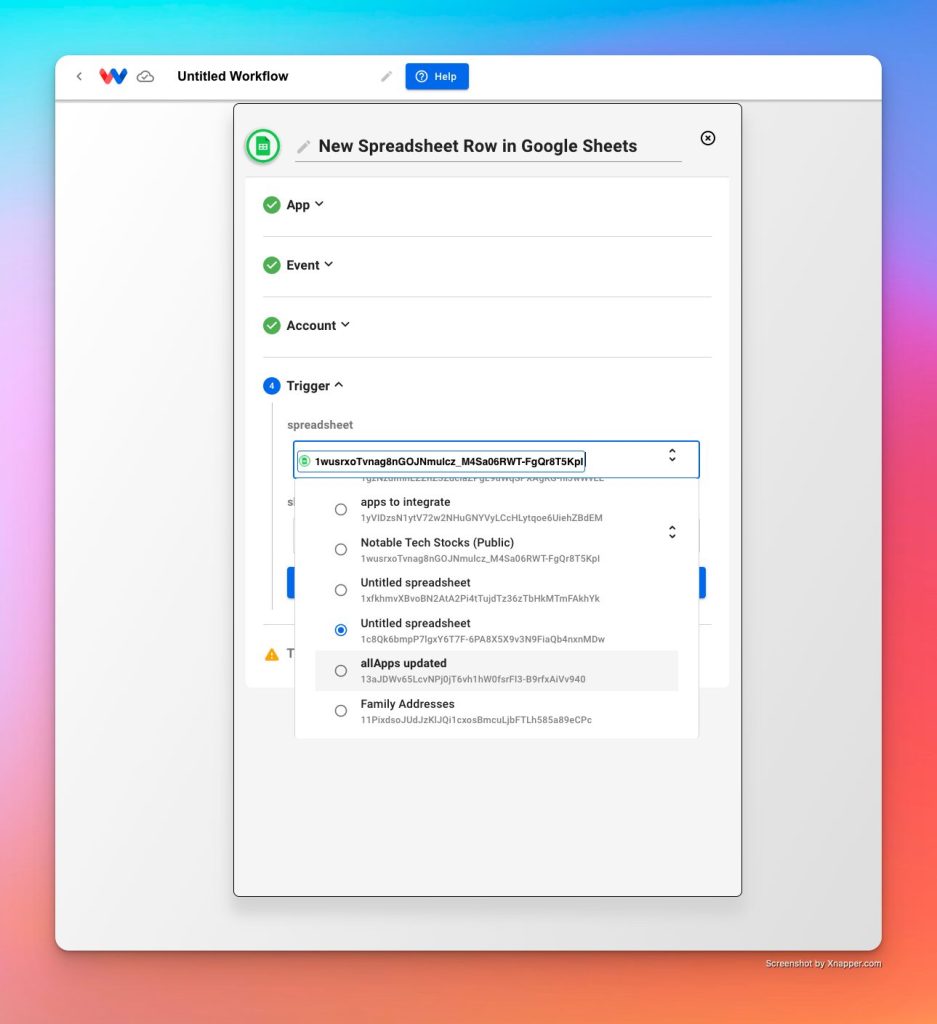
Configure and set up the trigger
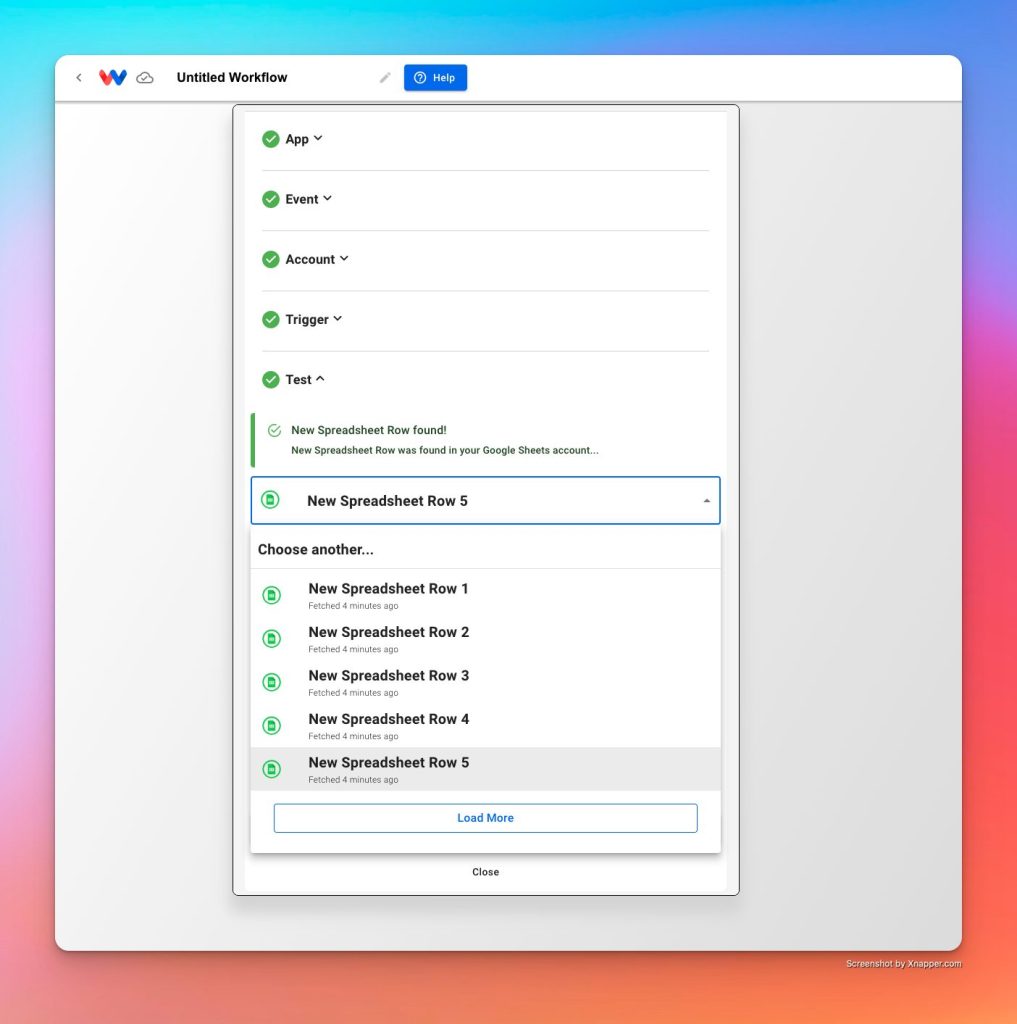
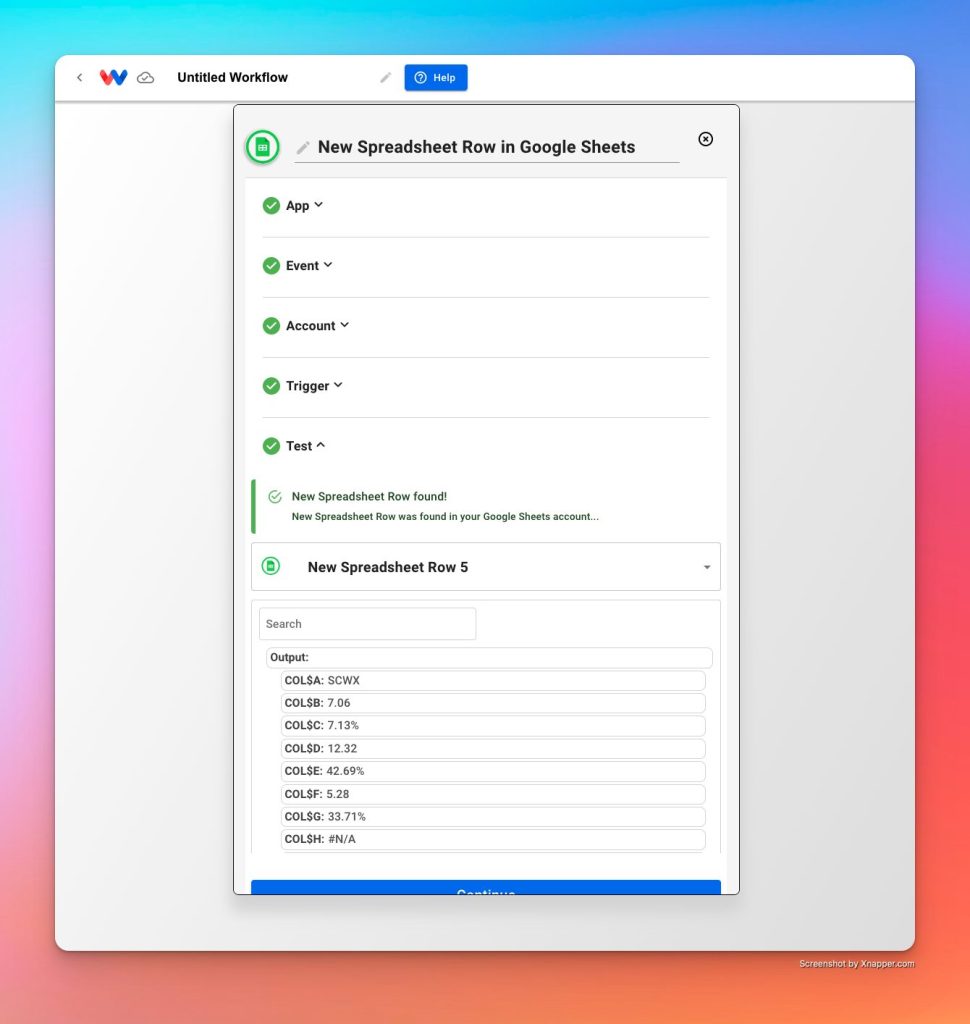
Test trigger for data
Set up your filter (if needed) #
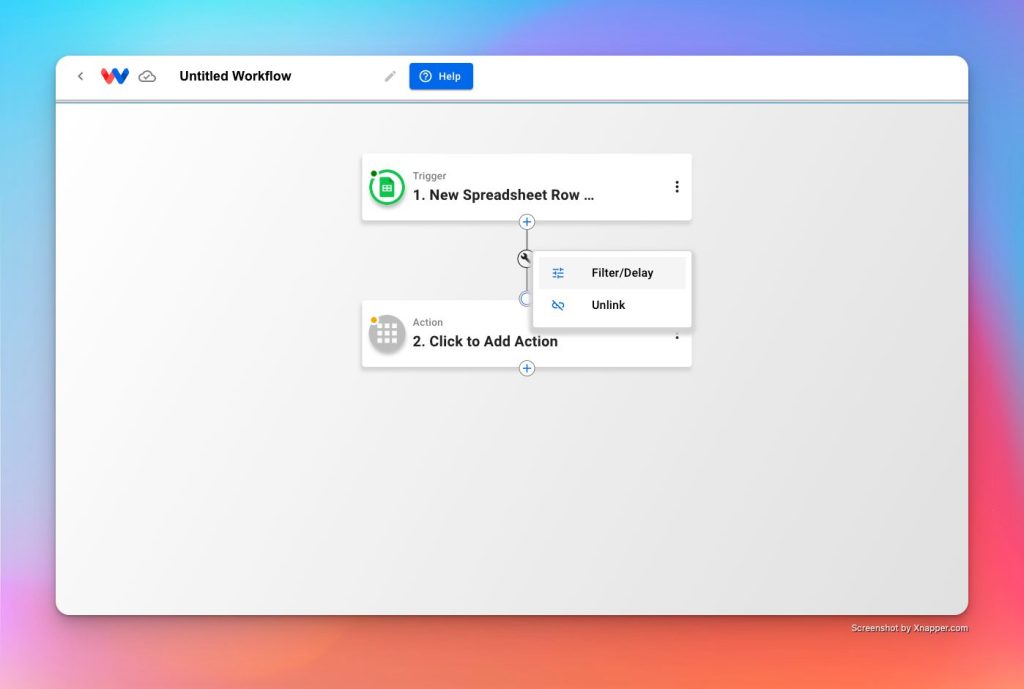
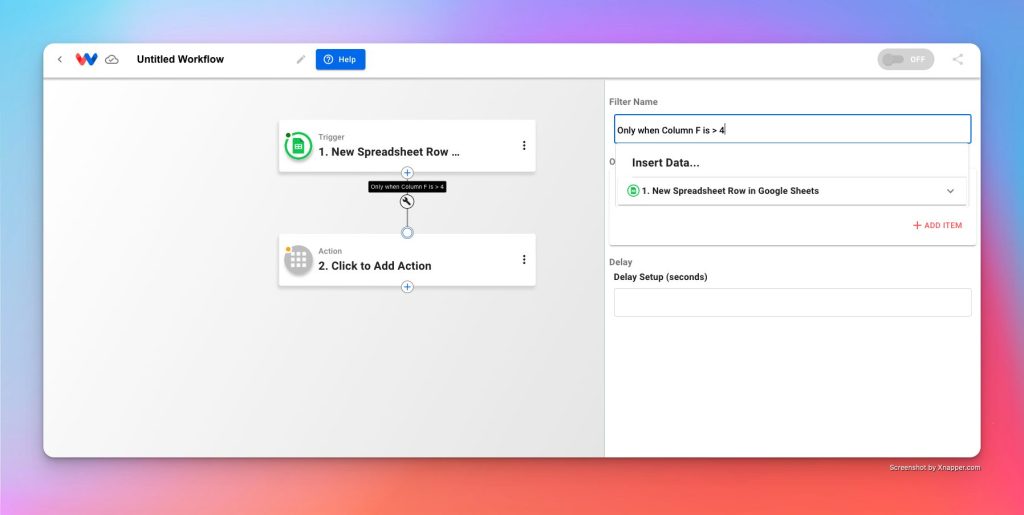
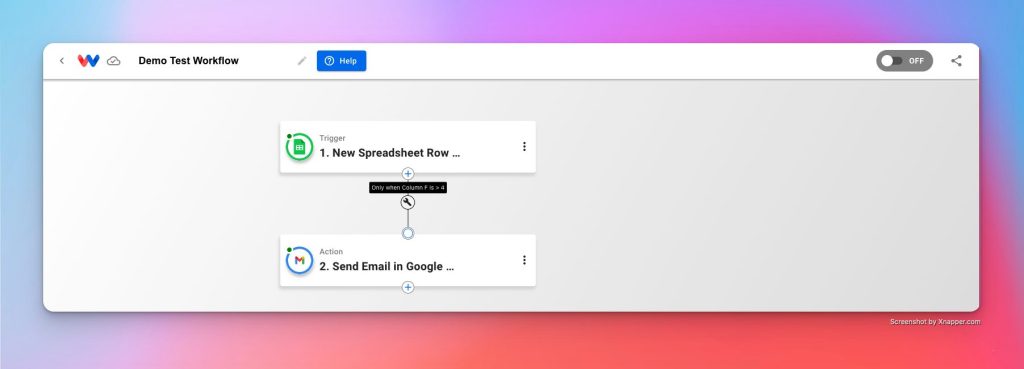
Sometimes you’ll need to add a filter to your workflow. Filters are useful if you only want your workflow to run only when certain conditions are met. In this example, we want this workflow to trigger every time a new row is added to our worksheet. What if we only want this workflow to run if column F is greater than 4? We can achieve that by adding a filter!
Click on the tool icon along the connection line between the two steps
Title your filter
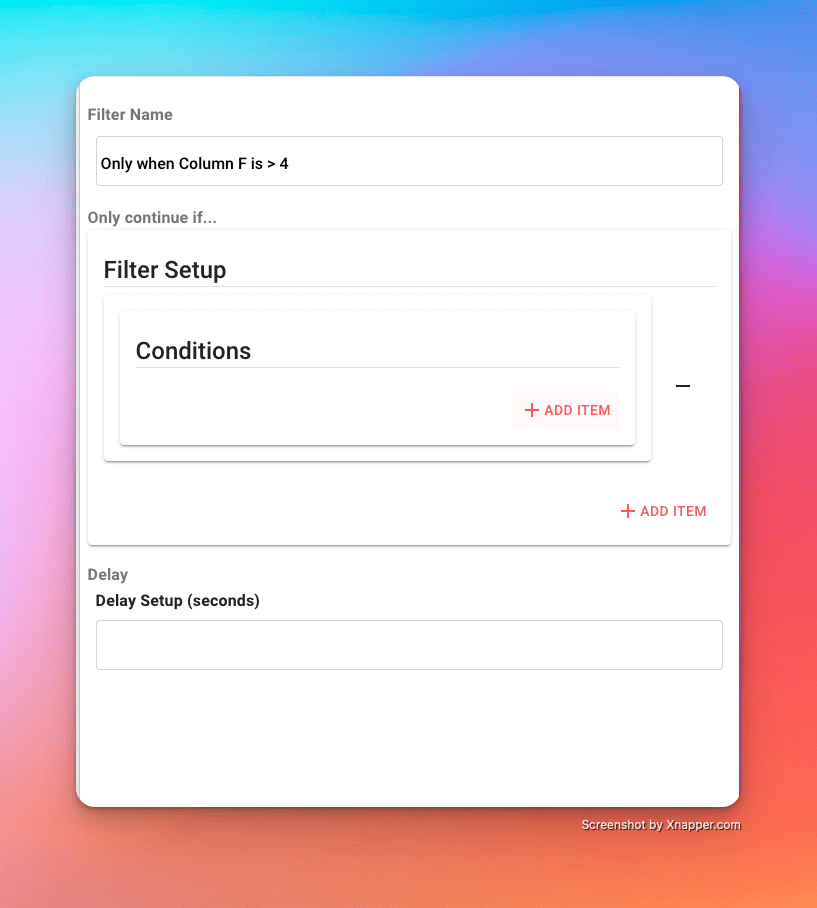
Add a condition
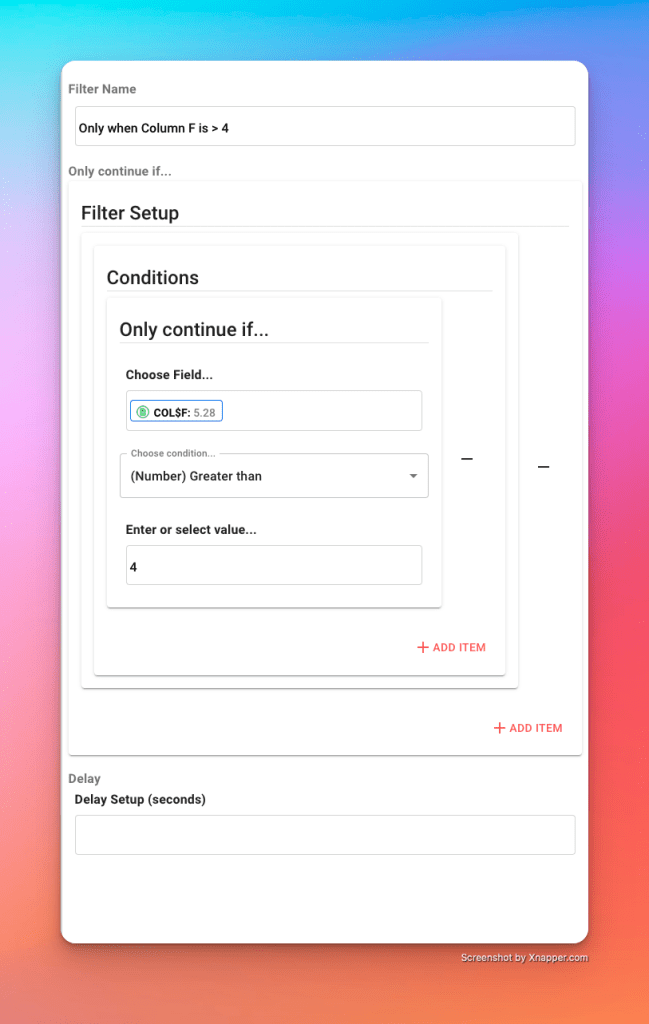
Select the key to filter on
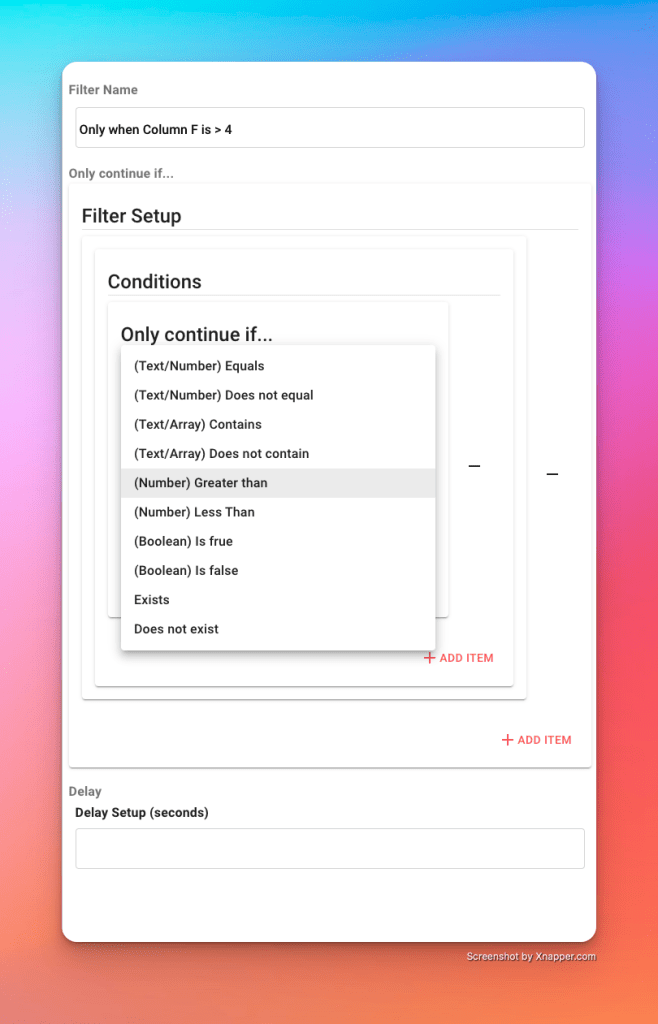
Select the filter type
Add a filter value to be met
Set up your action #
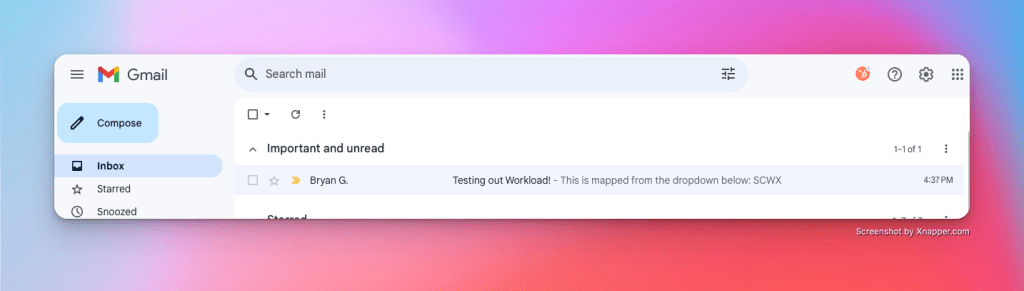
Action steps are the workhorses of automation. This where you define what happens after the triggering event. For our example in this tutorial, we want to send an email to ourselves every time a new row is added to Google Sheets. You can add as many action steps to a workflow as you need, but this example only covers a simple 2 step process.
Choose an app
Select an event
Authorize Workload
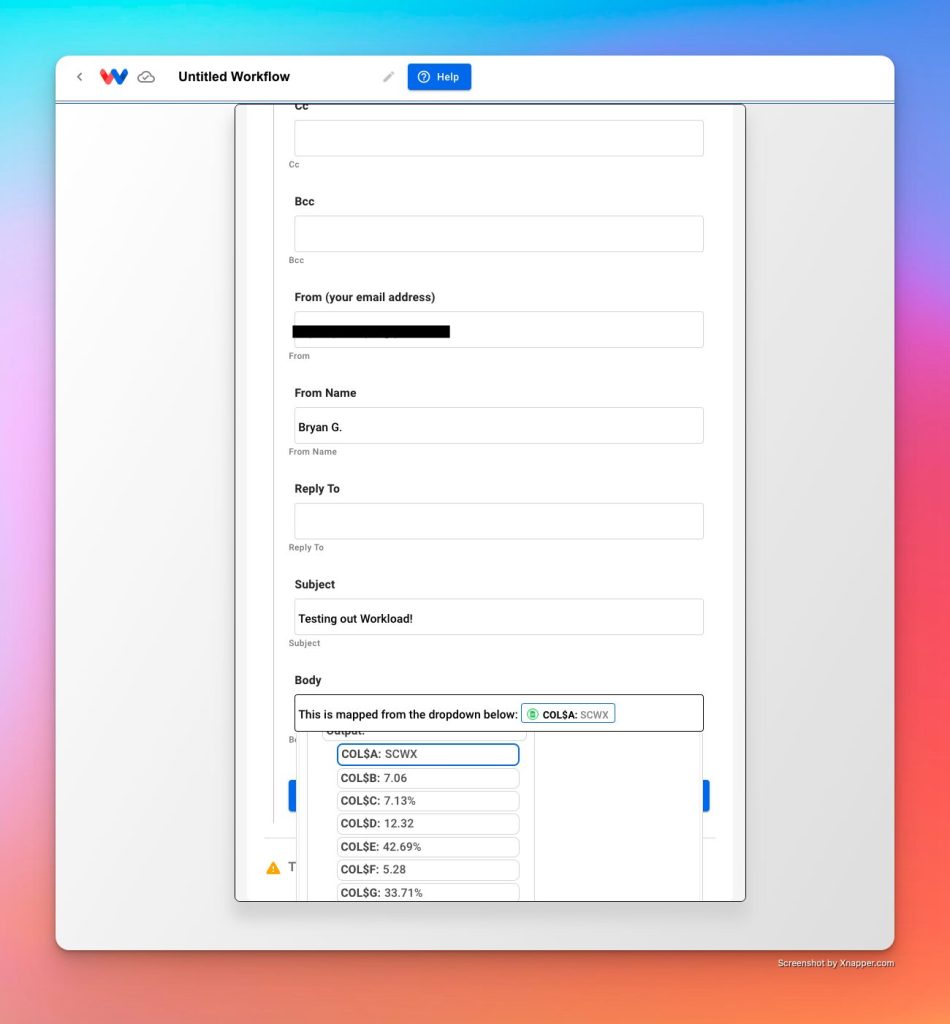
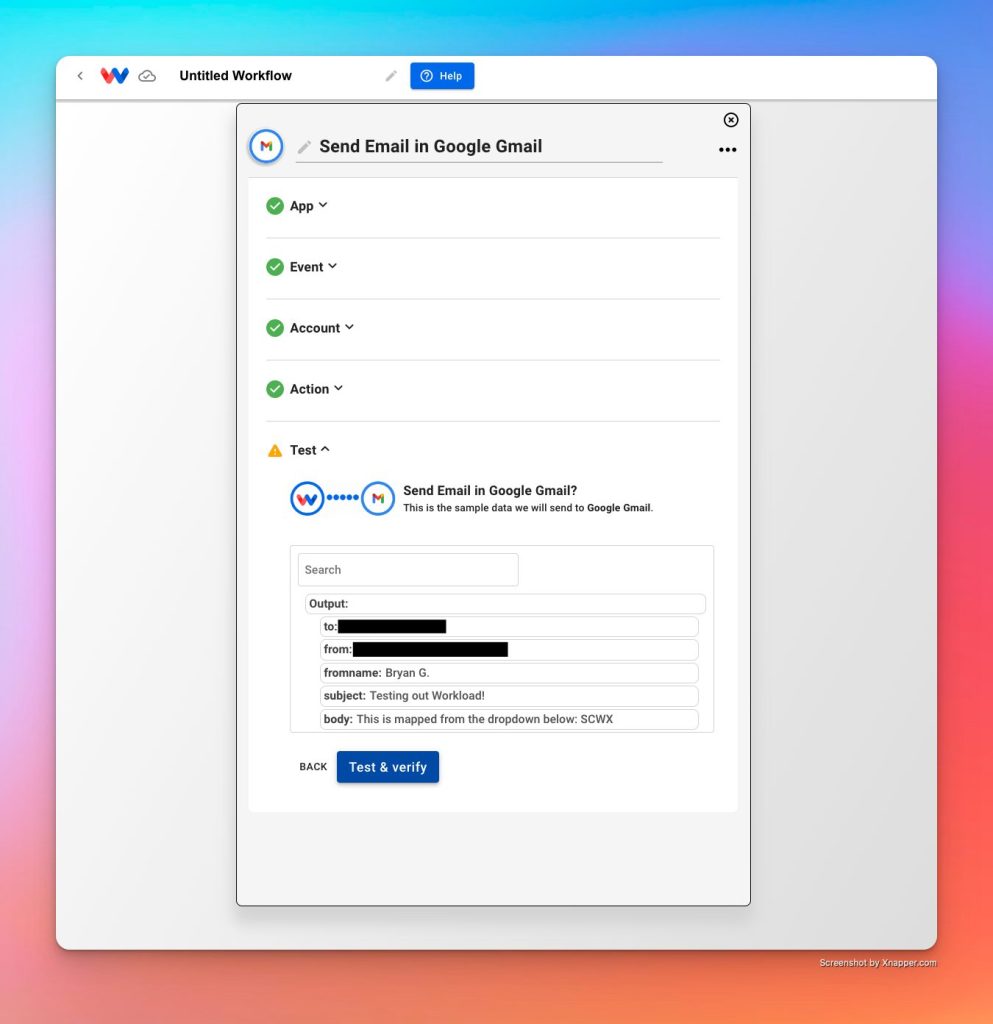
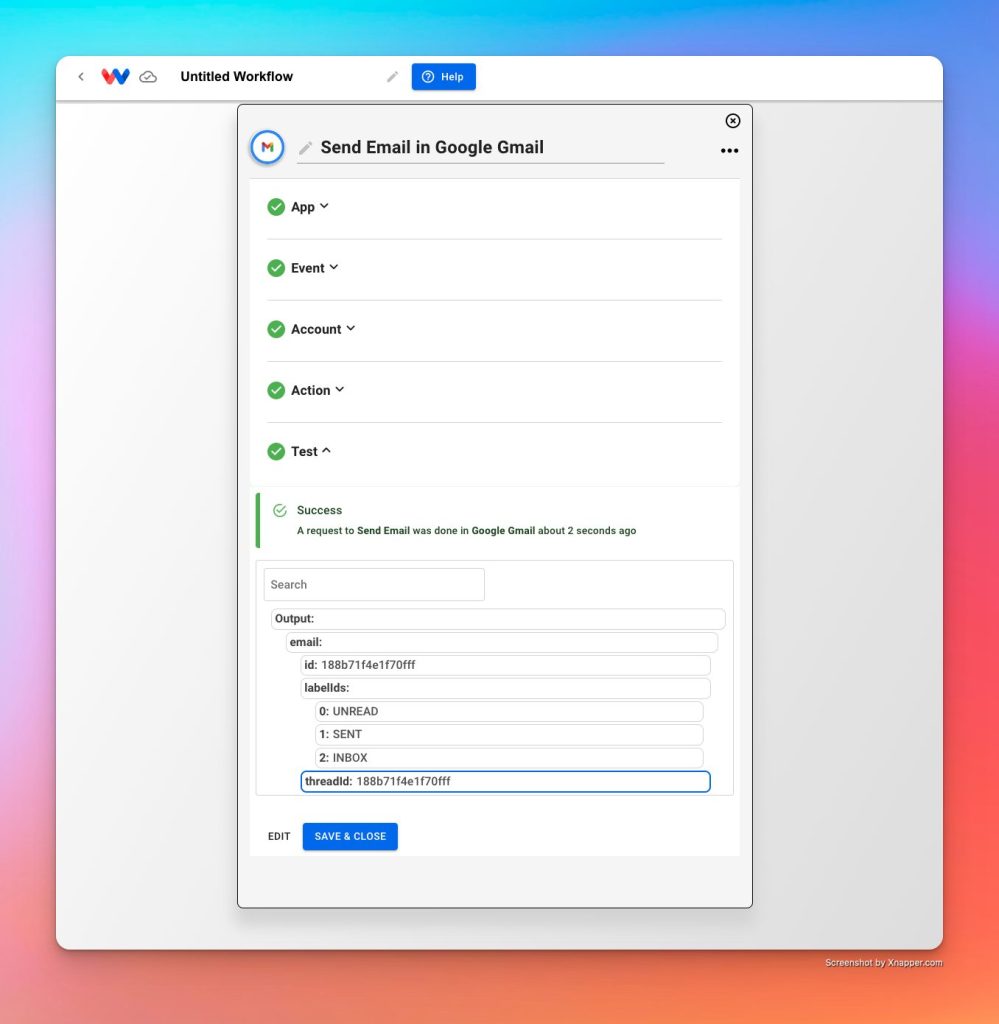
Set up the action and map fields
Send a test
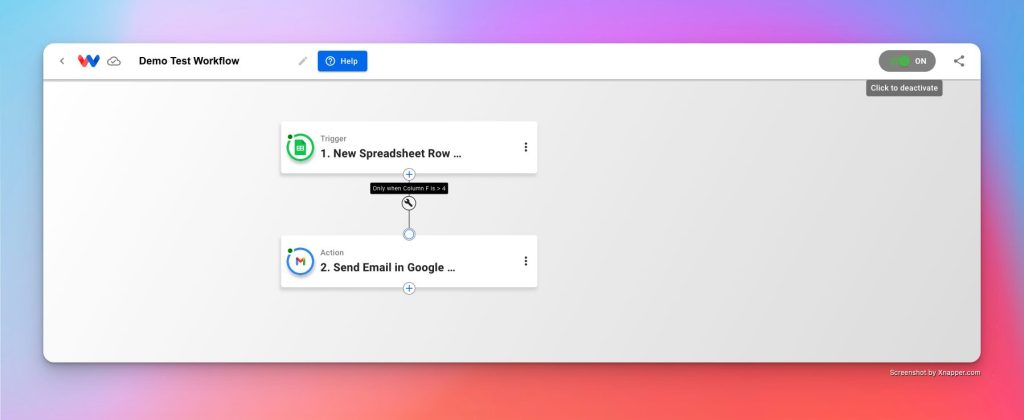
Title and activation #
Give your workflow a title so you can keep things organized in your workspace
Turn your workflow to ON
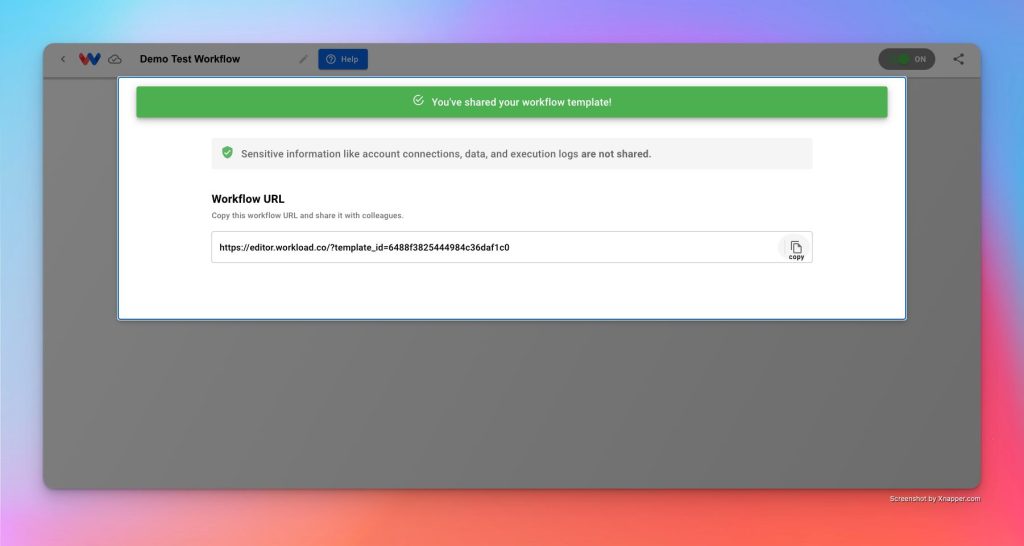
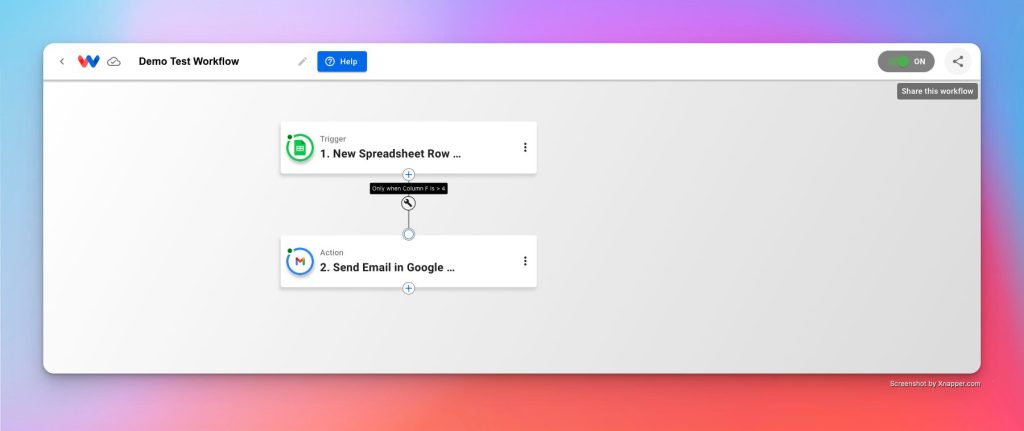
Share your workflow #
Click the “share” icon next to the ON/OFF switch
Provide a title and description for your workflow

Click Share!