If you still copy and paste new customer details from Jotform into Shopify, stop. There’s a faster way. By setting up your own Create Shopify Customers from Jotform Responses workflow, Workload will do all of the work for you from now on, exactly the way you want it done.
This no-code integration starts the moment someone submits a response to your form. You then customize the workflow to pick out only the fields you need and then format the data. Finally, it sends all of the information you want straight into Shopify. You speed up onboarding and keep your teams in sync. Most importantly, you save time so you can focus on more important aspects of your business.
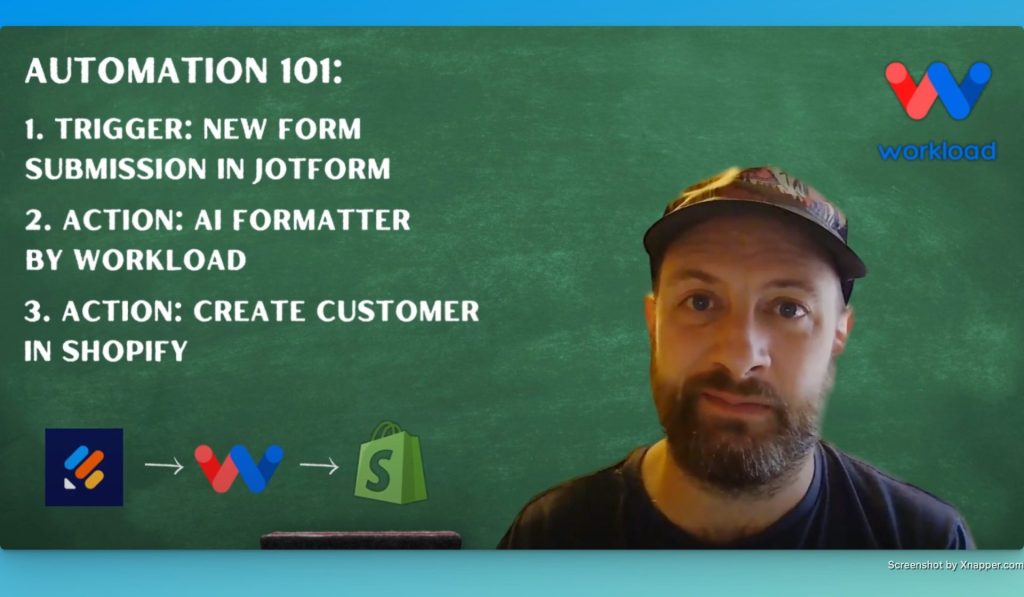
Need help? Watch our tutorial video with Eliot (we promise he isn’t as angry as he looks in the thumbnail above), your personal Workload guide who will coach you through all the steps. You can also check out Workload University or our Help Center for more guides and tips.
A High Level Look: Creating Shopify Customers from Jotform Workflow #
This workflow has three main functions:
- Listens for New Form Submissions: It starts when someone responds to your form.
- Cleans and Formats Data with AI: It extracts only the answers you choose and formats those answers to be used correctly in Shopify.
- Creates a New Customer in Shopify: It maps the clean data into Shopify’s customer fields and adds the record automatically.
What You’ll Need:
- A Jotform account with a New Customer Registration form
- A Shopify store with API access
- A Workload account to build and run the workflow
Step-by-Step: Build a Create Shopify Customers from Jotform Workflow #
Step 1: Set Up the Trigger (Jotform) #
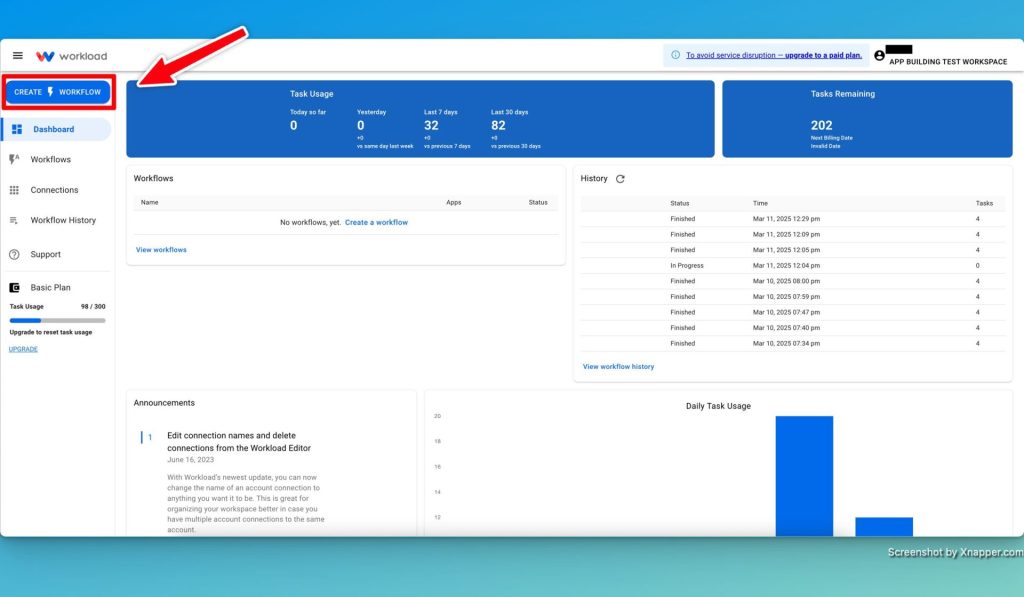
- Create Workflow: Open Workload and click Create Workflow.
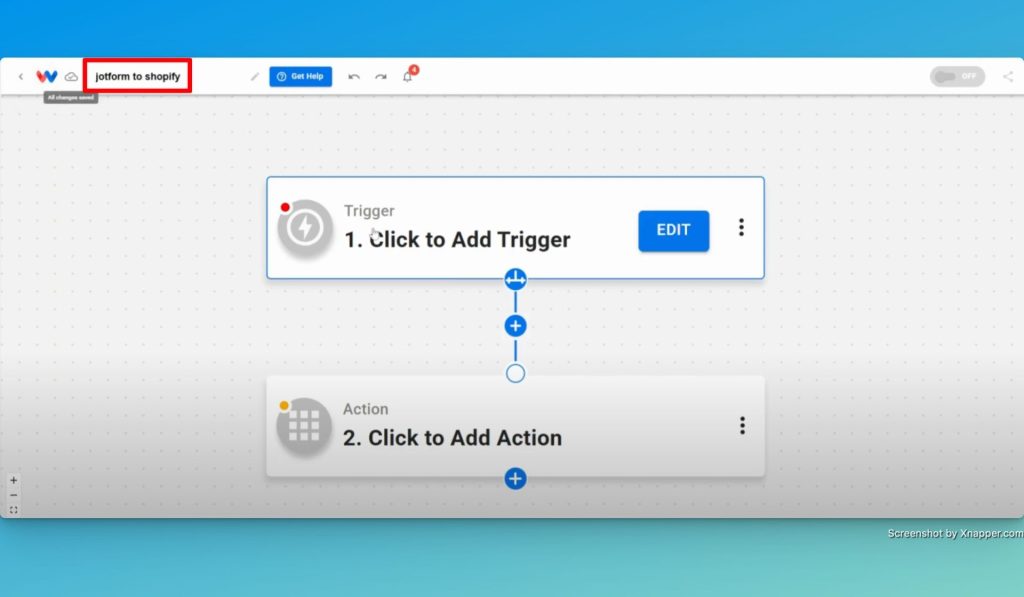
- Name Your Workflow: Enter Jotform to Shopify Customer.
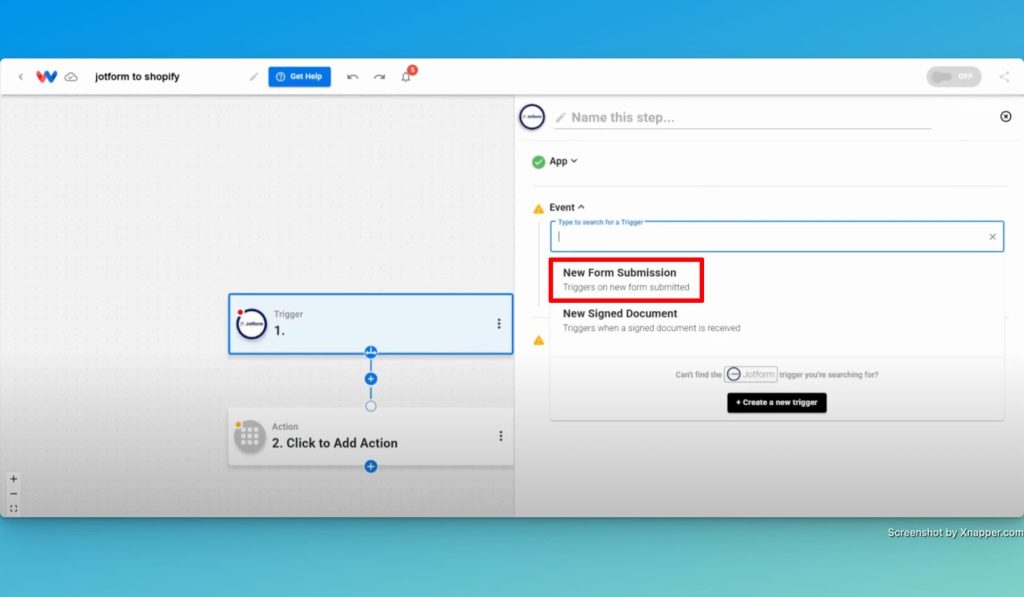
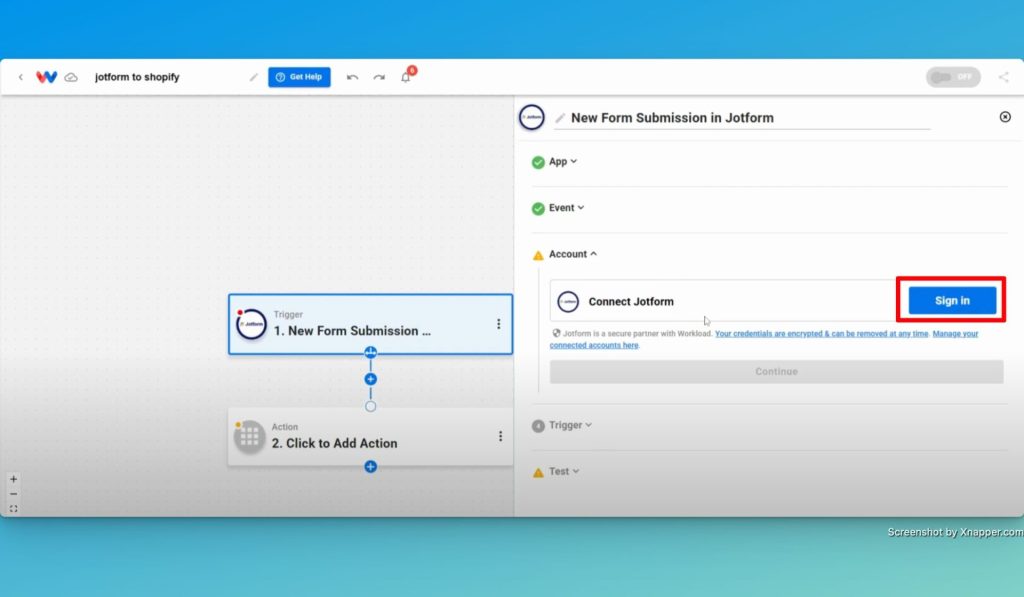
- Choose Trigger App & Event: Search for Jotform, then select New Form Submission as the event.
- Connect Your JotForm Account: Click Sign in to securely link your Jotform account (or pick an existing connection).
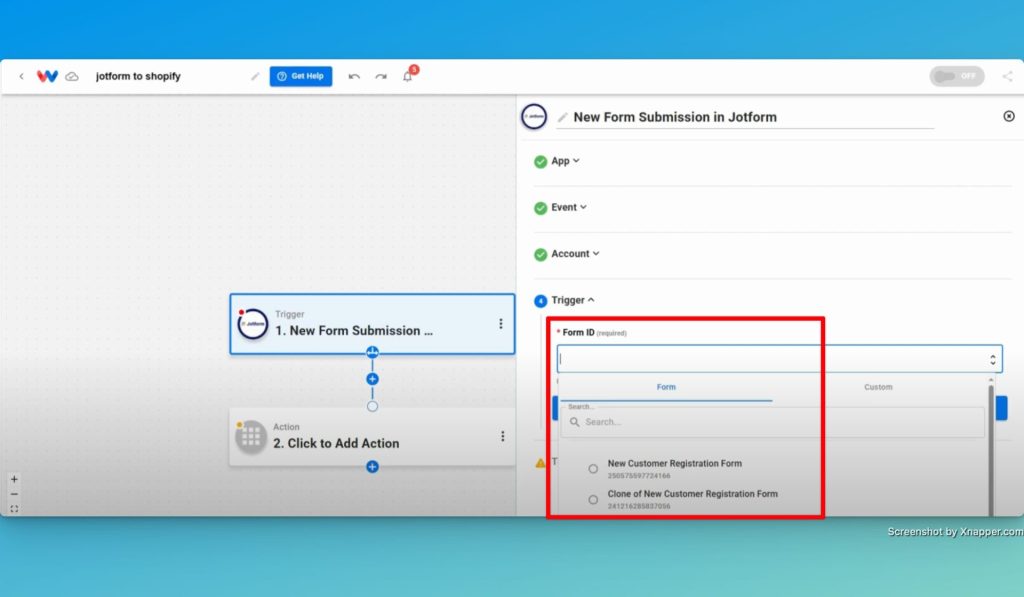
- Select Your Form: Choose the form you want the trigger to monitor from the dynamic dropdown menu.
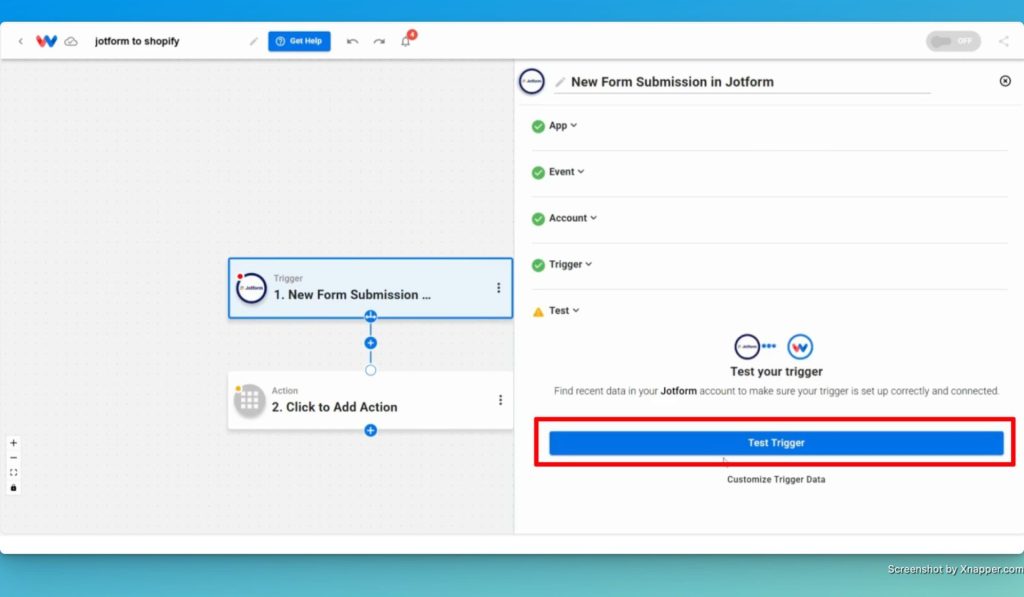
- Test the Trigger: Click Test Trigger to pull in a sample submission.
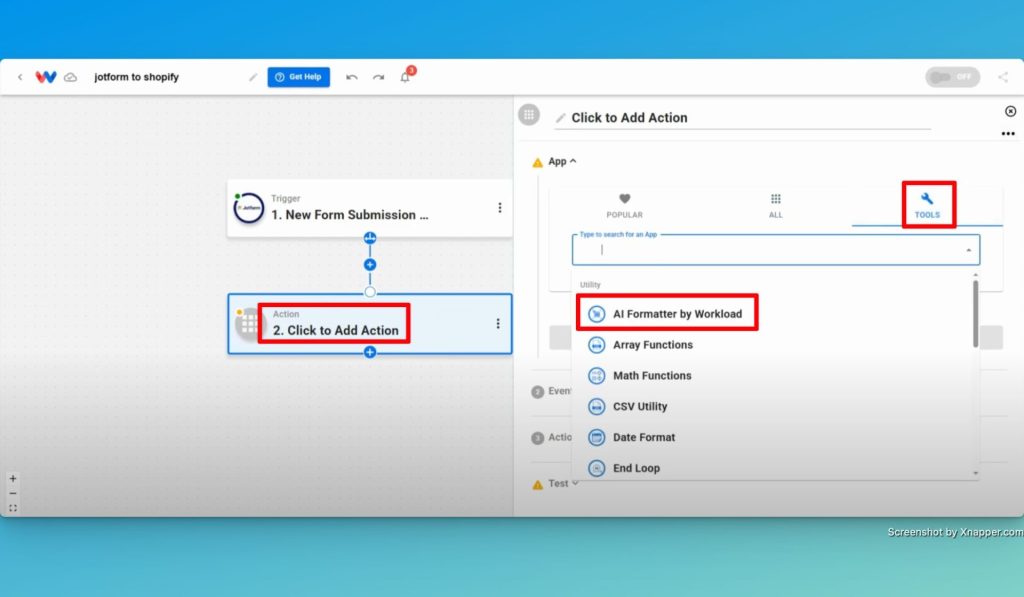
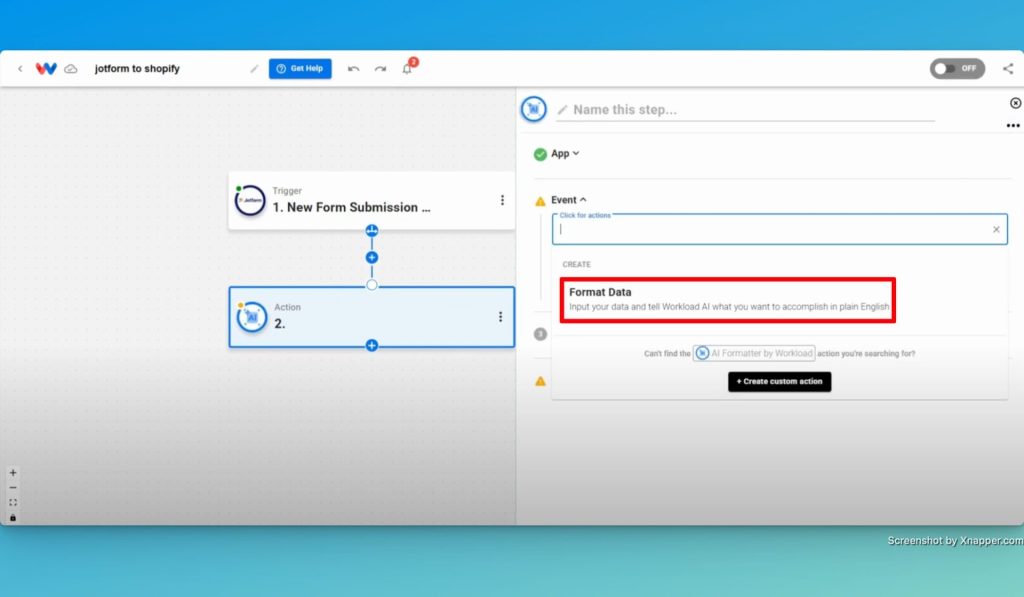
Step 2: Format Trigger Data (AI Formatter by Workload) #
- Add a Formatter Action Step: Click into Step 2, select the Tools icon, then choose AI Formatter by Workload.
- Choose Event: Select Format Data as the action event.
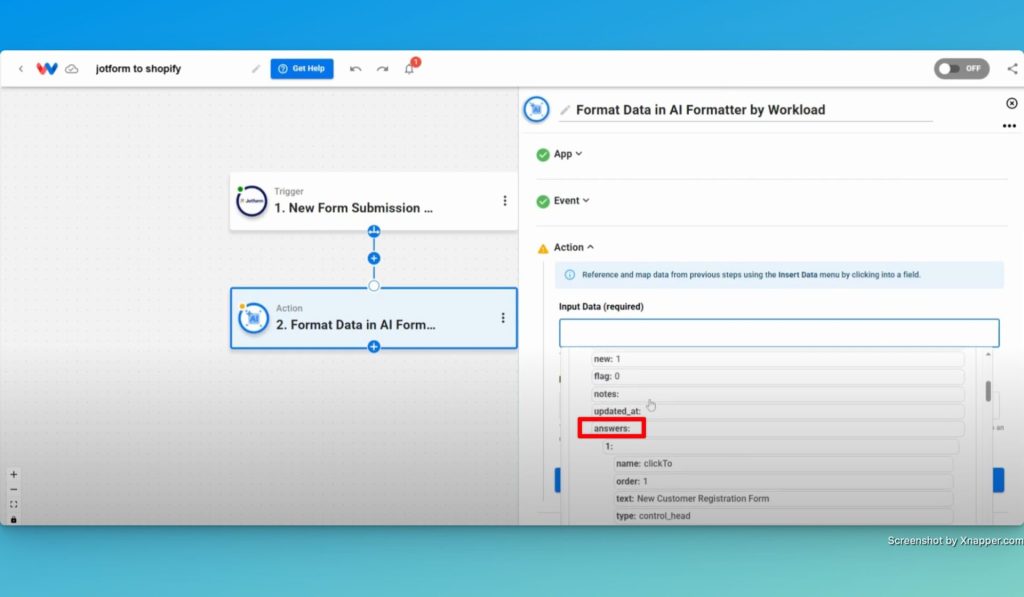
- Select Input Data: Click the Input Data box and pick the array from the trigger that houses the data you want to use. (ex: answers)
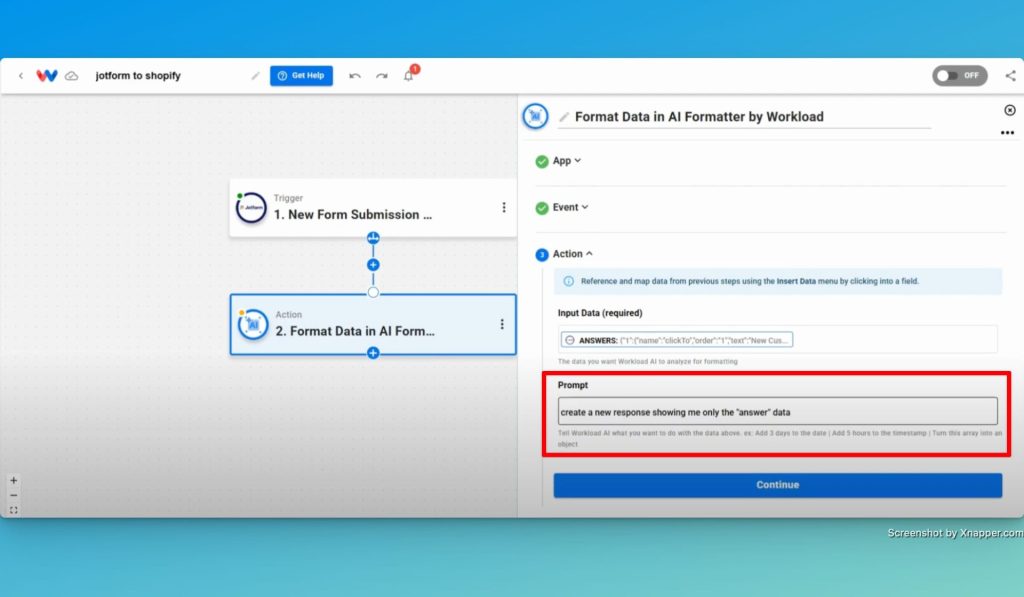
- Prompt the AI Formatter: Type a prompt that tells the formatter what you want it to do with the data. (ex: Create a new response showing me only the answer data.)
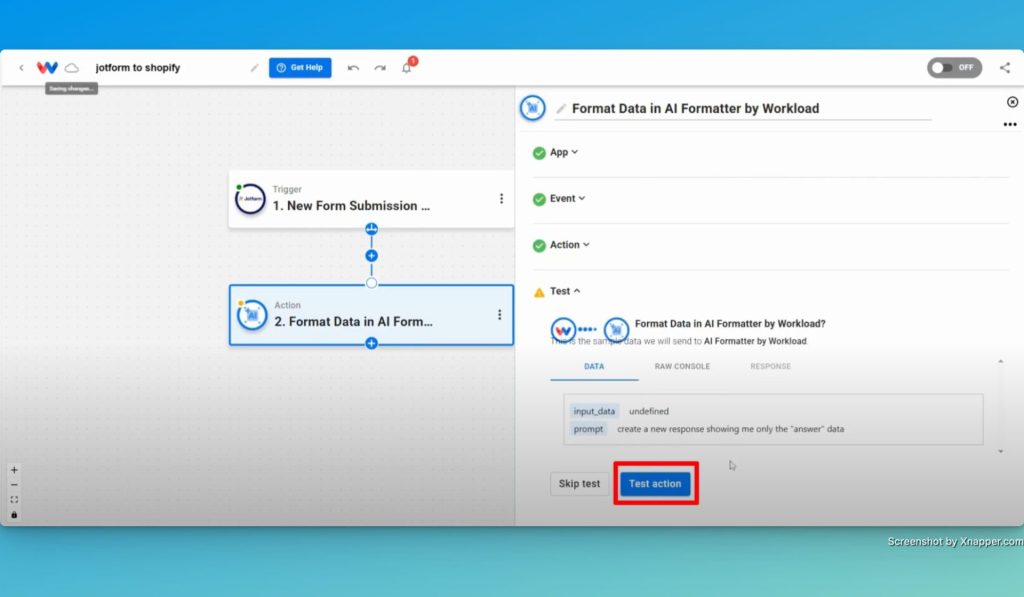
- Test the Action: Click Test Action to confirm you receive a clean list of answers.
Step 3: Create Customer (Shopify) #
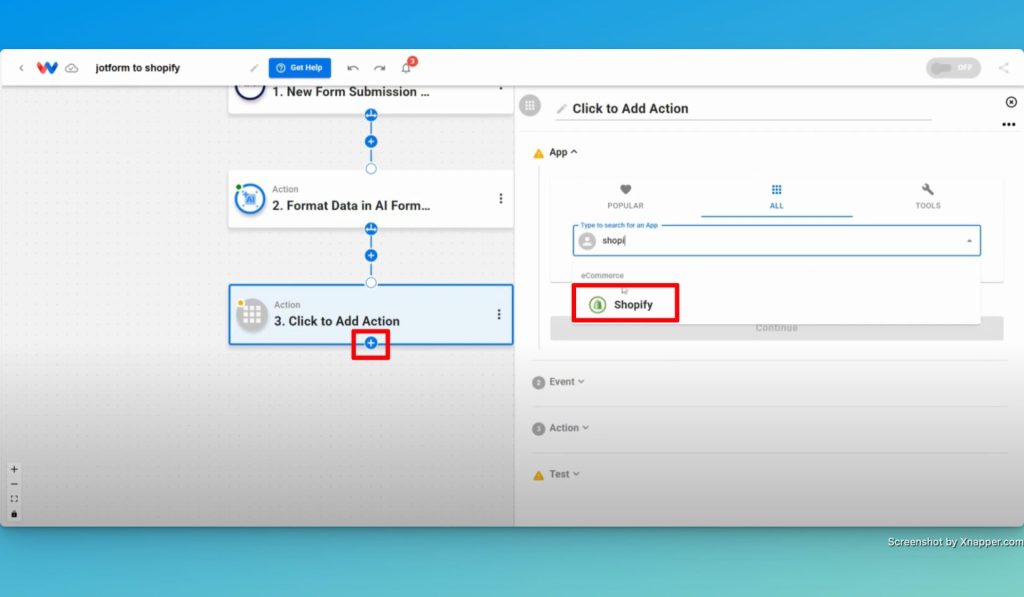
- Add an Action Step: Click + Add Action and choose Shopify as the action app.
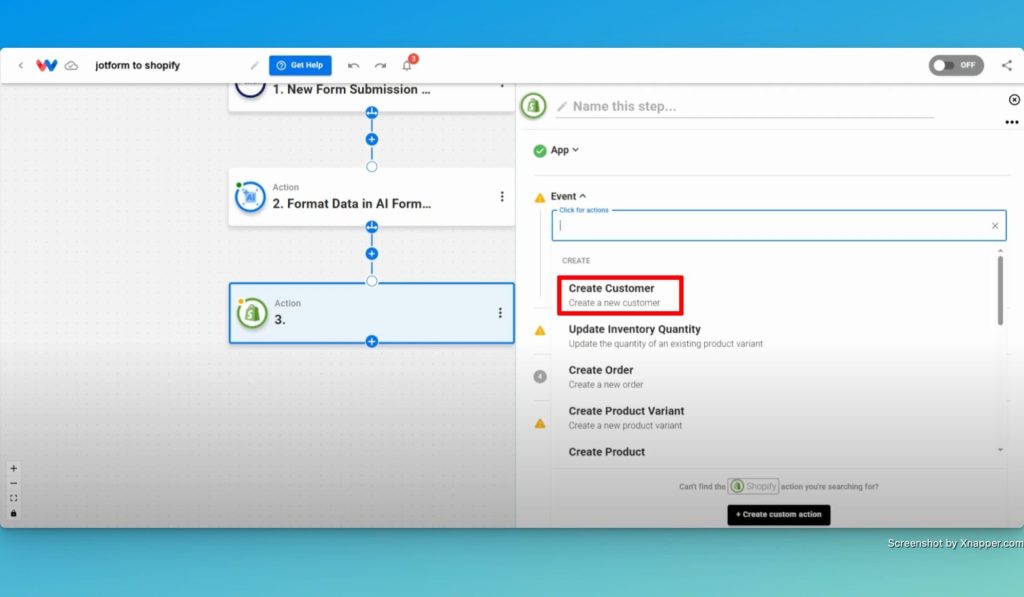
- Select the Event: Choose the event Create Customer.
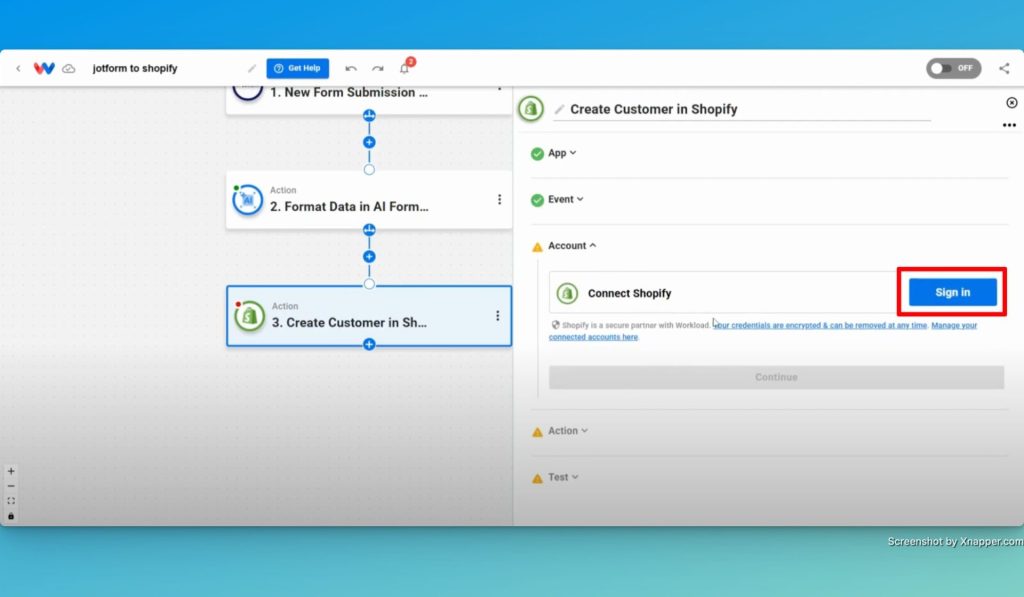
- Connect Your Shopify Account: Click Sign in to link your Shopify account.
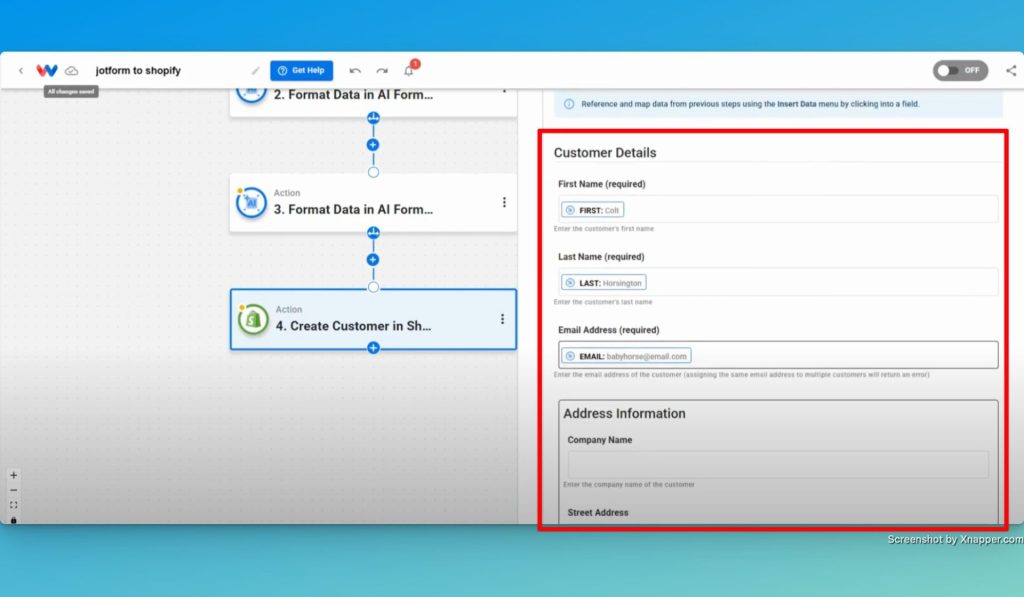
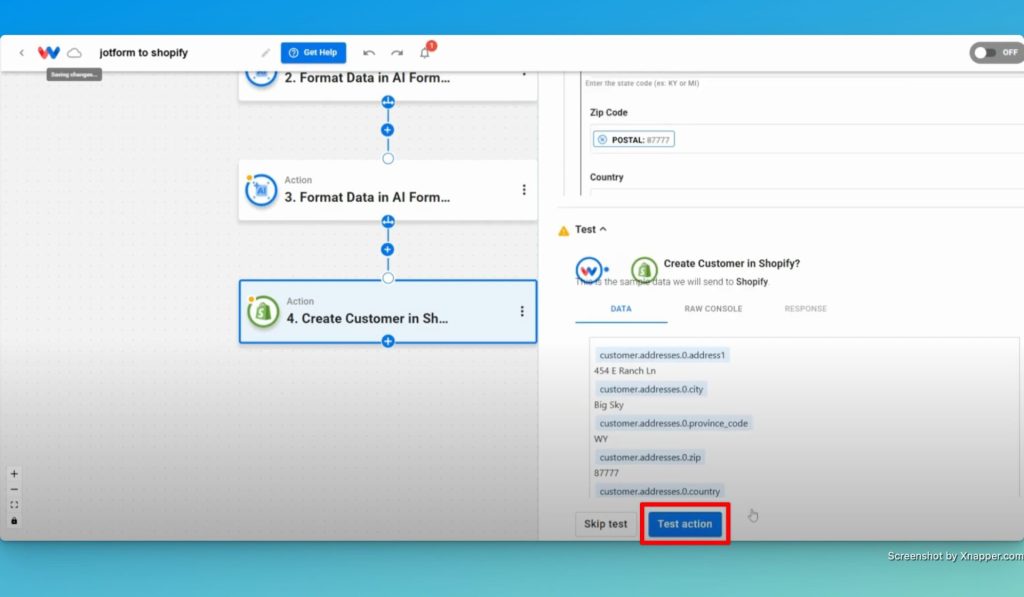
- Map Formatted Data: Select the data you want to include from previous steps into Shopify. Here are some of the commonly used fields. (Note: Shopify requires certain fields to be formatted in specific ways so you may need to add additional formatting steps in the middle to format the data correctly.)
- First Name
- Last Name
- Street Address
- City
- State/Province
- ZIP/Postal Code
- Country
- Test the Action: Click Test action to verify that the customer is created in Shopify.
Step 5: Activate Your Workflow #
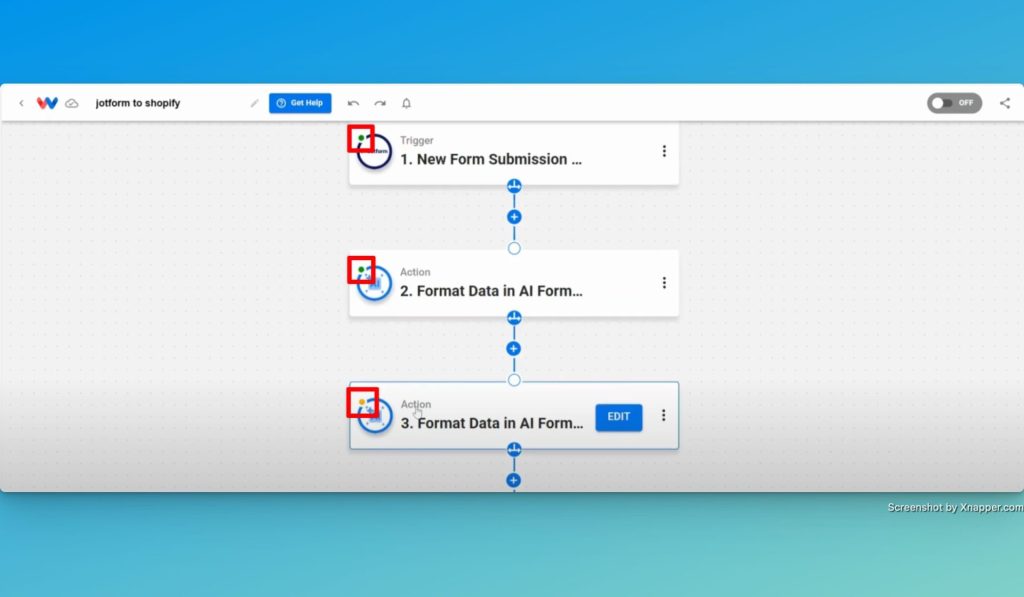
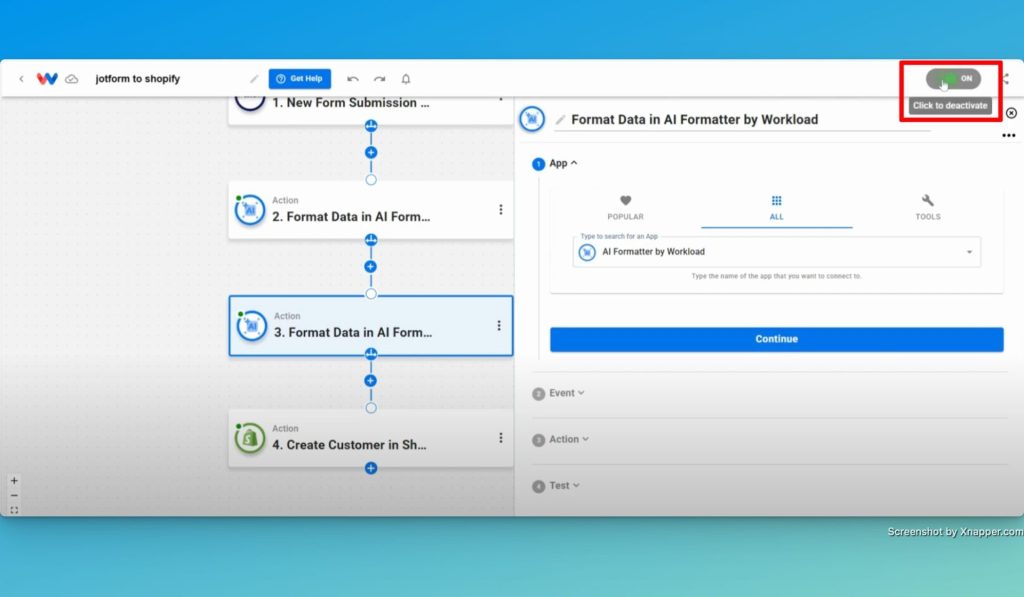
- Check Each Step: Verify each node shows a green dot. If a yellow dot is there, fix the step.
- Activate Workflow: Toggle the workflow On.
Final Thoughts #
Now that your workflow is active, you’ll never spend another minute on manual data entry. Each new form submission flows through AI-powered formatting and lands as a complete customer profile in Shopify—automatically and accurately. You’ll reduce errors, speed up onboarding, and keep your teams aligned without writing a single line of code.
Want to automate even more tasks? Use Workload templates to build your own workflows or browse our guide library for more integrations. For additional help, visit Workload University or our Help Center. With Workload, automation doesn’t need to be complicated—it just needs to work.
Automate work—simplify your day!


