Juggling multiple tools can slow you down. If you’re manually copying information from Google Sheets to Google Calendar, there’s a better way. Building your own customized Google No-Code Workflow: Sheets to Calendar Sync, you can automate that process in just a few clicks. Once your workflow is set up, every new row in your Google Sheet will instantly become a fully detailed event in Google Calendar. It’s perfect for managing appointments, organizing projects, or keeping your calendar aligned with your data.
Need help? Let our expert, Eliot, walk you through the setup in our video tutorial. To explore additional topics check out Workload University or our Help Center.
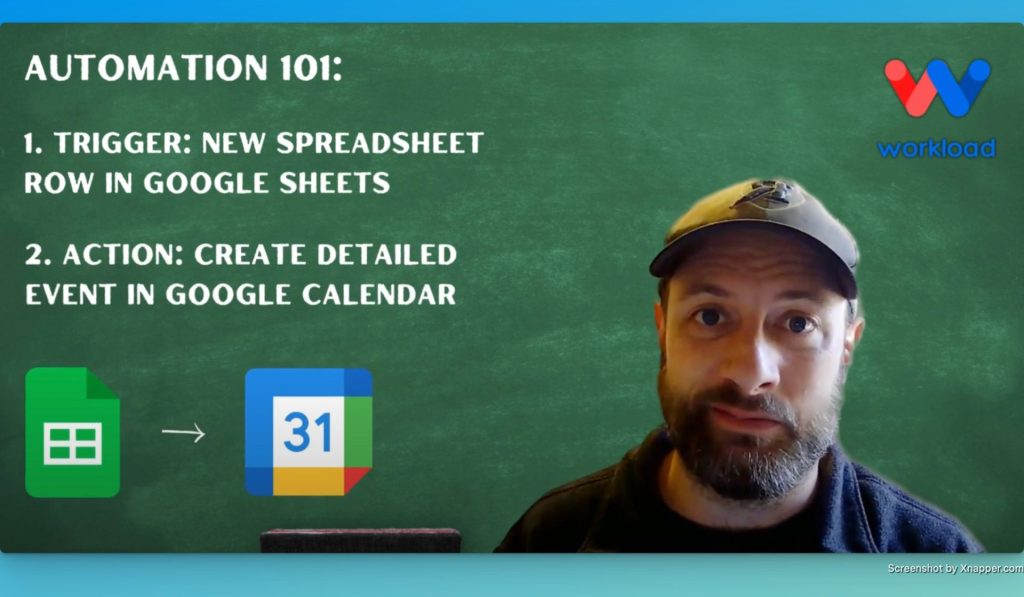
Overview: Google No-Code Workflow for Sheets to Calendar Sync #
This simple, no-code workflow does three key things:
- Detects New Rows: Watches a specific Google Sheets spreadsheet for newly added rows.
- Creates Events Automatically: Turns each new row into a fully detailed event in Google Calendar.
- Customizes to Fit Your Needs: Every field—title, description, time, location, and more—is customizable.
What You’ll Need:
- A Google Sheets account with a spreadsheet to track data
- A Google Calendar account for your event scheduling
- A Workload account to create and run your workflow
Step-by-Step: How to Build the Sheets to Calendar Sync Workflow #
Step 1: Set Up the Trigger (Google Sheets) #
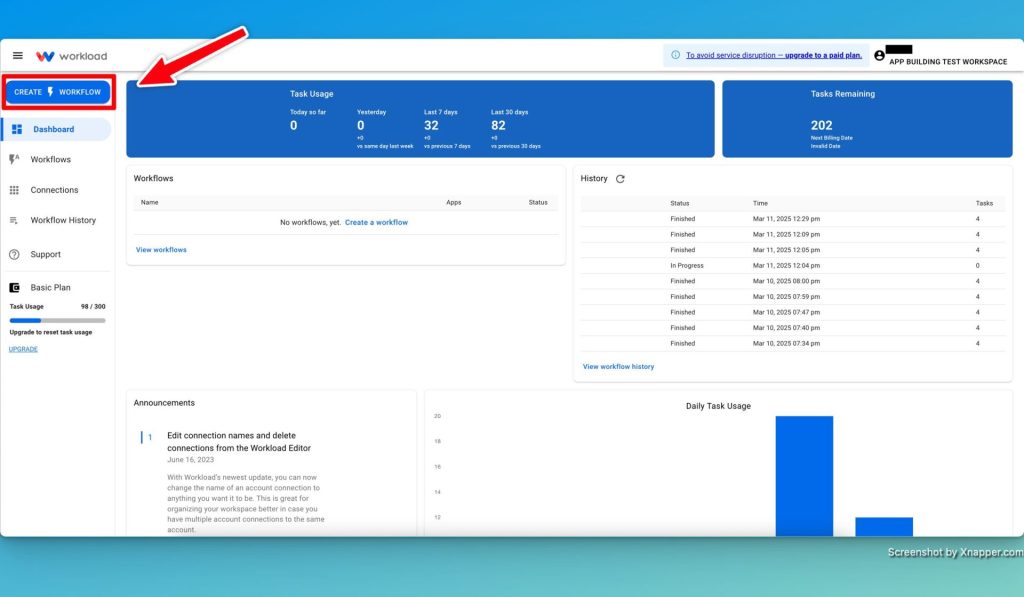
- Open Workload: Log in to your Workload dashboard and click “Create Workflow.”
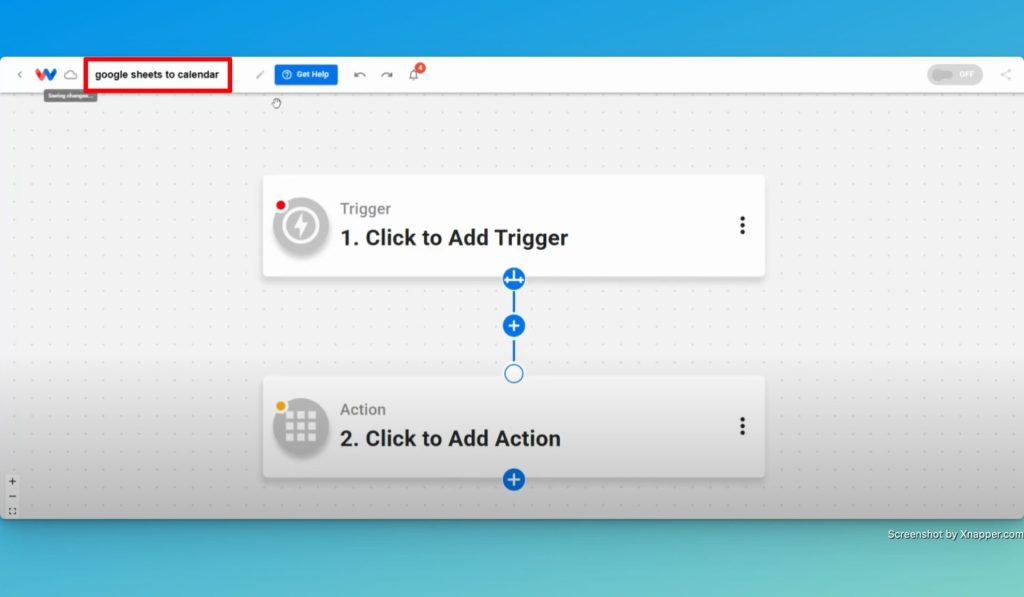
- Name Your Workflow: Choose a simple name like “Sheets to Calendar Sync.”
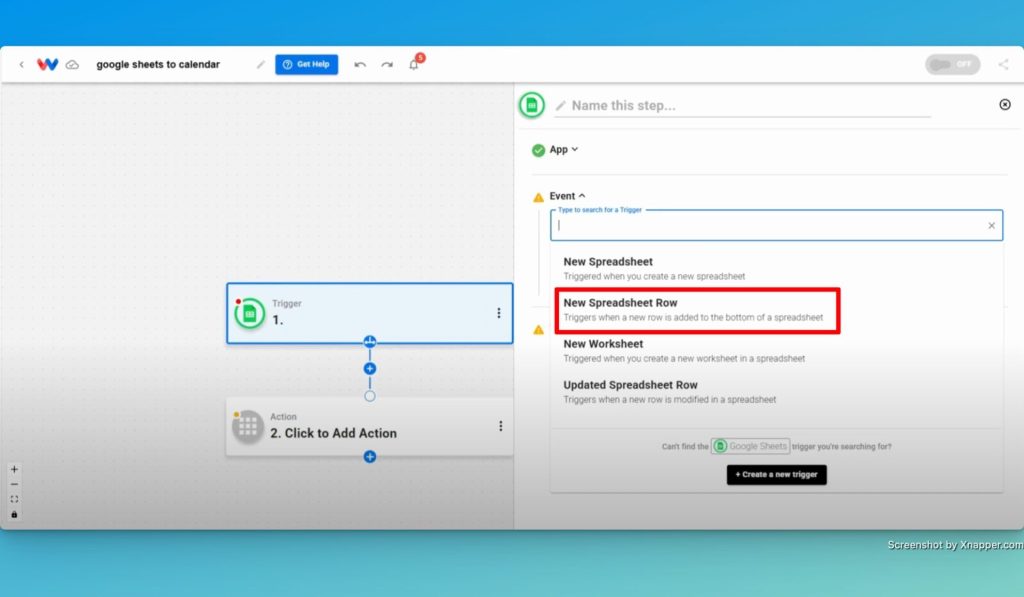
- Choose the Trigger App: Select Google Sheets from the app menu.
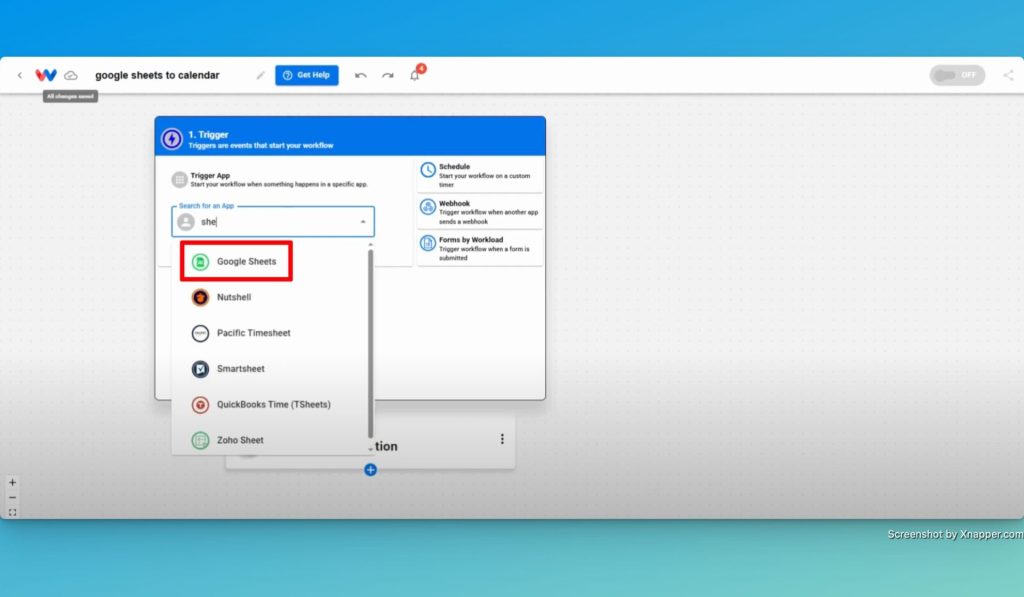
- Set the Trigger Event: Choose “New Spreadsheet Row.”
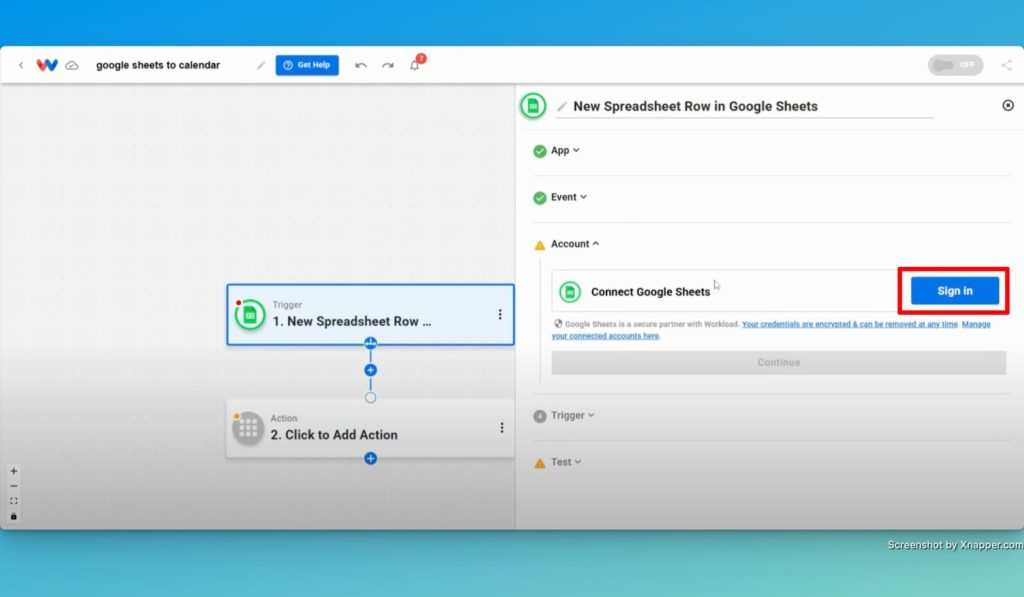
- Connect Your Account: Sign in with your Google credentials to securely link your account.
- Select Your Spreadsheet: Pick the spreadsheet and worksheet you want to monitor.

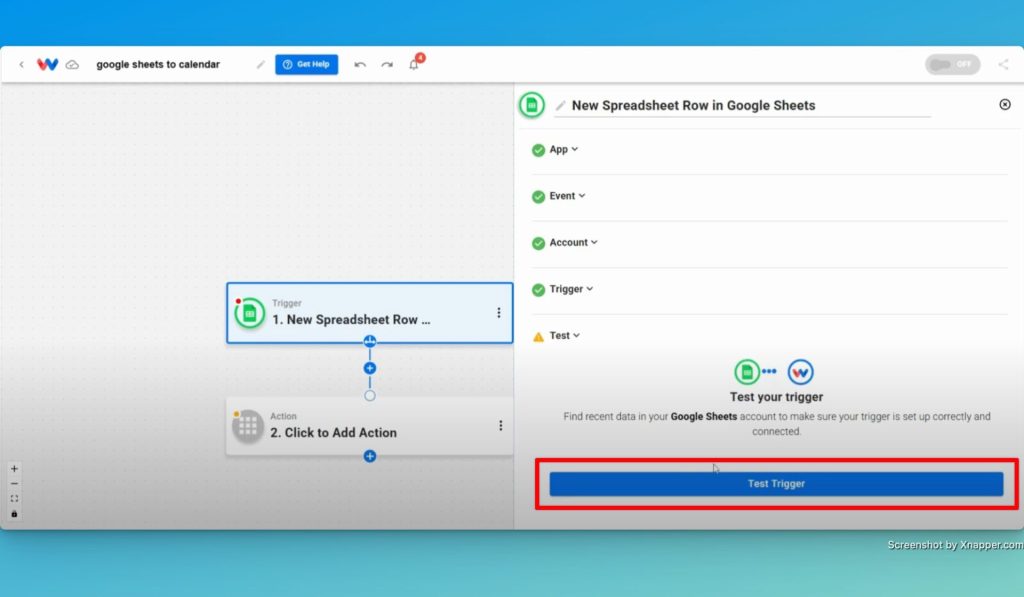
- Test the Trigger: Click the button to make sure Workload detects the latest row.
Step 2: Set Up the Action (Google Calendar) #
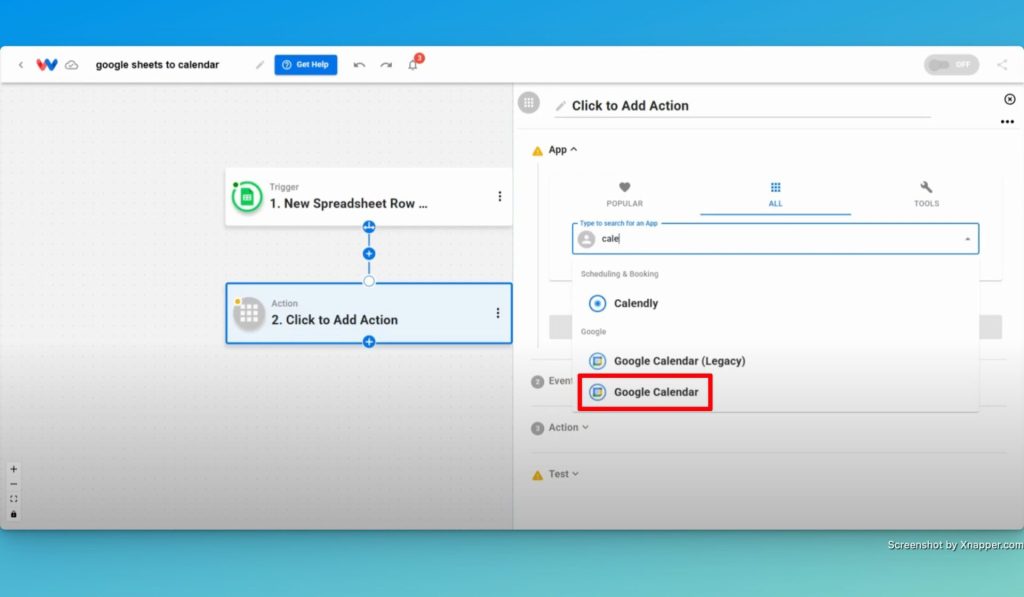
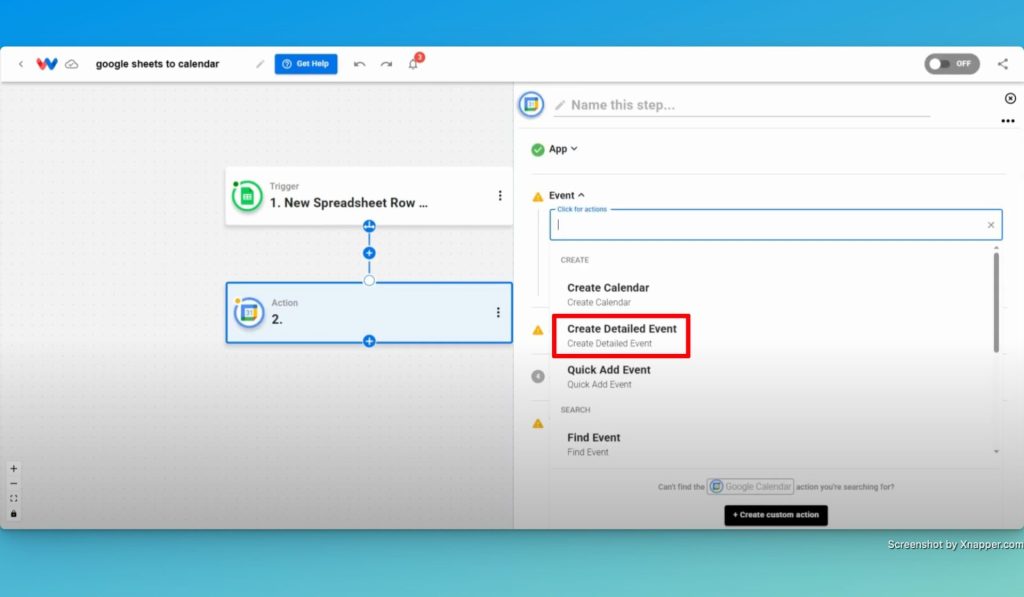
- Choose the Action App: Select Google Calendar as your action app.
- Choose the Action Event: Pick “Create Detailed Event.”
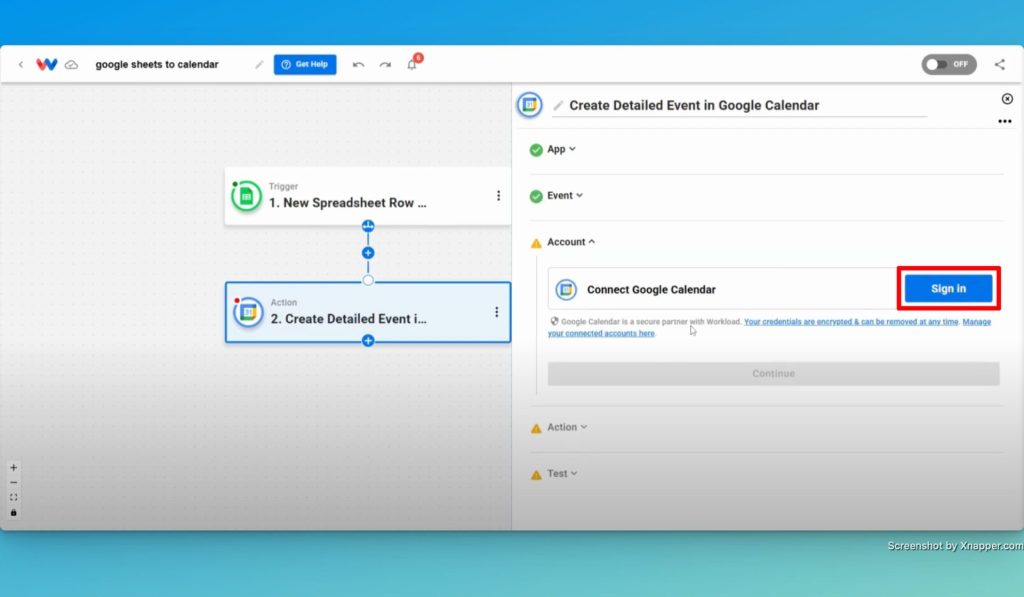
- Connect Your Account: Sign in to securely link your Google Calendar.
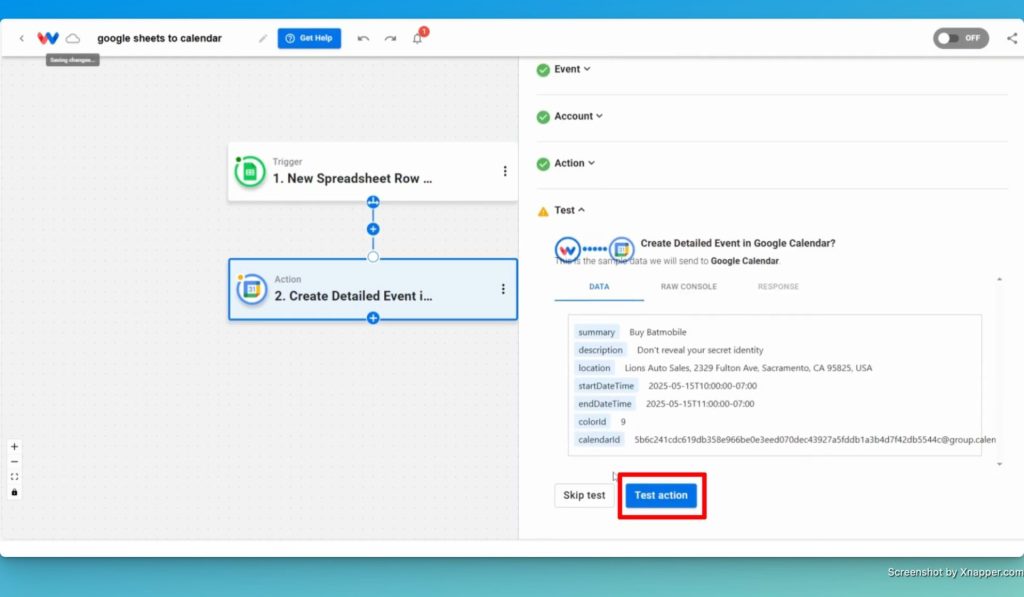
- Map Your Event Fields: Now is the time to customize the workflow to create Google Calendar events exactly as you want to. Here are some of commonly used fields used in the calendar.
- Title
- Description
- Location
- Start and End Time
- Color Code
- Calendar Selection

- Test the Action: Run a test to make sure the event appears correctly in Google Calendar.
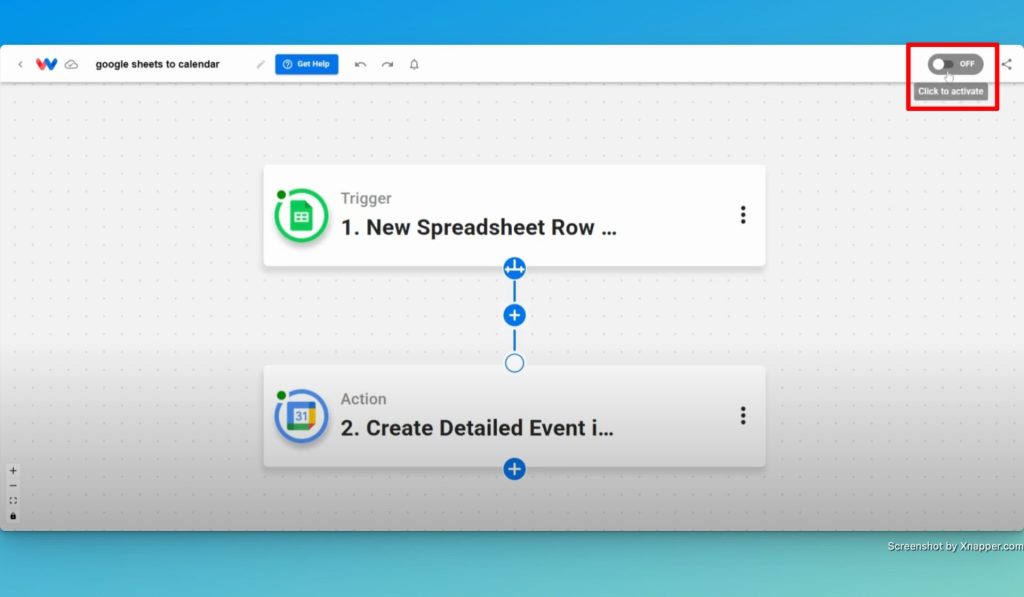
Step 3: Activate Your Google No-Code Workflow #
- Review All Steps: Make sure every step shows a green indicator.
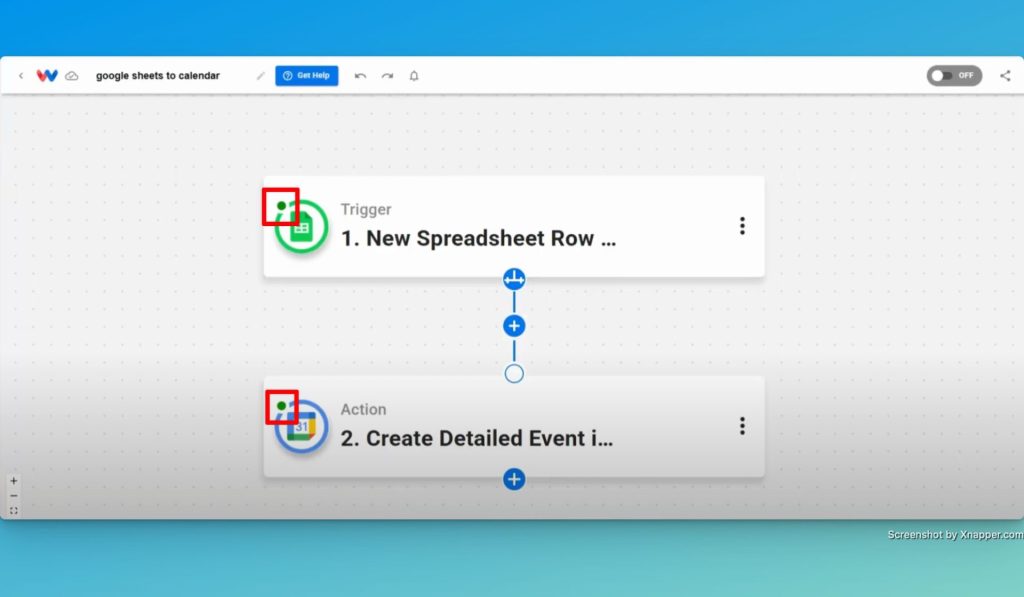
- Turn It On: Use the toggle at the top-right corner to activate your workflow.
- Final Test: Add a new row to your sheet and check for the new calendar event.
Finishing Up #
You’ve just built a customized no-code workflow using Workload. Now, every new row in Google Sheets will trigger a fully detailed Google Calendar event. This workflow reduces manual effort, prevents errors, and keeps your calendar in sync automatically.
Want to automate even more tasks? Use Workload templates to build your own workflows. For additional help, visit Workload University or our Help Center. With Workload, automation doesn’t need to be complicated—it just needs to work.
Automate work—simplify your day!


