Managing multiple tools and manually transferring event data from Google Calendar to Google Sheets can take up valuable time and lead to mistakes. With Workload’s Google No-Code Workflow: Calendar Event to Sheets Sync, you can automate the process, saving time and ensuring accuracy. Once you’ve got the workflow customized, any new Google Calendar event will instantly transfer to your designated Google Sheet. Whether you’re organizing meetings, tracking appointments, or managing bookings, this seamless integration ensures that your records stay accurate and up-to-date with minimal effort.
Need help? Let our expert, Eliot, walk you through the setup in our video tutorial. For further guidance, explore Workload University or our Help Center.
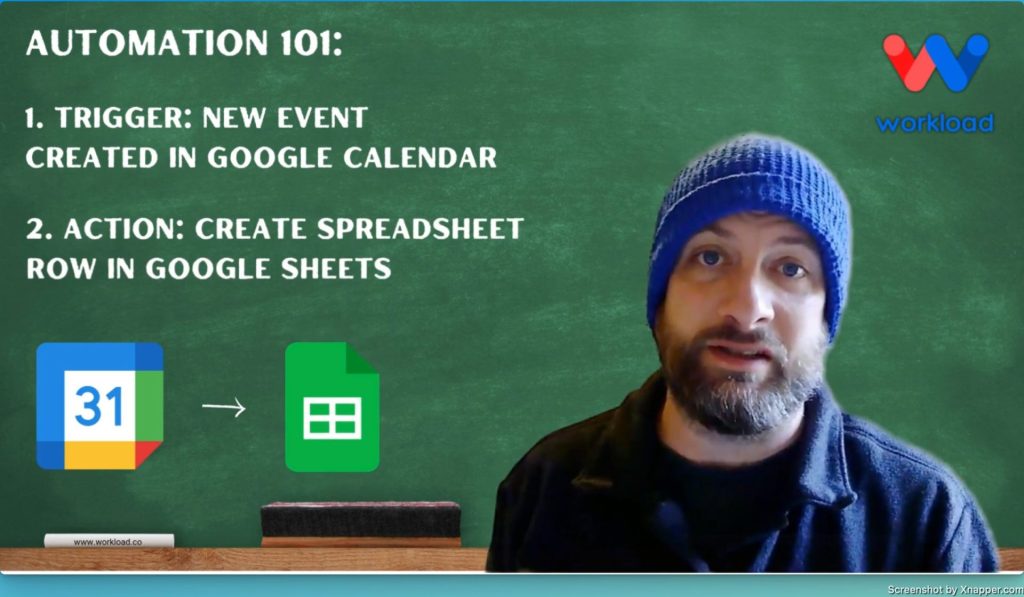
Overview: Google No-Code Workflow for Calendar Event to Sheets Sync #
This simple integration does three key things:
- Detect New Events: It watches a specified Google Calendar for any newly created events.
- Send Data to Sheets: It automatically creates a new row in your Google Sheet with the event details.
- Keep Records Updated: It updates your Google Sheets in real-time, removing the need for manual data entry.
Before starting, ensure you have:
- A Google Calendar account
- A Google Sheets account with access to the target spreadsheet
- A Workload account to create and run your workflow
Step-by-Step: How to Build the Google No-Code Workflow #
Step 1: Set Up the Trigger (Google Calendar) #
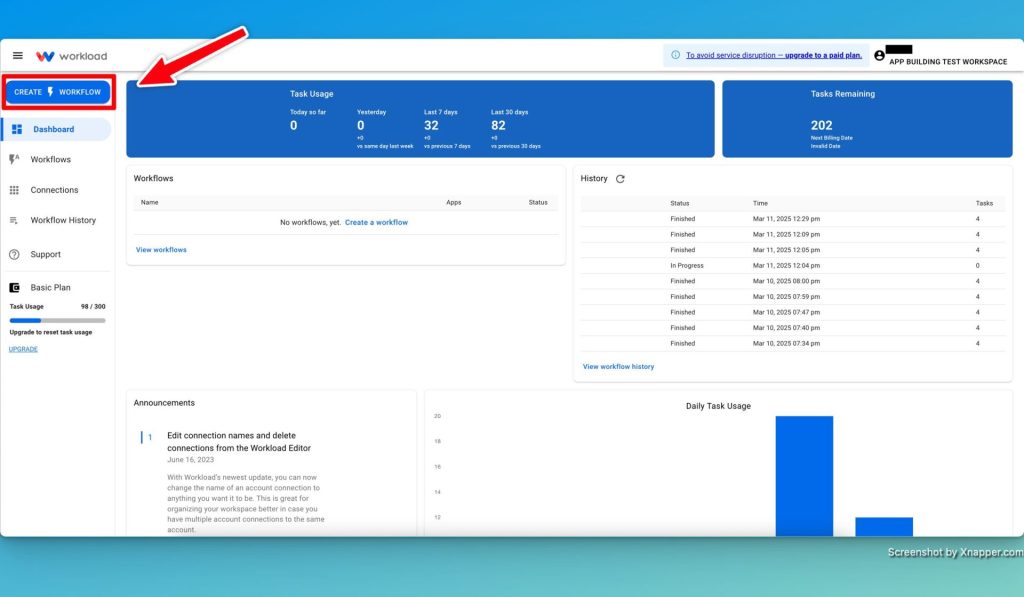
- Open Workload: Log in to your Workload Dashboard and click “Create Workflow”.
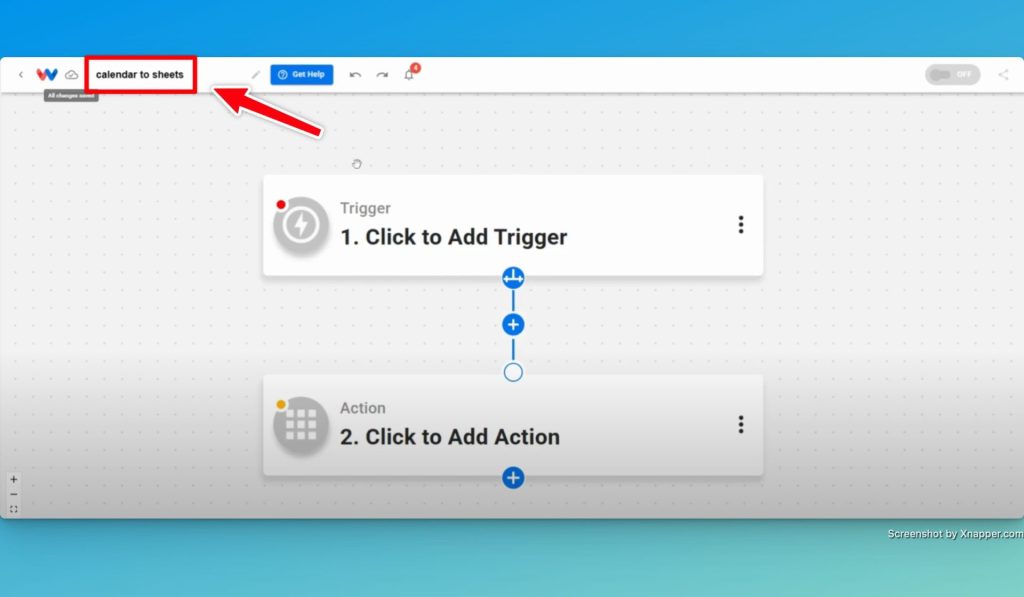
- Name Your Workflow: Give it a simple name like “Calendar Event Sheet Sync”.
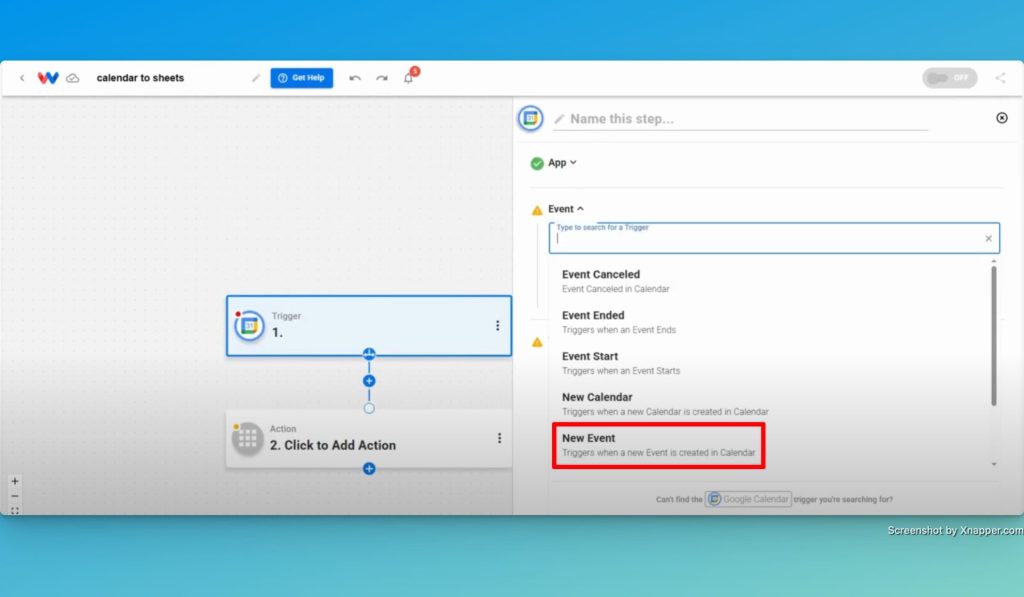
- Select the Trigger App: Choose Google Calendar from the trigger box.
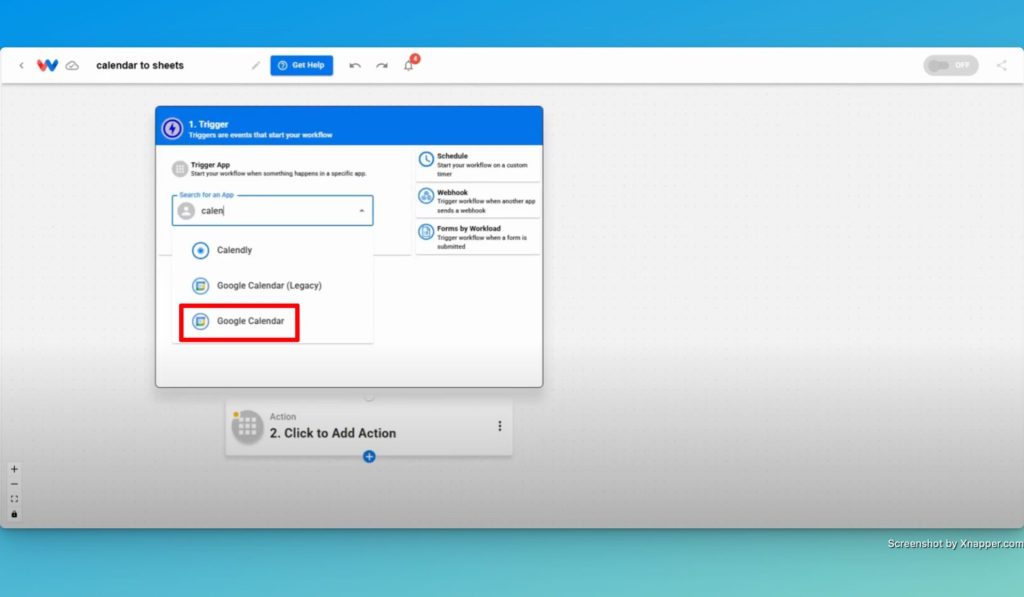
- Set the Event: Choose “New Event” as the trigger event.
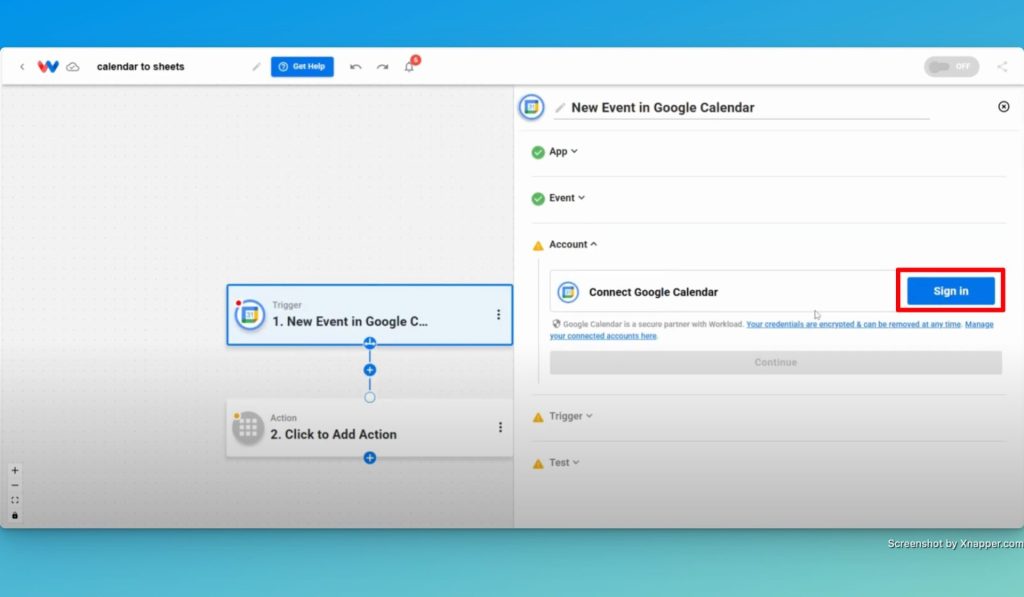
- Connect Your Account: Click “Sign in” to securely connect your Google Calendar account or choose from an existing connection.
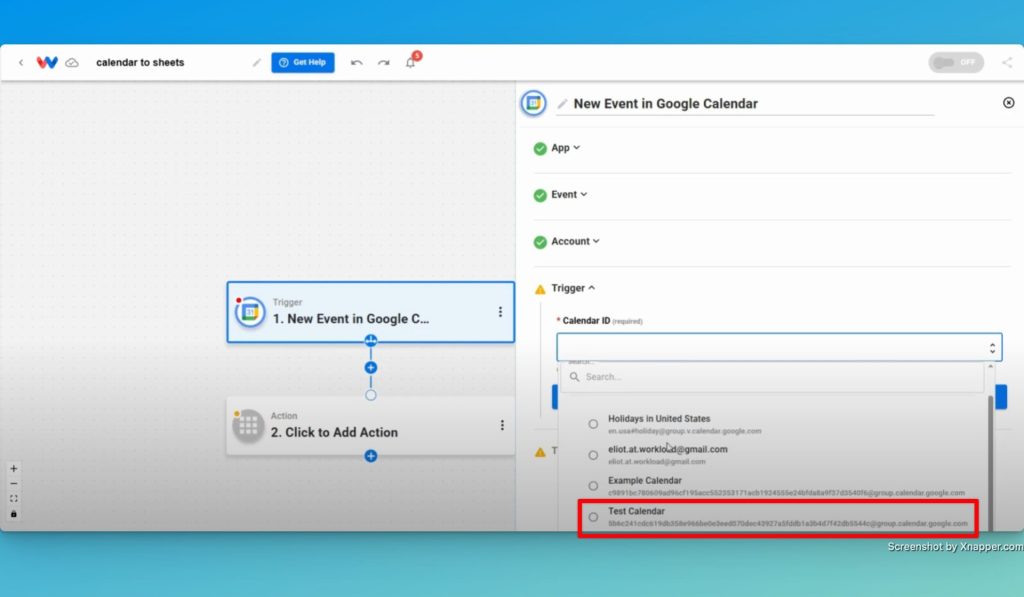
- Select a Calendar: Pick the calendar you want to monitor for new events, then click “Continue“.
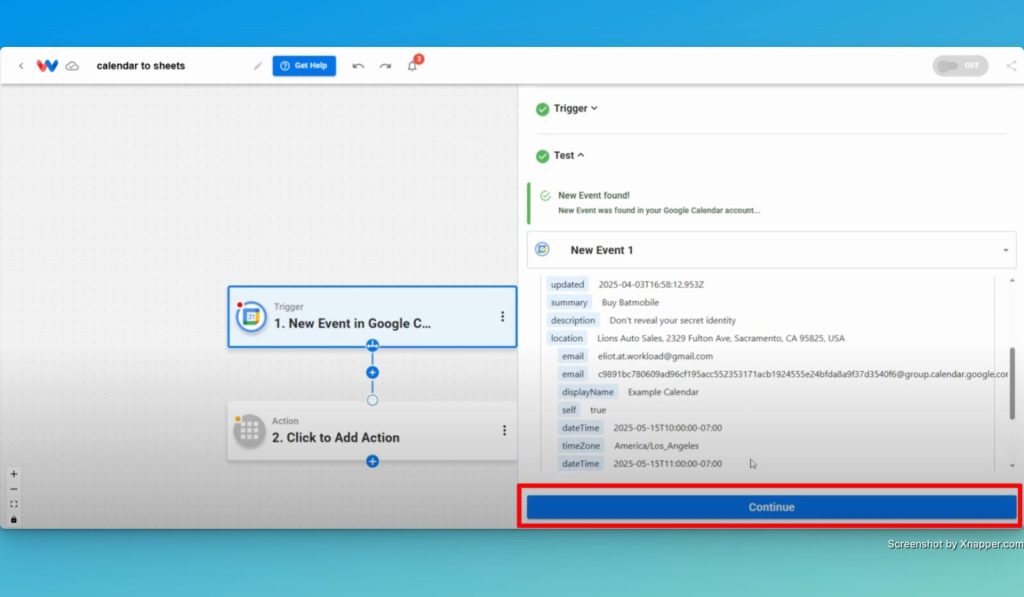
- Test the Trigger: Click “Test” to ensure the trigger works.

- Continue to action step: After you make sure you get a valid response, click “Continue” to move on to the next step.
Step 2: Set Up the Action (Google Sheets) #
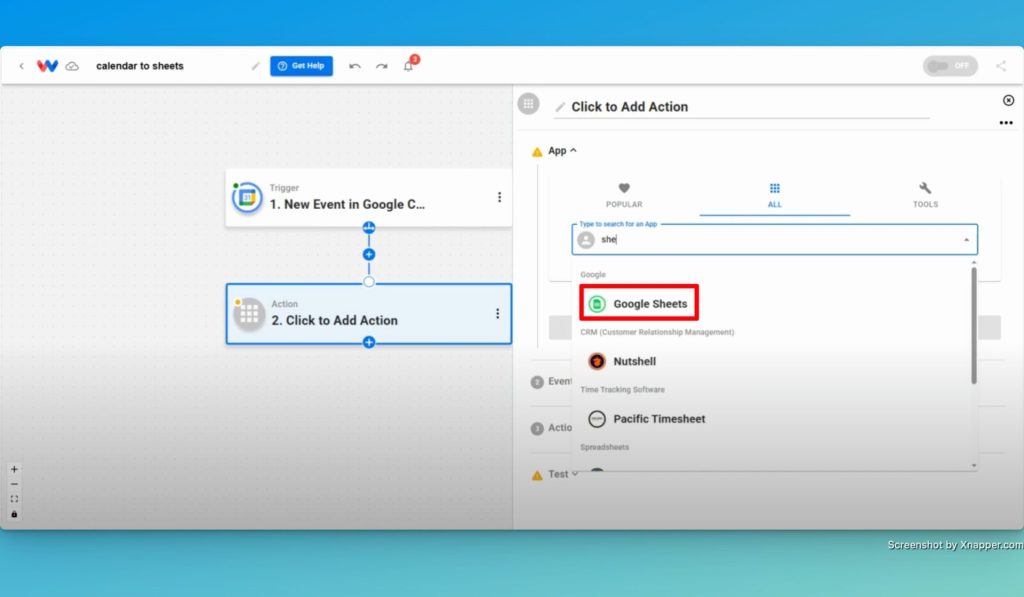
- Select the Action App: Choose Google Sheets from the Action box.
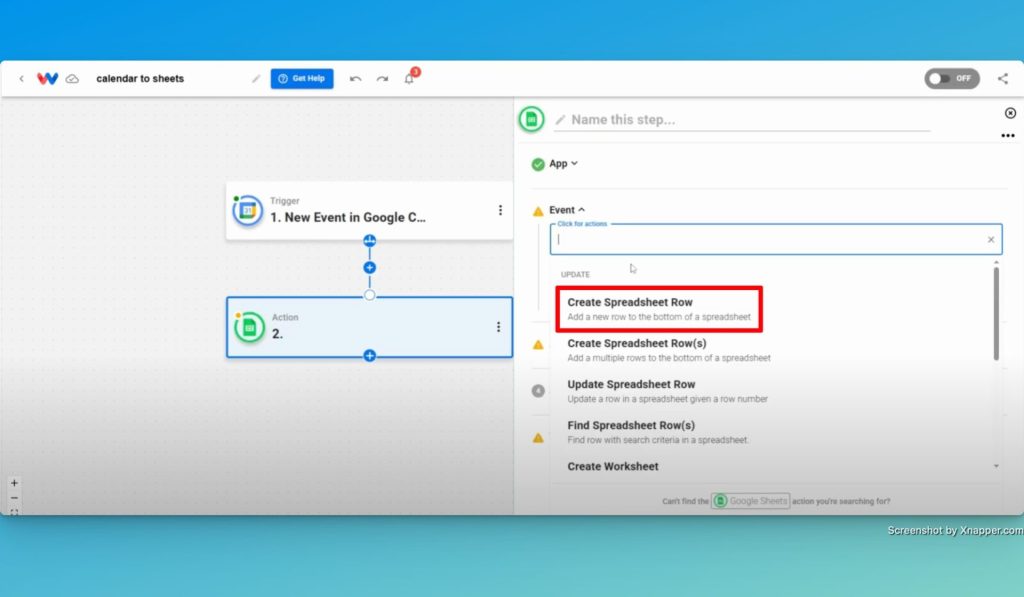
- Choose the Event: Select “Create Spreadsheet Row.”
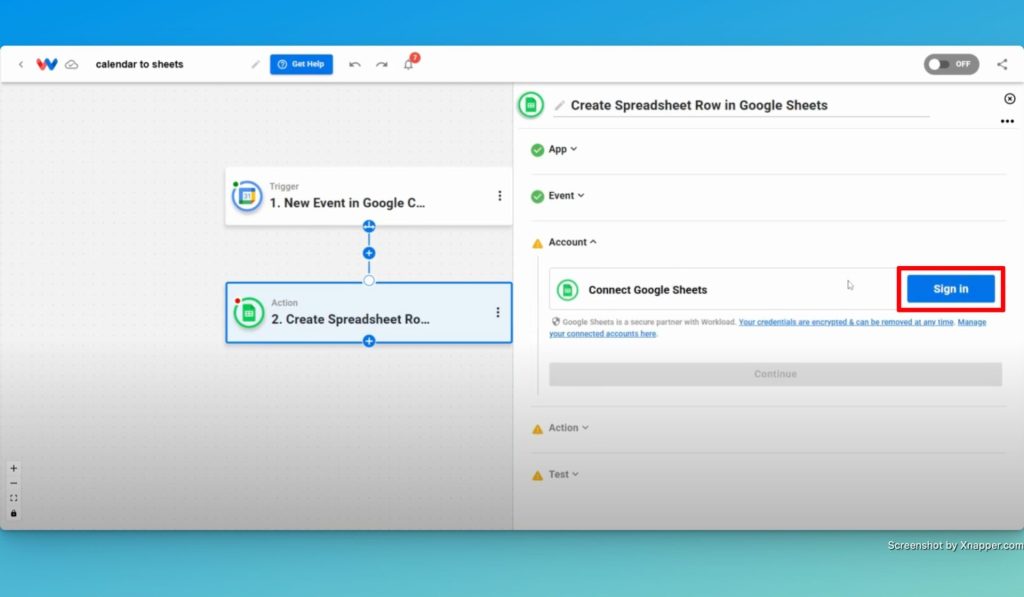
- Connect Your Account: Sign in to securely connect your Google Sheets account.
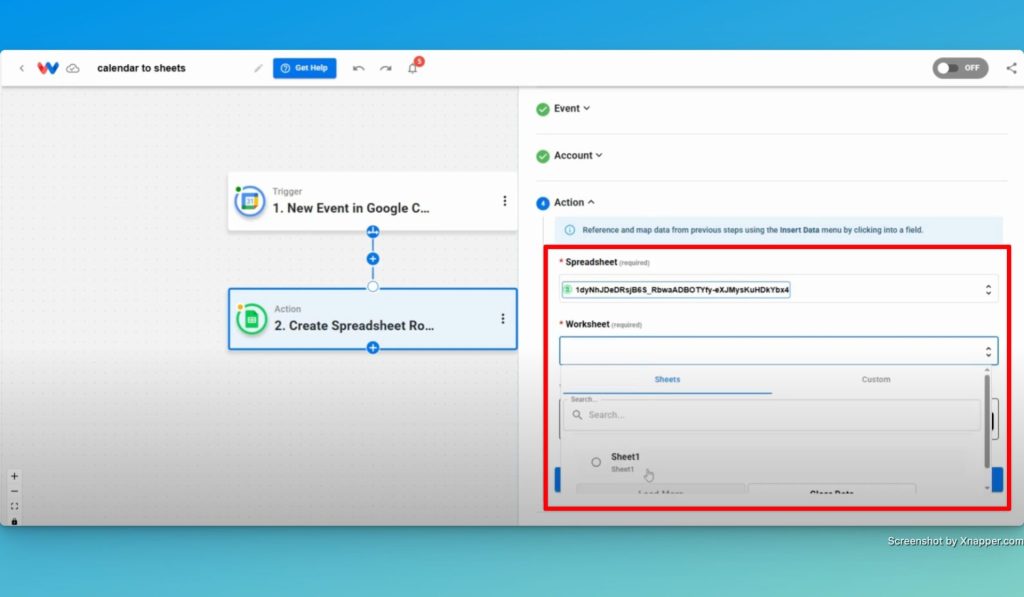
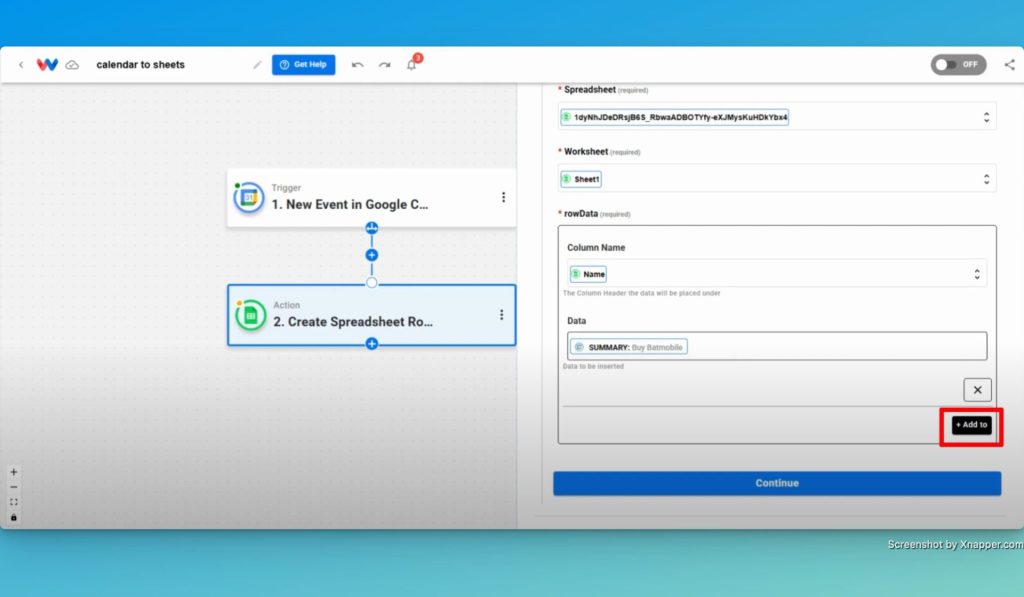
- Choose Spreadsheet and Worksheet: Select the spreadsheet and worksheet where the data should go.
- Map Your Data: Click “+ Add to” to customize your workflow by choosing the data you want to add to your spreadsheet from the dynamic dropdown menu.
- Test the Action: Click “Test action” to make sure data is added correctly.
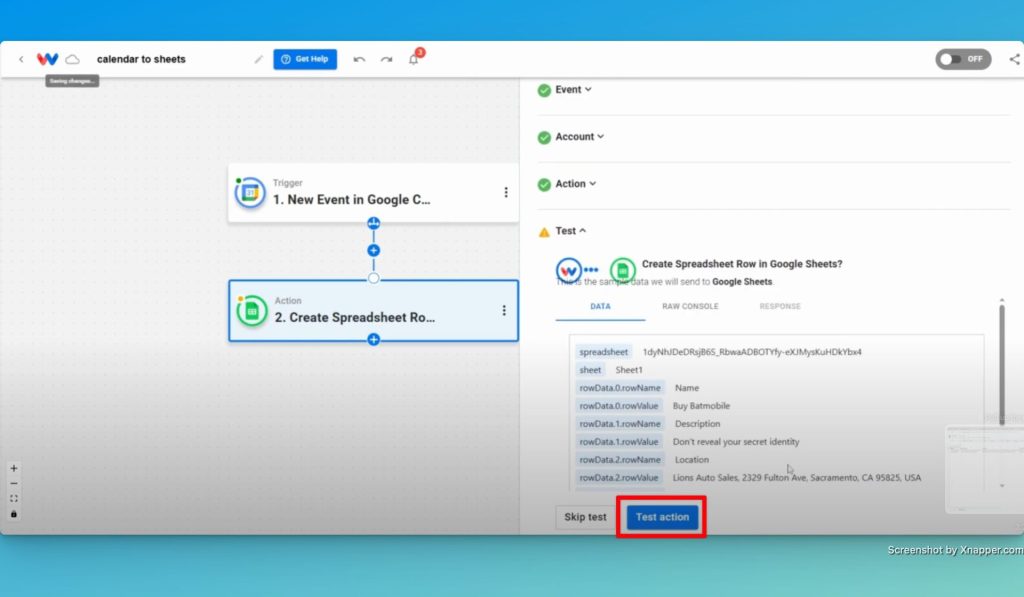
- Continue: Click “Continue” after the test is successful.
Step 3: Test and Activate Your Google No-Code Workflow #
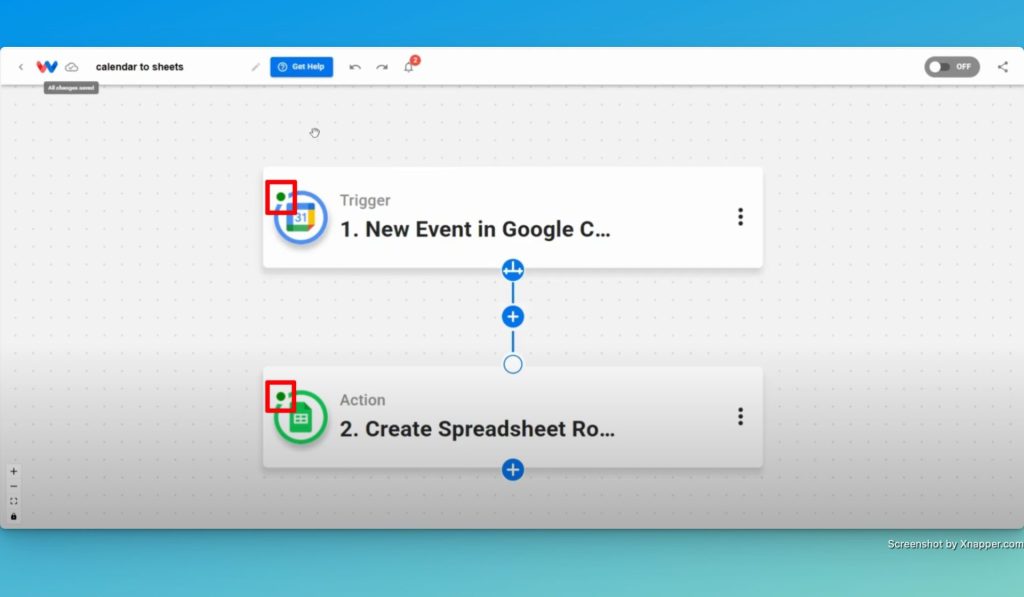
- Verify the Steps: Ensure all steps have green indicators.
- Activate the Workflow: Toggle the workflow to “On.”
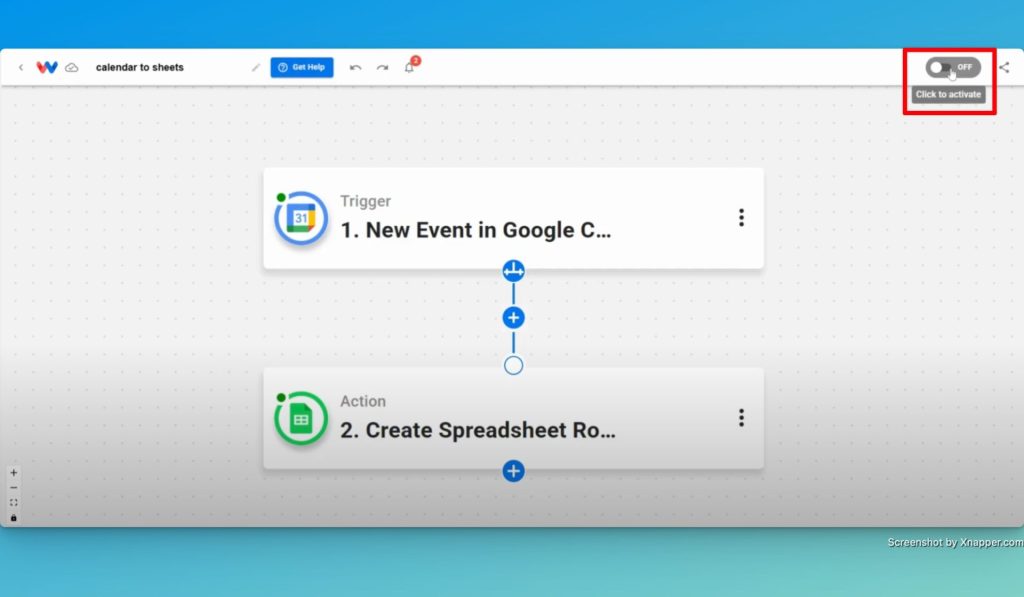
- Final Test: Add a new event to your Google Calendar and check if it appears in your Google Sheet.
Finishing Up #
Congratulations! You’ve just used Workload to set up a powerful no-code workflow that will sync your Google Calendar events to Google Sheets. This workflow will save you time, reduce errors, and ensure your records are always up-to-date. It’s like having your own personal assistant working for you 24 hours a day.
Want to automate even more tasks? Use Workload templates to build your own workflows. or browse our guide library for more integrations.
For additional help, visit Workload University or our Help Center. With Workload, automation doesn’t need to be complicated—it just needs to work.
Automate work—simplify your day!


