Tired of Manually Updating Your Calendar? #
Updating events in both Google Calendar and Outlook takes time and effort. Mistakes happen, and double bookings can cause confusion. Workload’s Instant Event Sync workflow automates the process, ensuring your events stay updated across both platforms.
This workflow begins when you add a new event to Google Calendar. It then transfers the details—like time, title, and description—directly into Outlook. In this blog post, we’ll walk you through setting up this workflow so you can save time and focus on more important tasks.
If you need help, let our workflow expert Eliot guide you through the process with our step-by-step video. You can also visit Workload University or our Help Center.
Overview: Instant Event Sync #
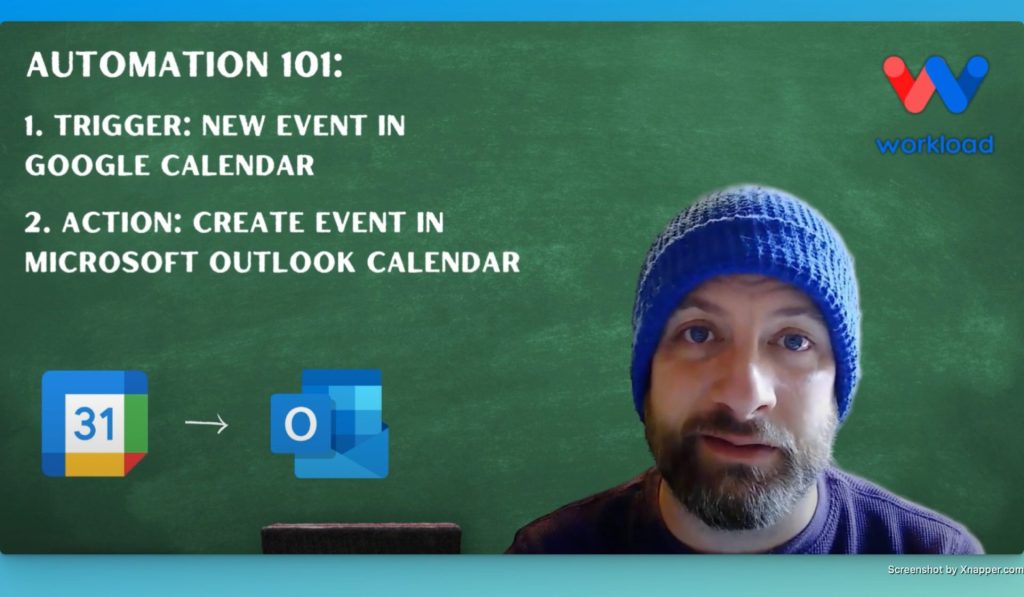
This integration does three things:
- Trigger on a New Google Calendar Event: It finds new events in Google Calendar.
- Create an Event in Outlook: It copies event details—like title, date, time, and description—to Outlook.
- Achieve Instant Event Sync: It keeps your calendars in sync automatically.
Before you start, make sure you have:
- A Google Calendar account.
- A Microsoft Outlook account with calendar access.
- A Workload account for building your workflow.
Setting Up Instant Event Sync Workflow #
Step 1: Set Up the Trigger #
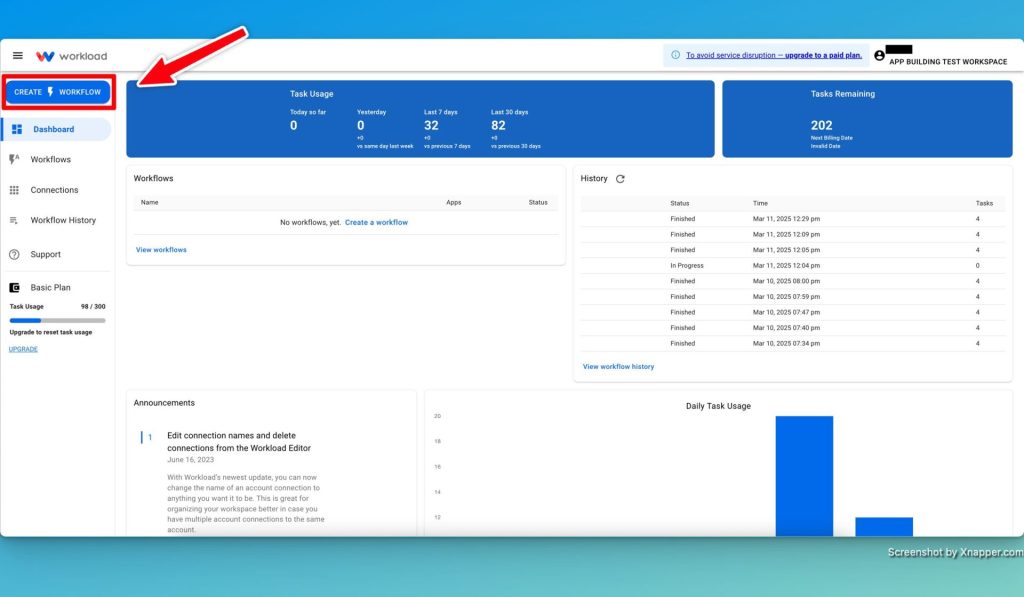
- Open Workload and create a new workflow.
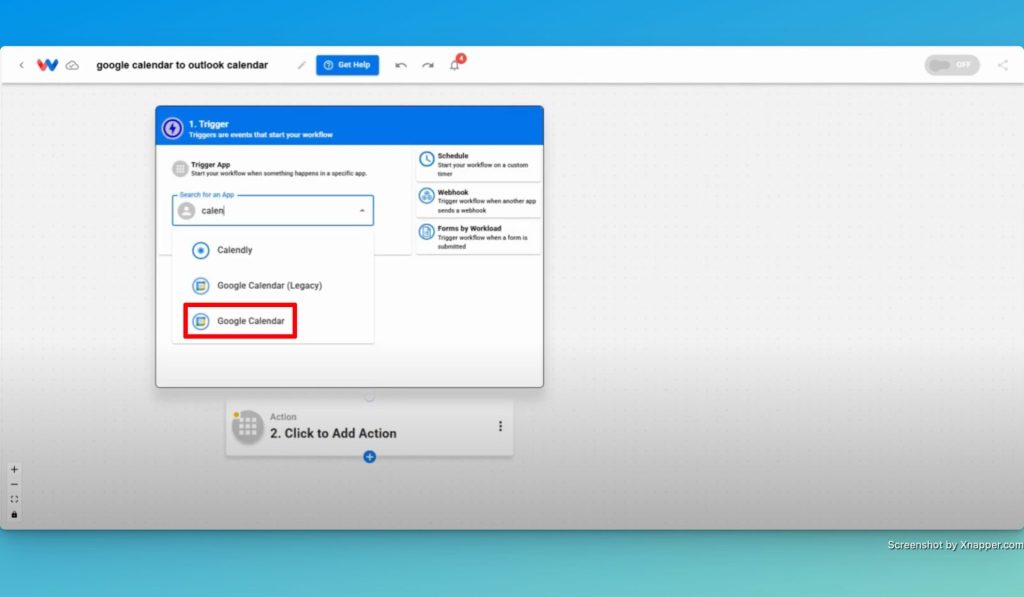
- Click the Trigger box and choose Google Calendar.
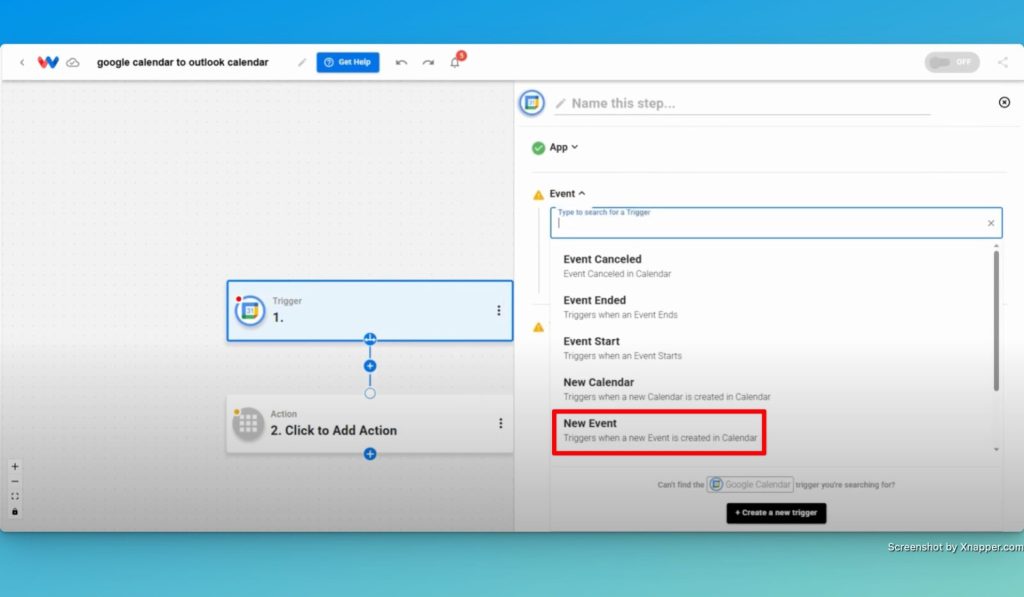
- Pick “New Event” as the trigger event.
- Securely connect your Google Calendar account by signing in or selecting an existing connection.

- Select the calendar you want to sync.
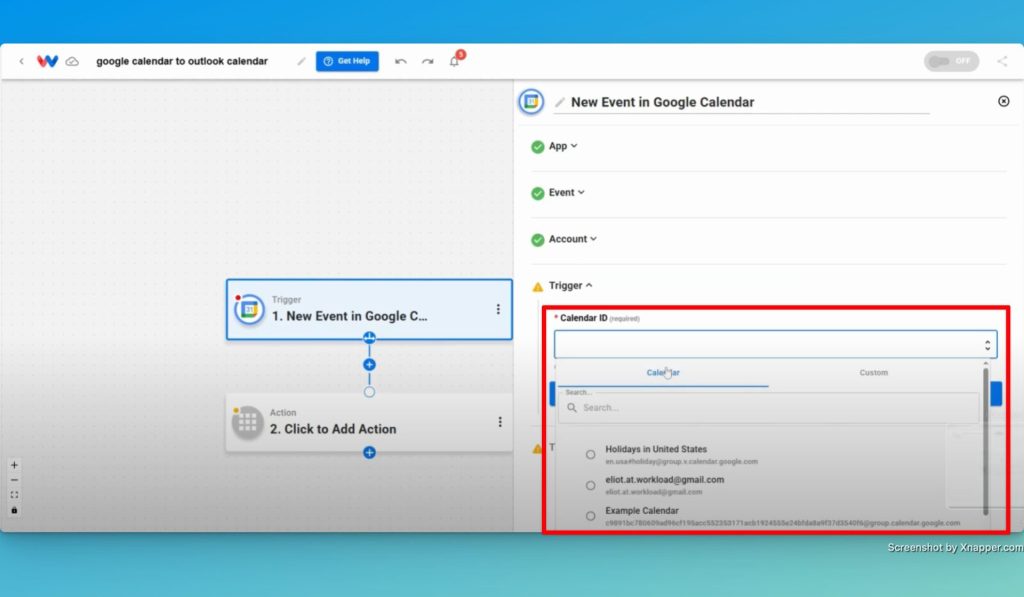
- Test the trigger to make sure it finds new events.

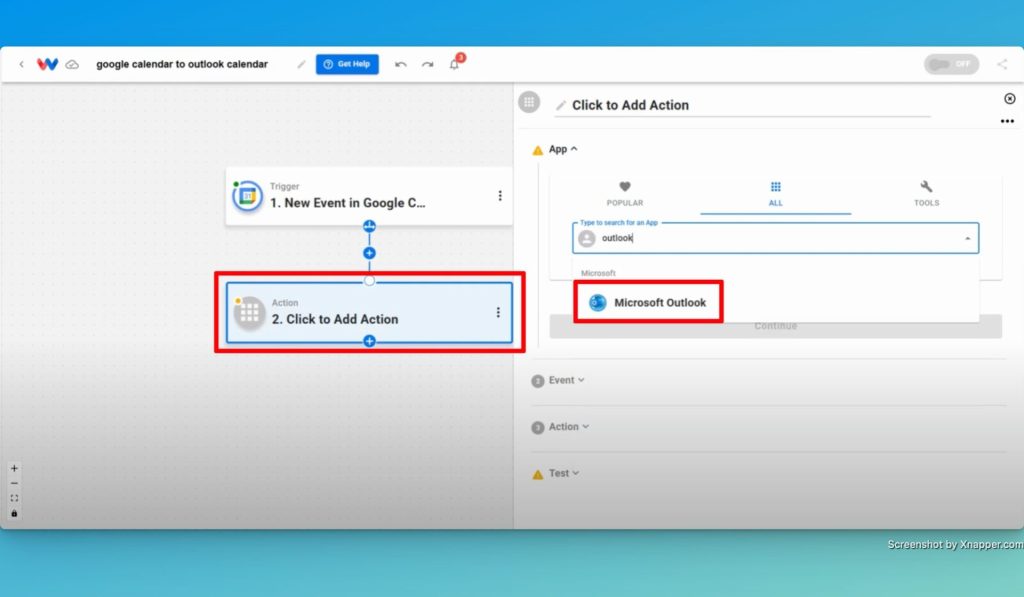
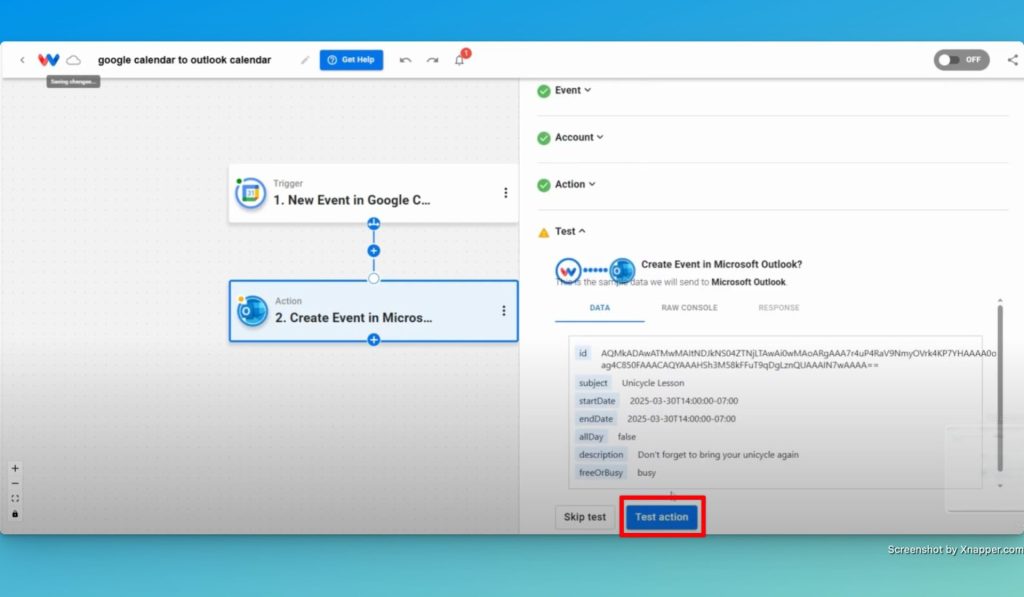
Step 2: Create the Outlook Event #
- Click the Action box and choose Outlook as the action app.
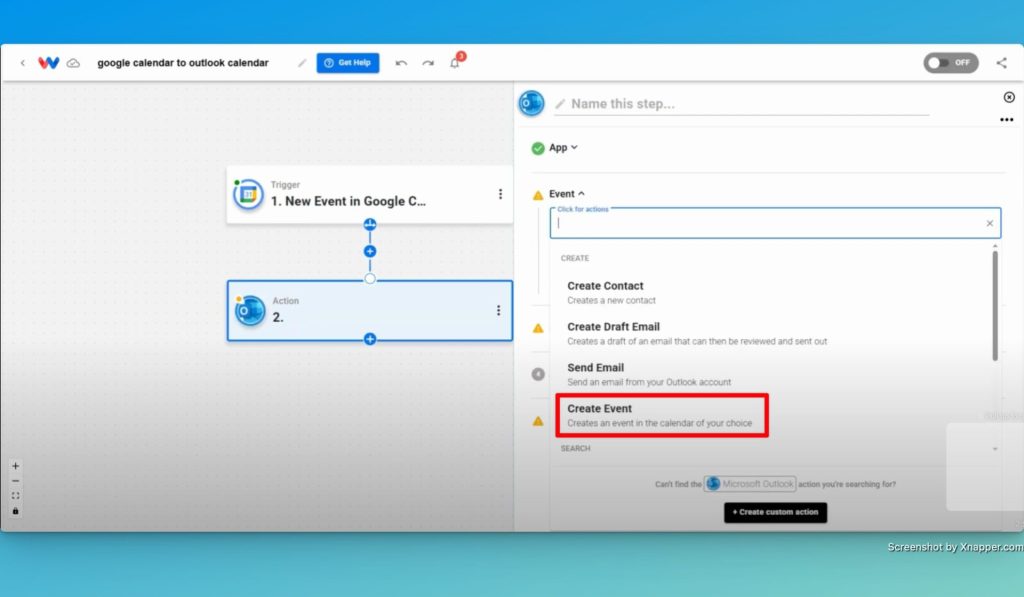
- Select “Create Event” as the action event.
- Securely connect your Microsoft Outlook account by signing in or selecting an existing connection.

- Map the event details:
- Title: Use the event summary from Google Calendar.
- Start and End Time: Copy the time from Google Calendar.
- Description: Add the event details.
- Set Availability: Mark yourself as busy.
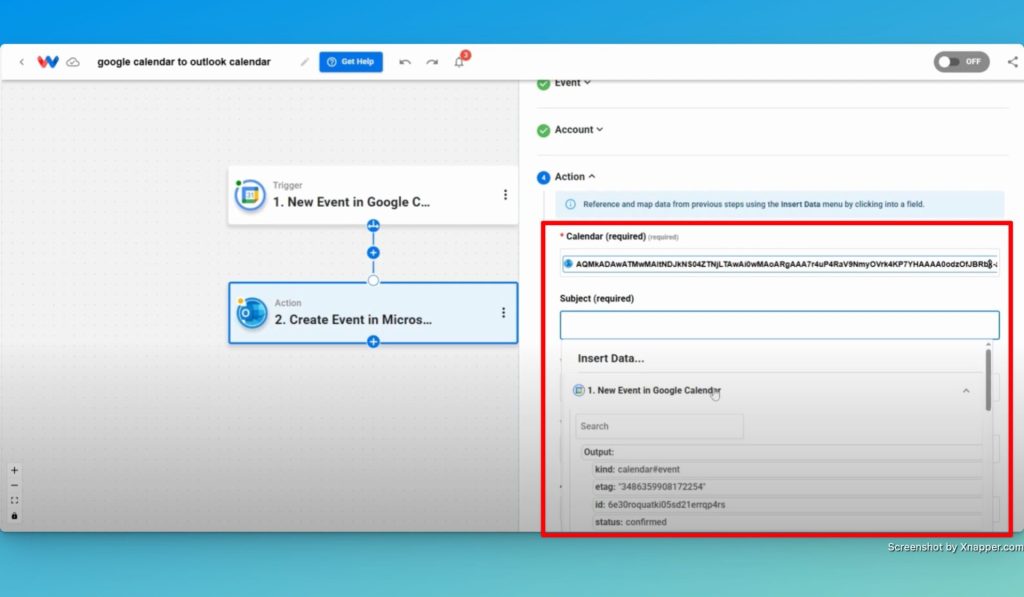
- Test the action to see that the event shows in Outlook.
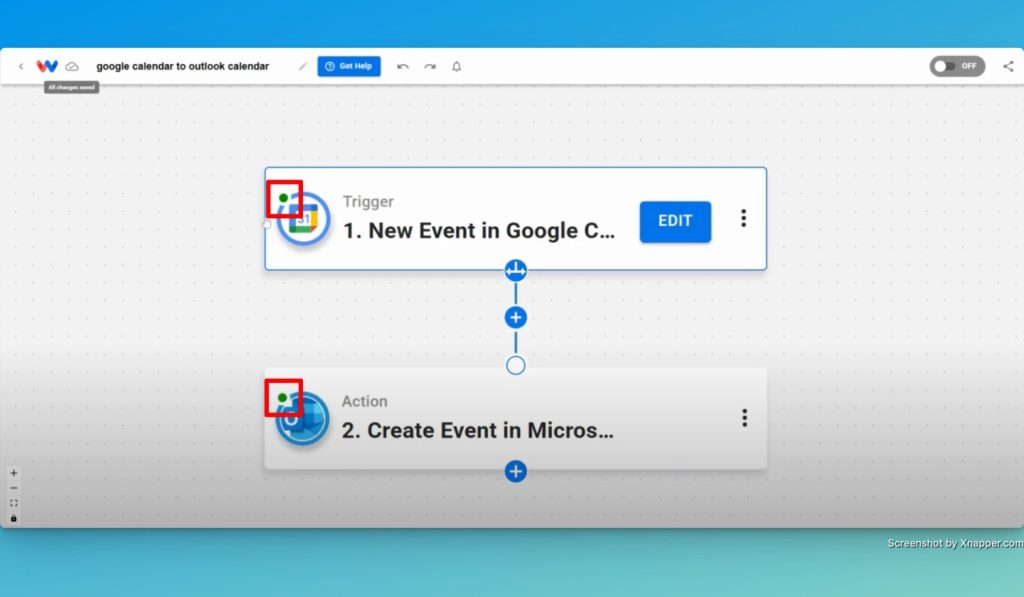
Step 3: Verify and Activate the Instant Event Sync Workflow #
- Check that each step shows a green light. If any step is still red, go back into that step and fix the error.
- Activate the workflow by clicking the “on/off” toggle to start automatic syncing.
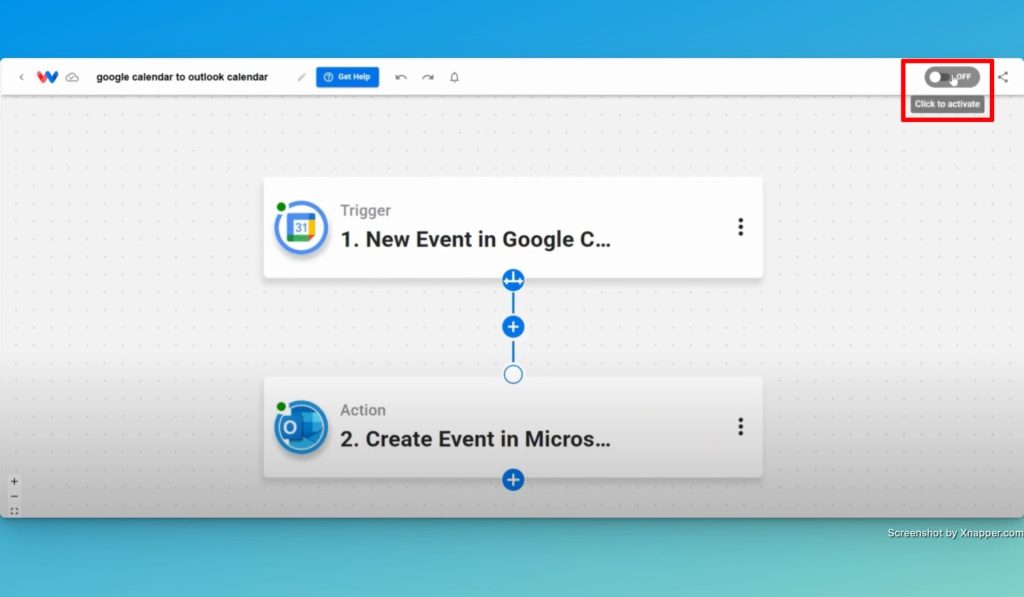
- Add a test event in Google Calendar and check that it appears in Outlook.
Finishing Up: Instant Event Sync #
Syncing Google Calendar with Outlook makes scheduling effortless. Events update automatically across both platforms, eliminating the need for manual entry. This saves time and prevents scheduling conflicts. With accurate event details and synced time zones, you can avoid double bookings and keep your calendar organized.
With this automation, you can stay on top of your schedule without juggling multiple calendars. Instead of spending time managing events, you can focus on what matters most—your work and business growth.
Want an easier way to manage your calendar? Try Workload today for seamless scheduling. For more automation tips and updates, like and subscribe to Workload’s YouTube channel.
Automate your work—simplify your day!


